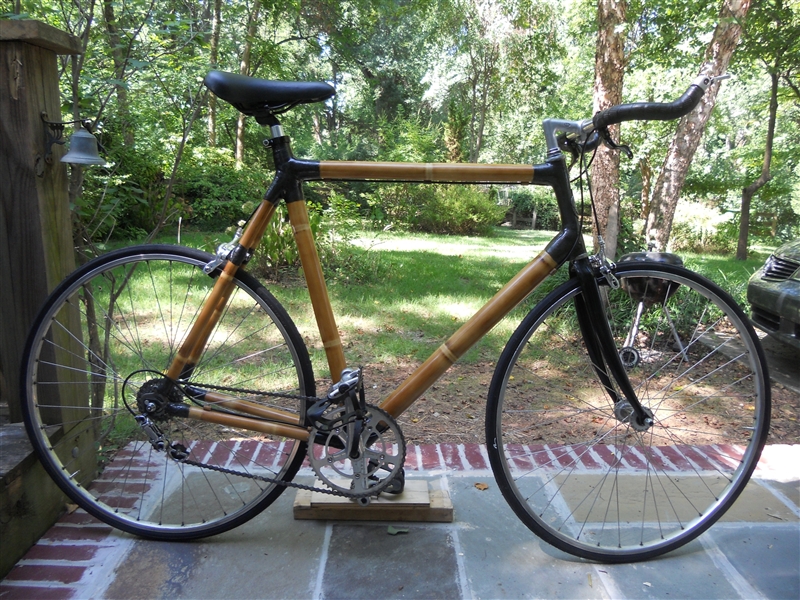
Building a Bamboo Bike Frame
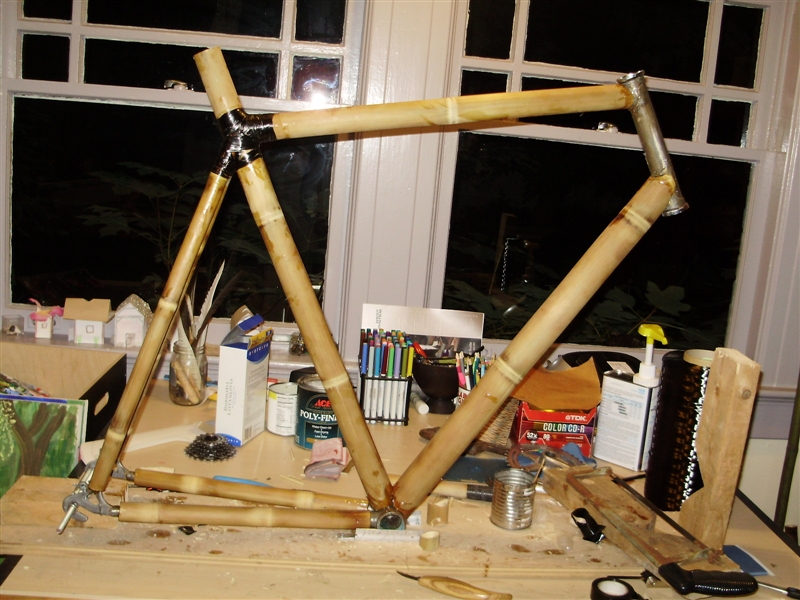
This is how I built a bamboo bicycle frame.
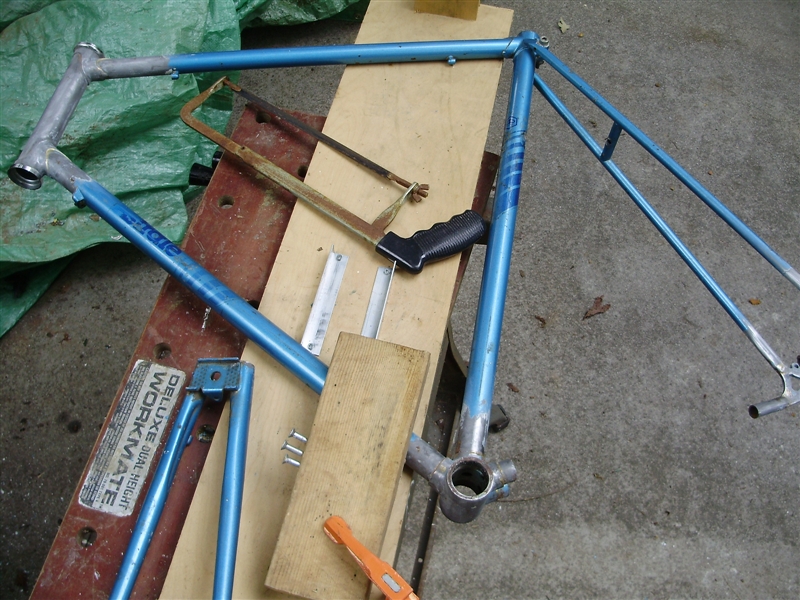
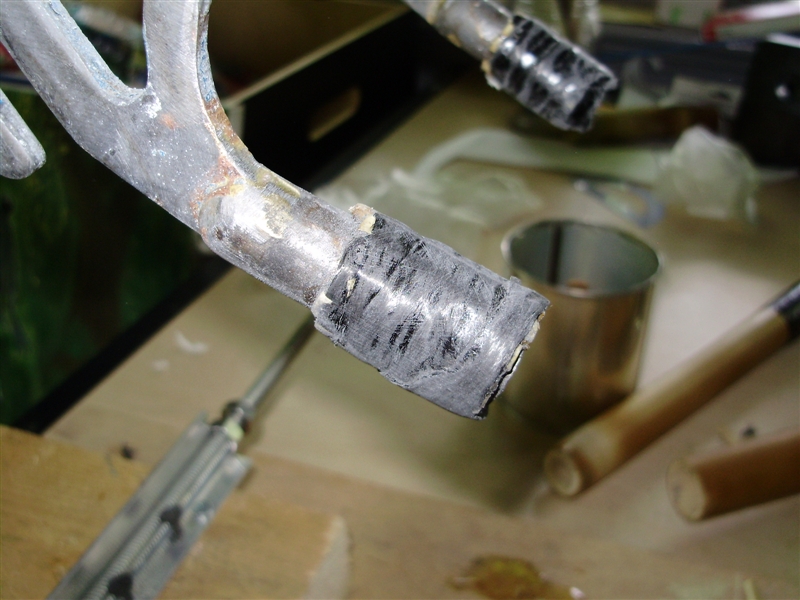
The first step I took in building the frame was to find an old steel frame from which to cut a head tube, bottom bracket shell, and dropouts, as these parts all need to be metal. You can buy these parts individually, but taking them from an existing frames spares you from having to build you own jig and worrying about alignment.

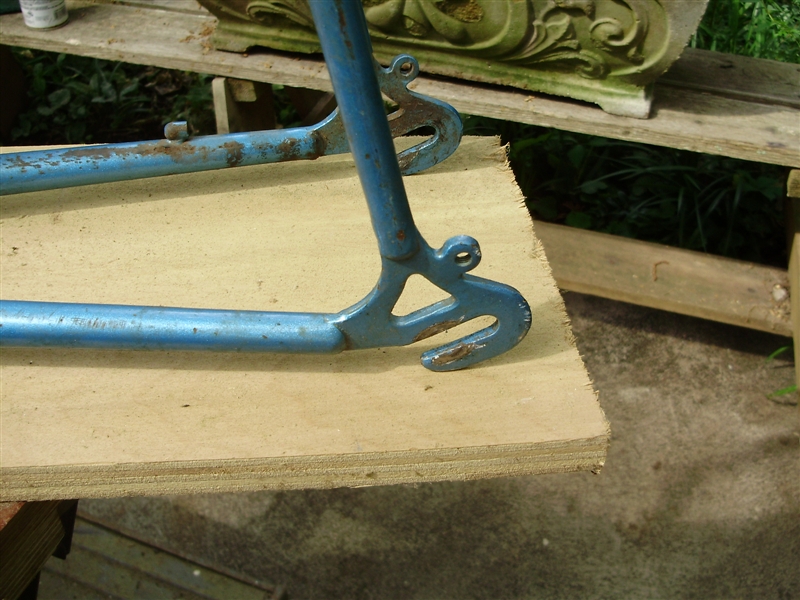
Horizontal dropouts are good, since they give you room to adjust the alignment of the wheel.
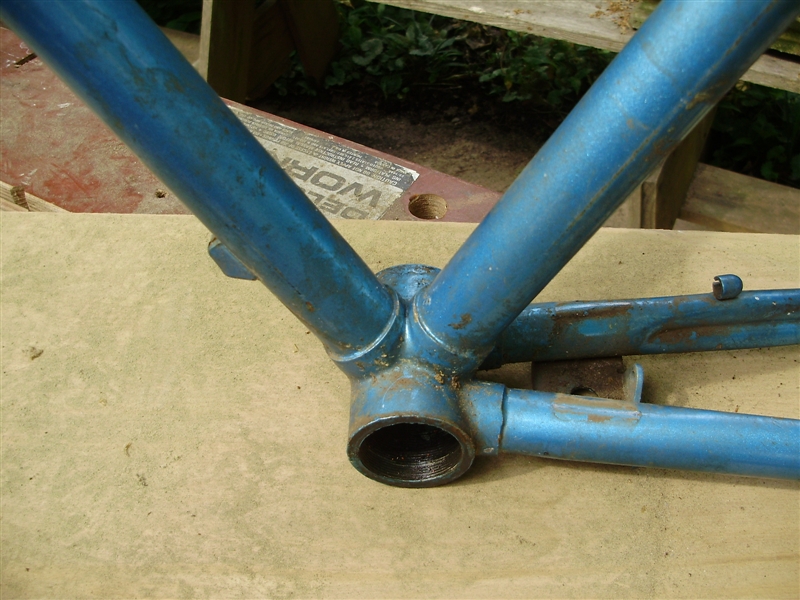
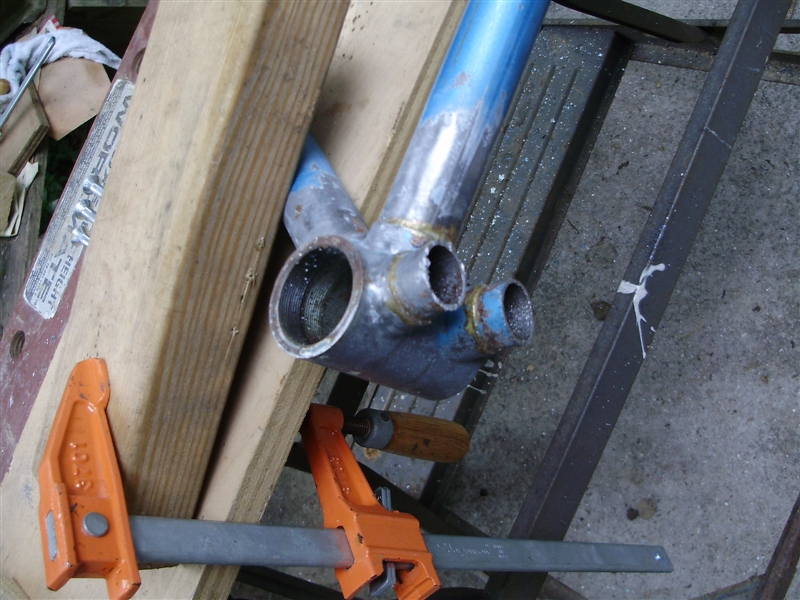
BB Shell:
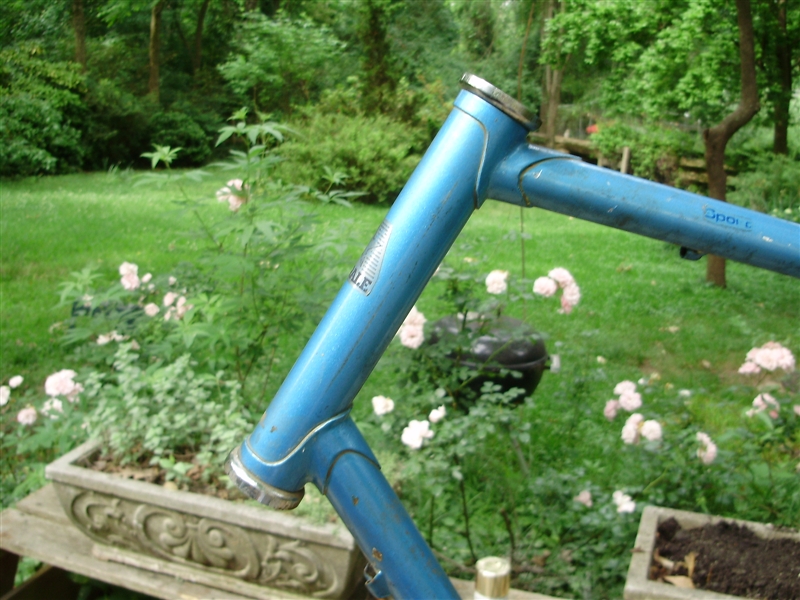
Head tube and headset bearing cups: I chose to leave in the cups, so that most of the headset would be integrated with the frame.
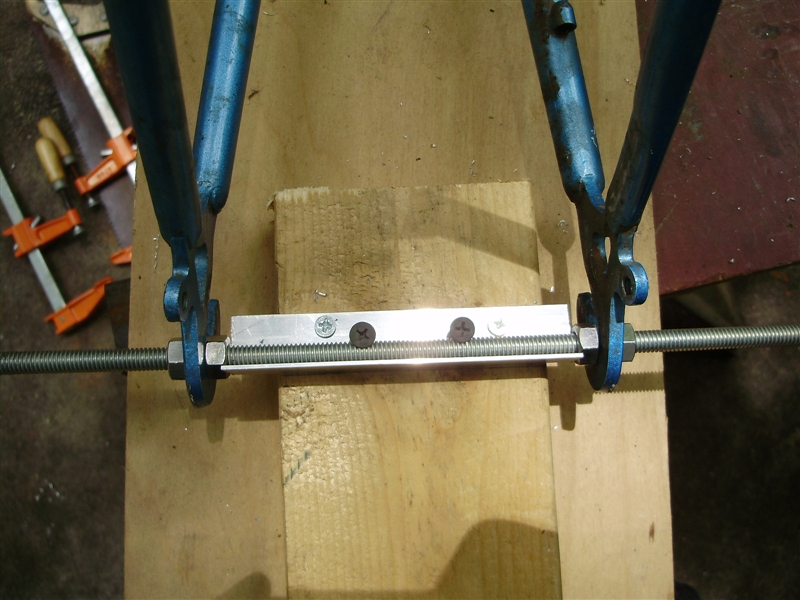
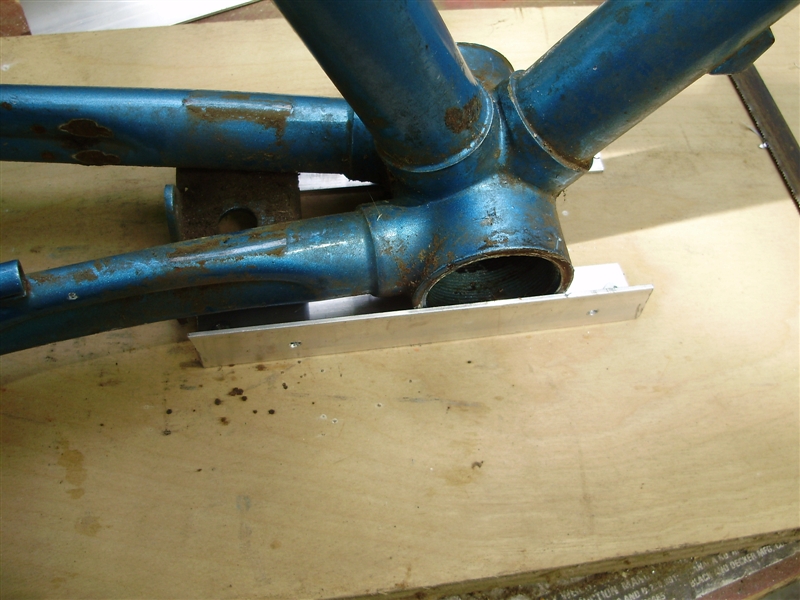
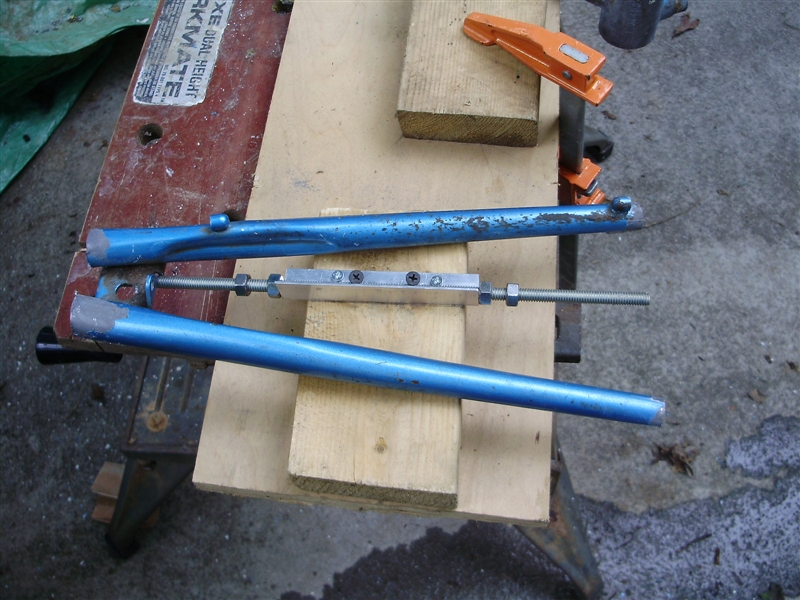
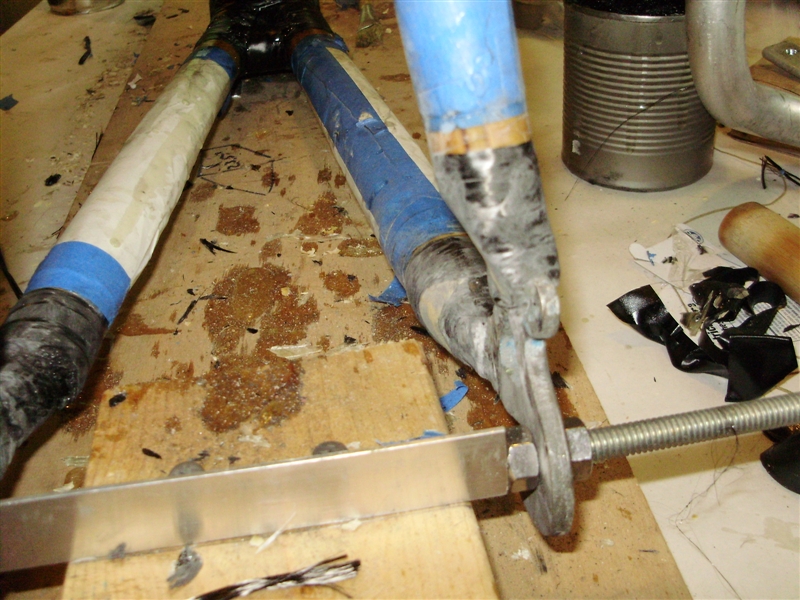
This board will eventually help to align the dropouts and bottom bracket. Even though it is not a full out jig, it helped a lot to have this, as it served as a good way to hold the frame in place.
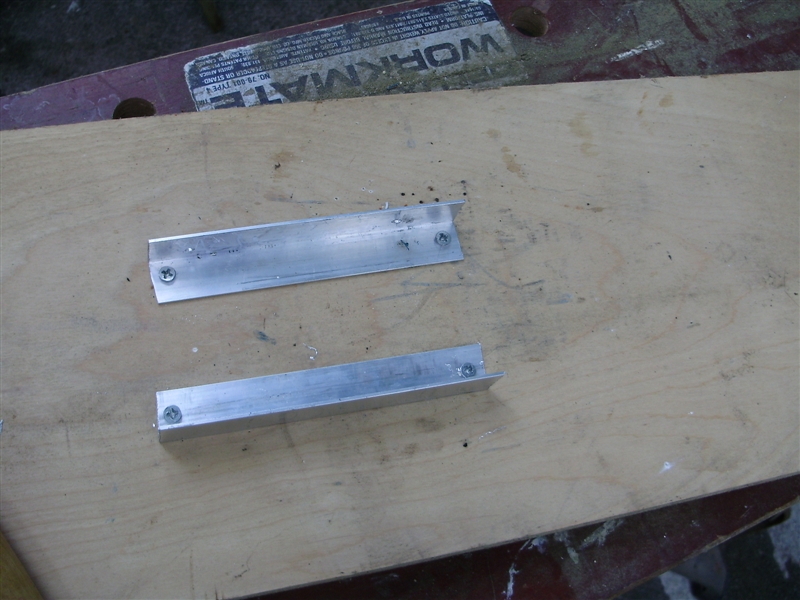
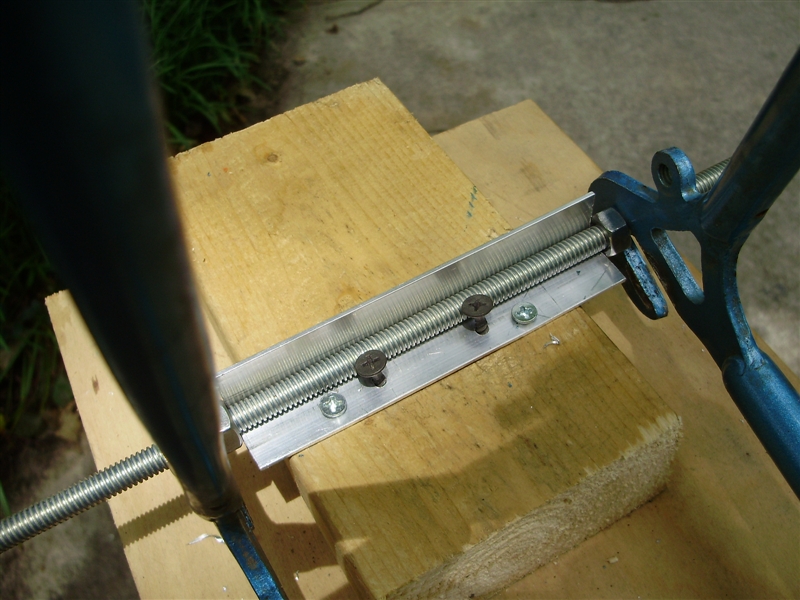
The angle aluminum will hold the BB shell perpendicular to the rest of the tubes.
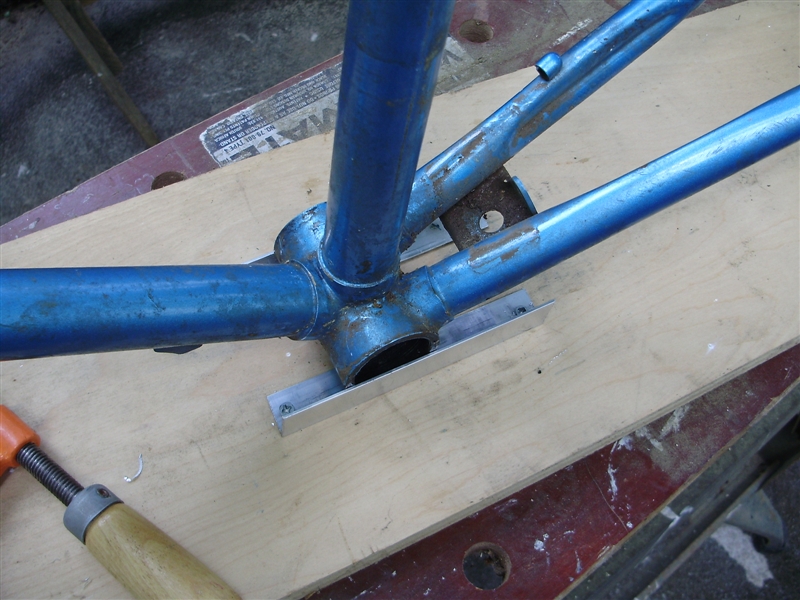
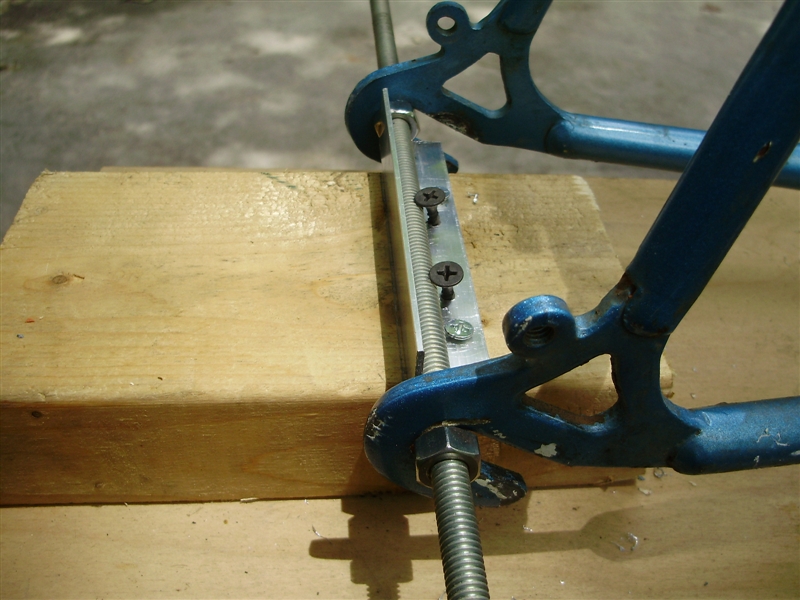
The dropouts bolt into this:
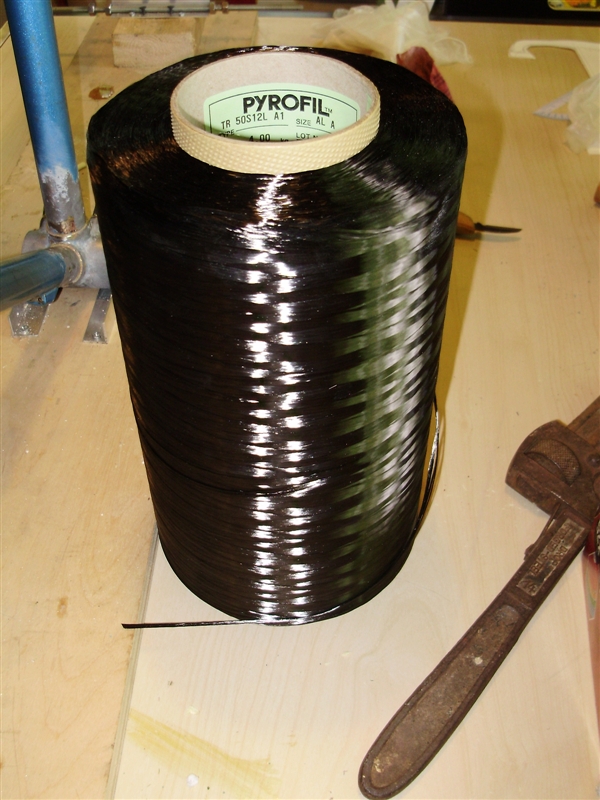
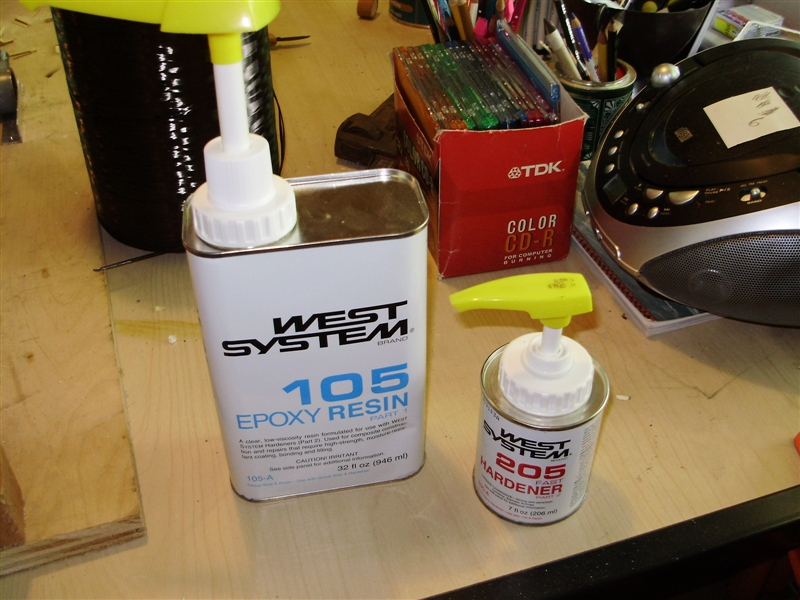
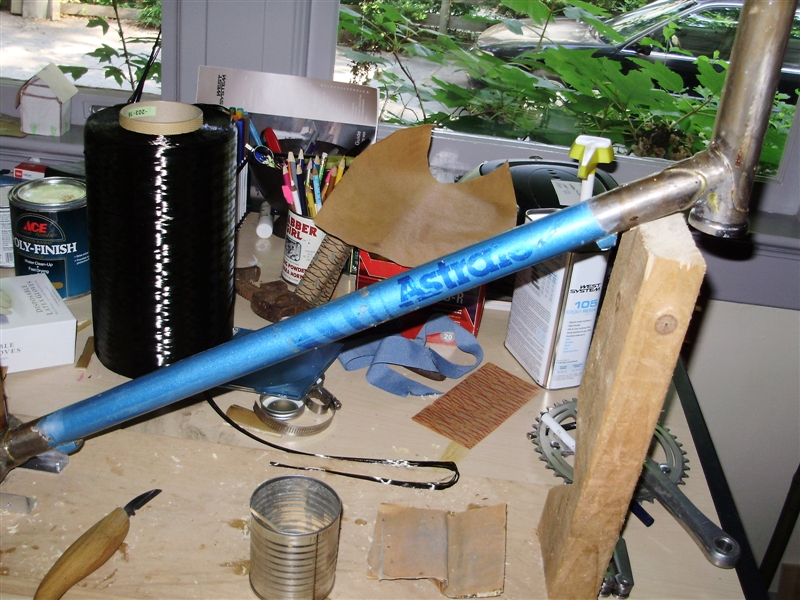
The two key materials used in the building of this bike frame were carbon fiber tow, and two part epoxy resin. Tow is the carbon fiber ribbon that carbon fiber cloth is woven out of. According to people who have used both tow and cloth in making bikes, the tow is easier to work with. It is important to remember that the tow is unidirectional, unlike the cloth, so the pattern you wrap the joints in is critical to their strength. I found this bobbin of tow on Ebay at 46$ for 5000 meters. This is far more than you need, but it was also by far the best value I could find.
Two part epoxy resin is the second element in carbon fiber composites. I chose to use fast hardening epoxy, with an approximately 30 minute pot life. A short pot life means that you can apply two to three layers of carbon in one day.
I used paint stripper to remove the powdercoat from the parts of the frame I need.
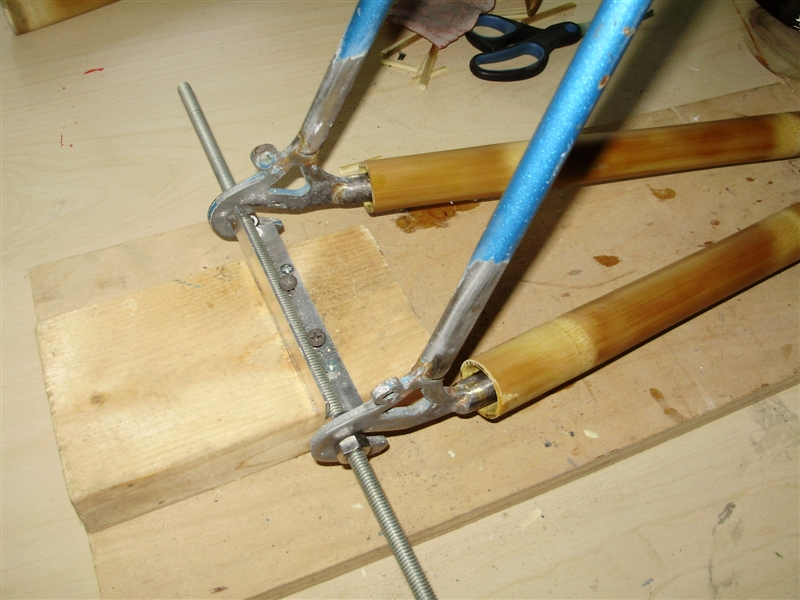
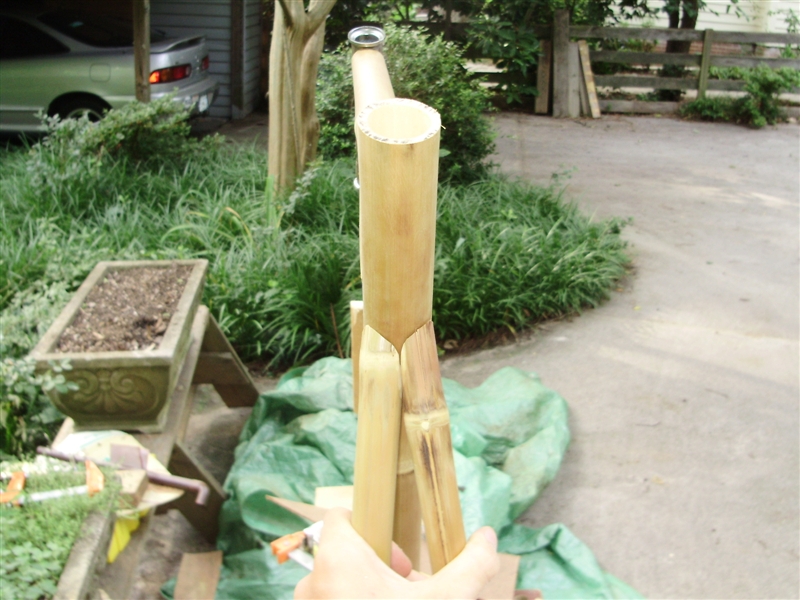
I chose the order in which I tacked in the bamboo tubes very specifically, so that I would not need a jig. I started out by cutting out the chainstays and replacing them with bamboo.
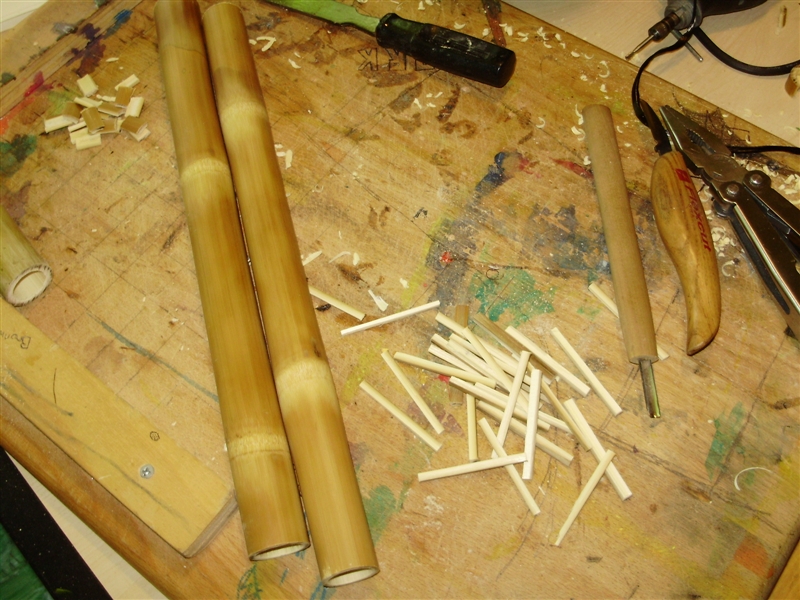
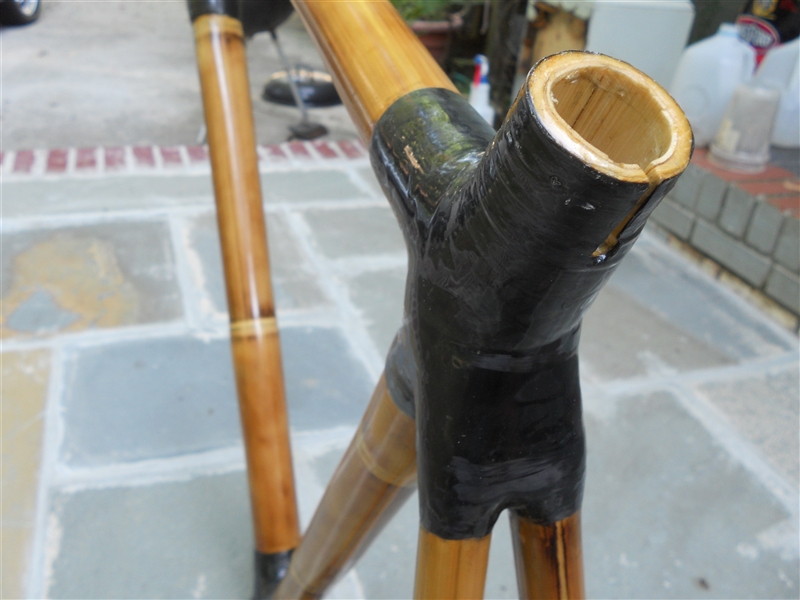
Most people that build bamboo bikes order their bamboo online, but I have a number of sources of it locally, including my own back yard, so I chose to cut my own bamboo. I heat treated the bamboo with a propane torch, and I chose to sand down the nodes in the bamboo, simply for aesthetics. Once the bamboo is heat treated it looks dappled dark and light brown, but if you sand past this first layer the bamboo is a beautiful gold color.
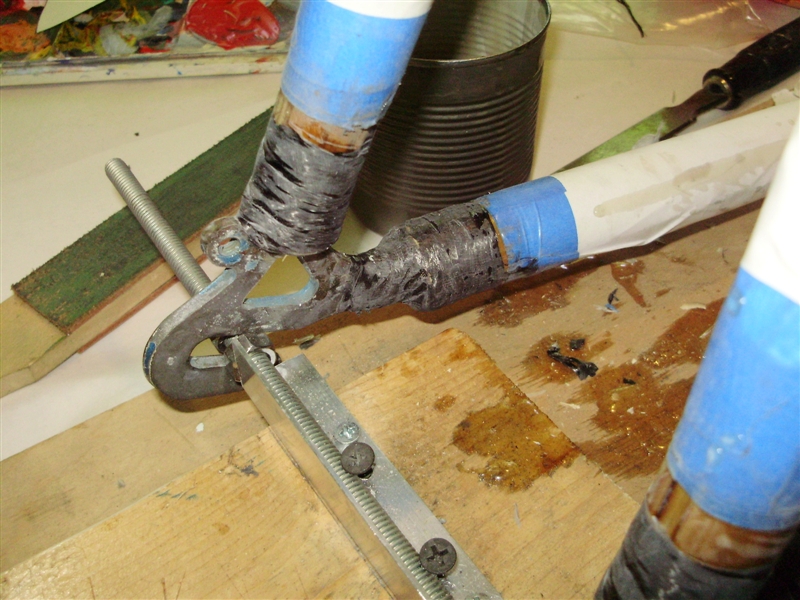
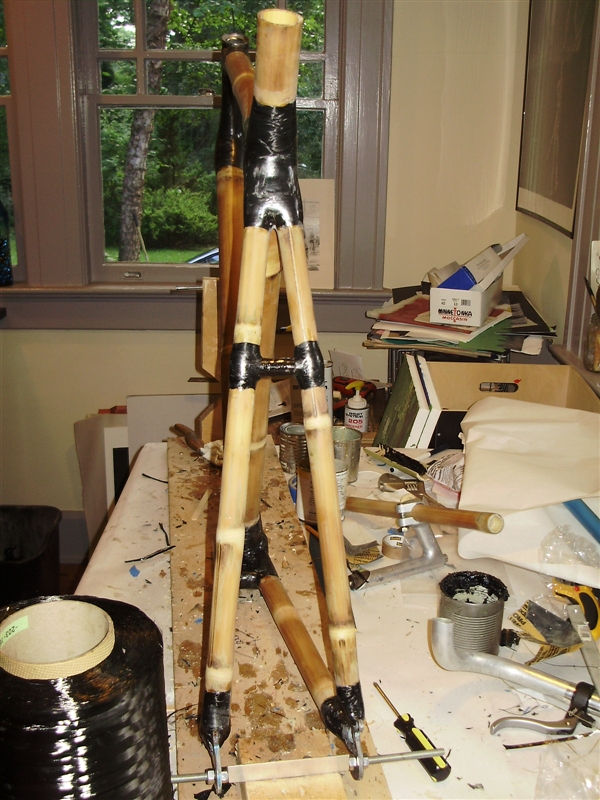
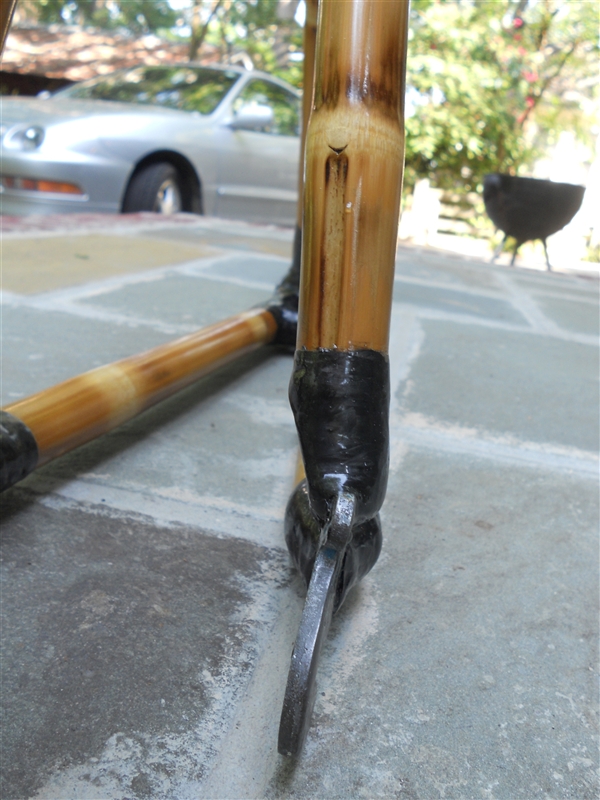
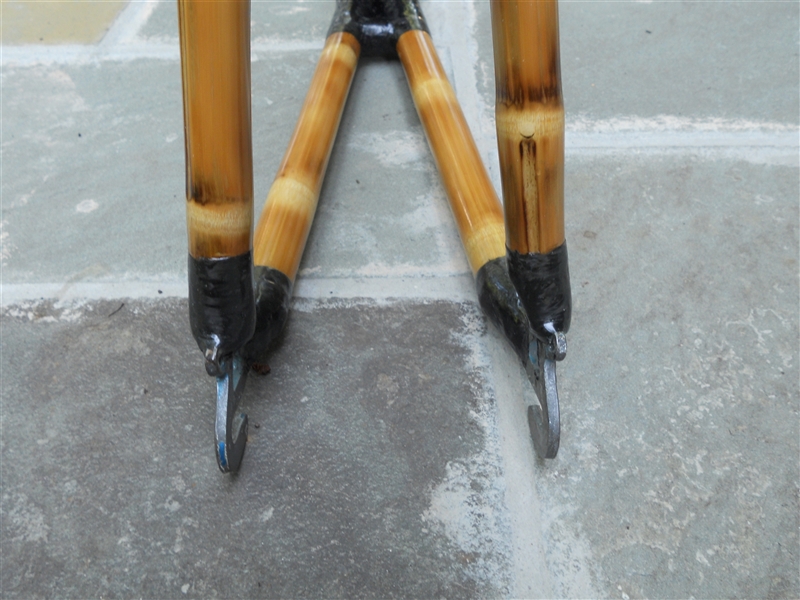
I built up the dropouts with bamboo and carbon, so that they fit snugly inside the new bamboo chainstays.
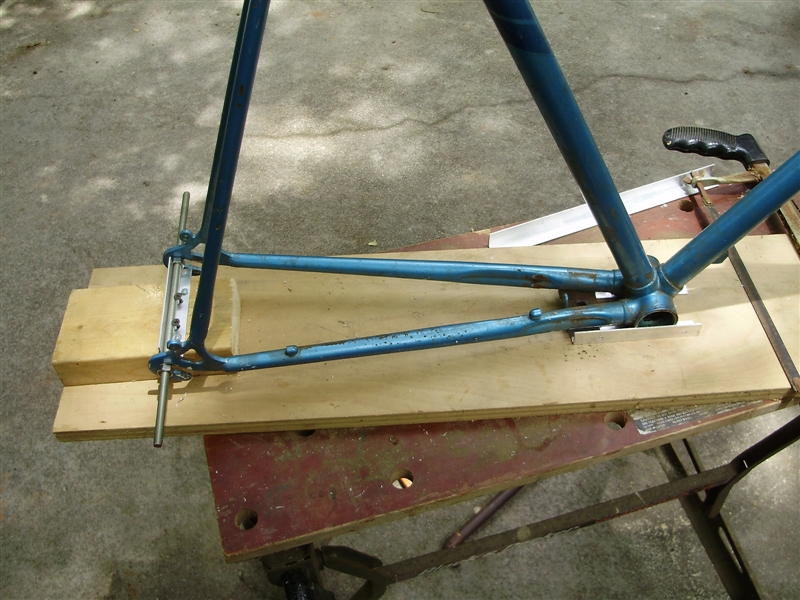
The chainstays were tacked in place in the jig.
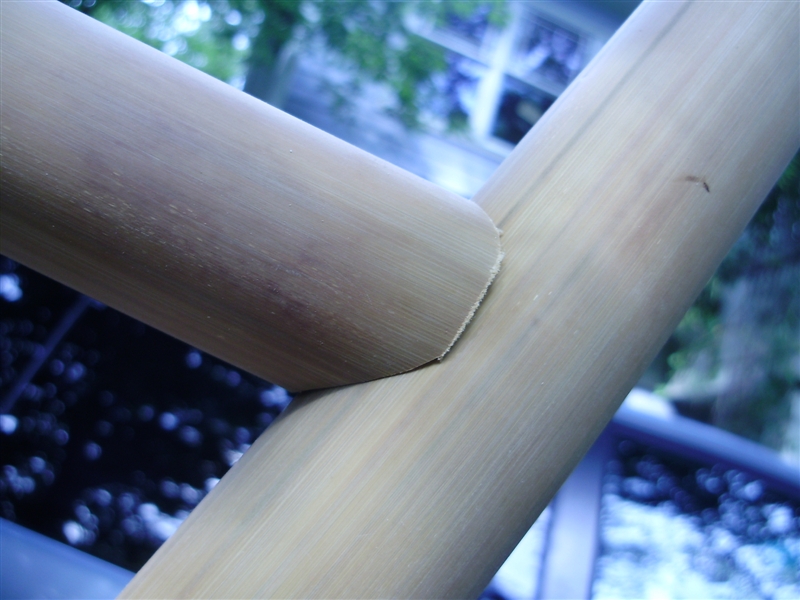
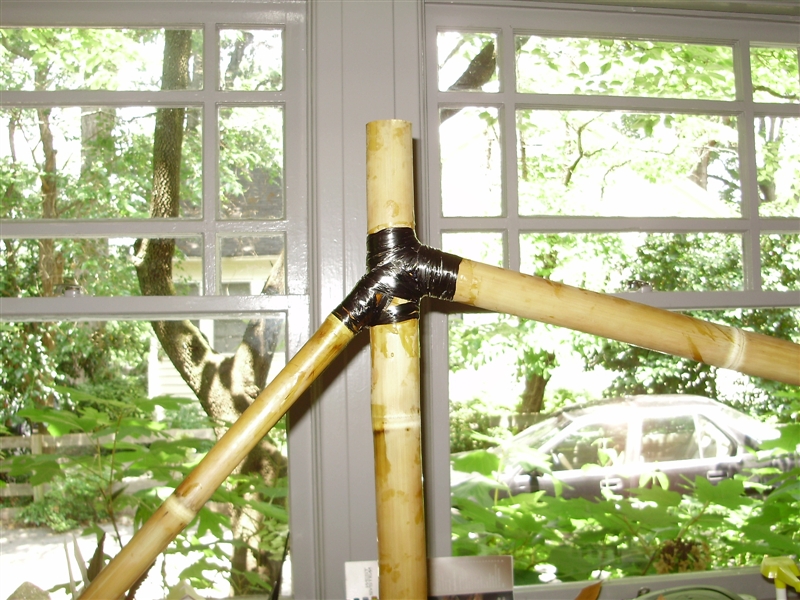
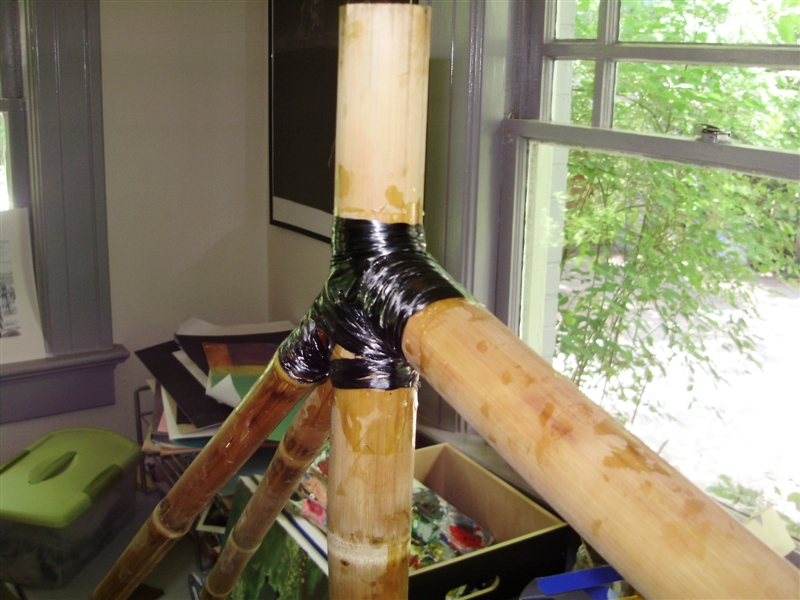
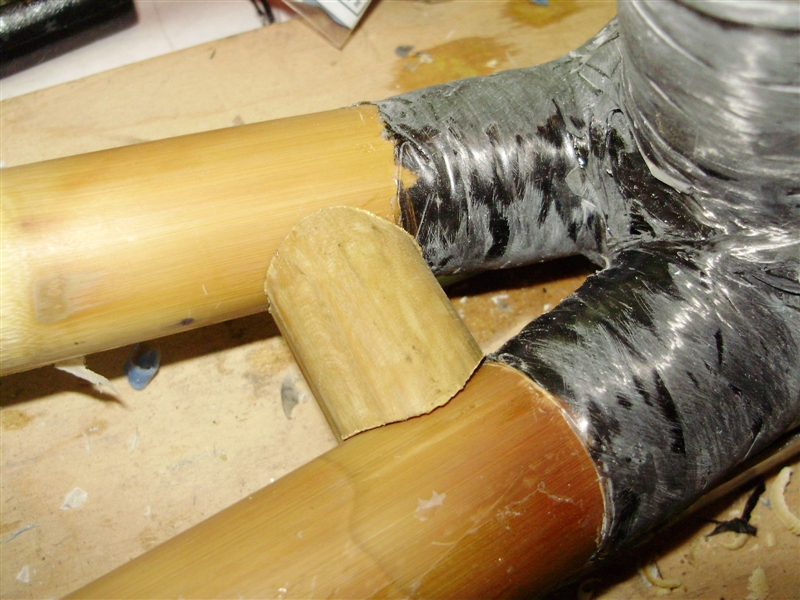
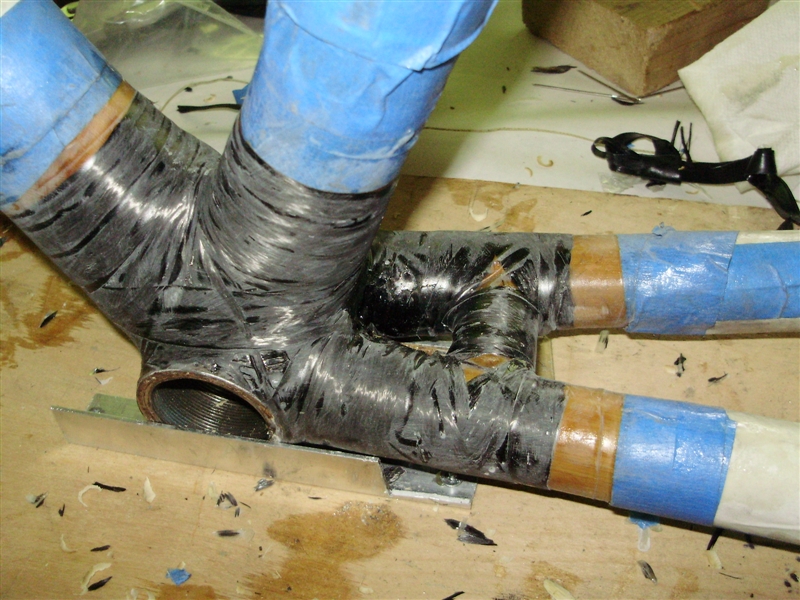
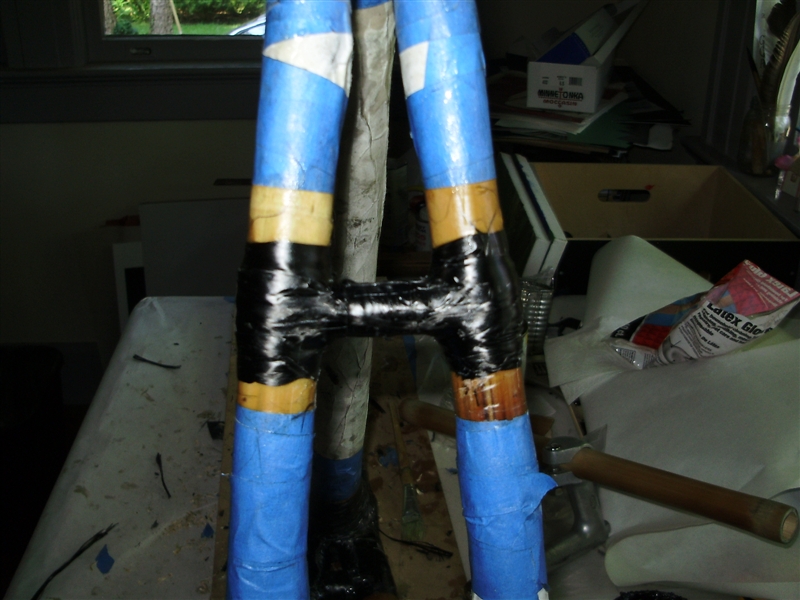
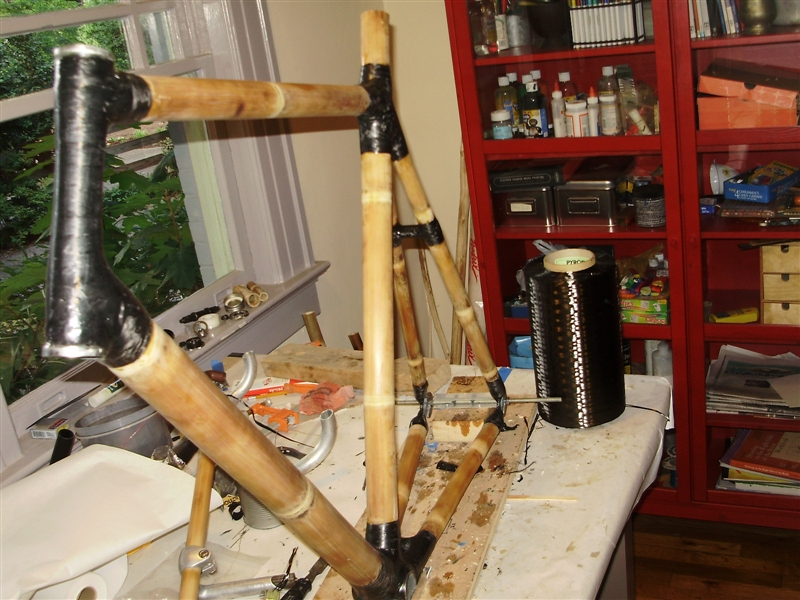
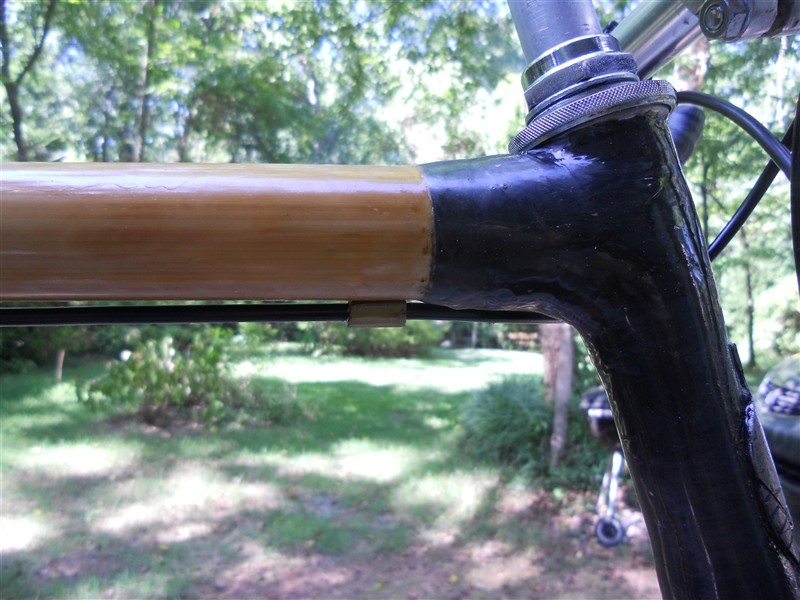
Next I chose to cut out the seatstays, the top tube, and the seat tube all in one go. The bamboo tubes were mitered to fit as closely as possible, and tacked in place with epoxy.
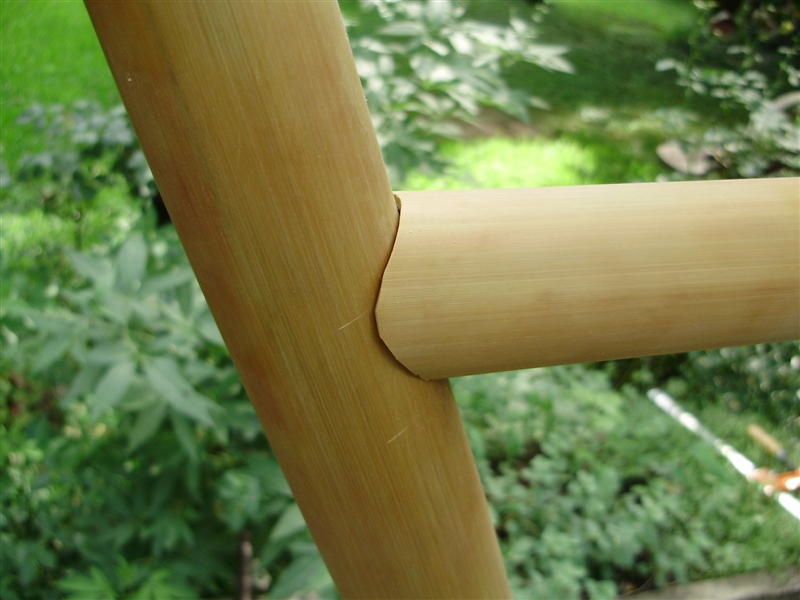
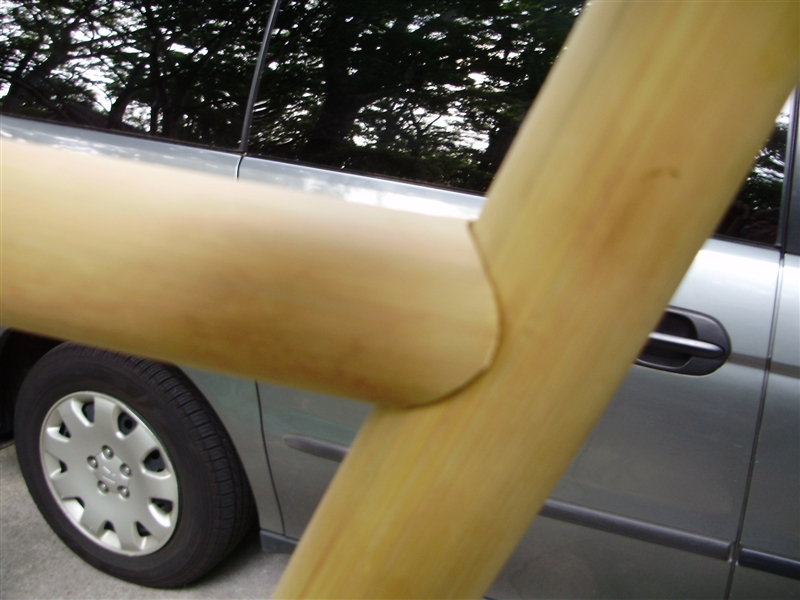
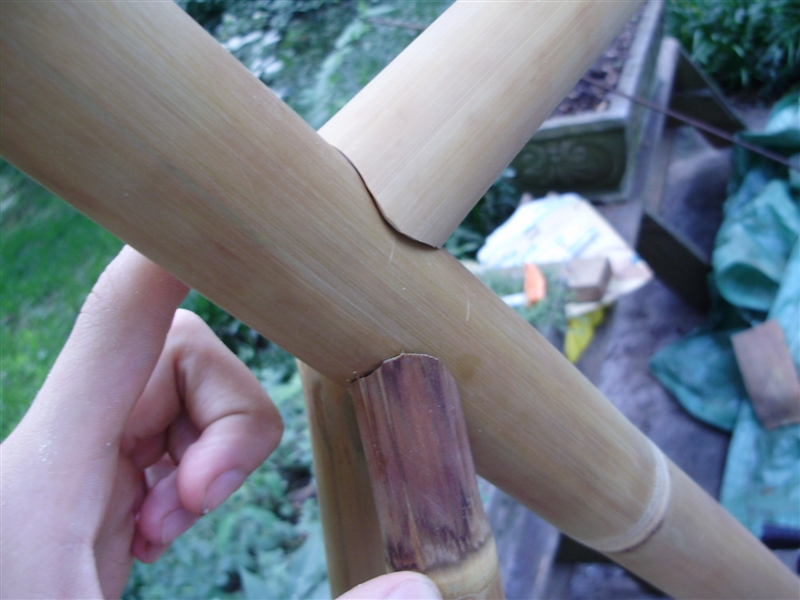
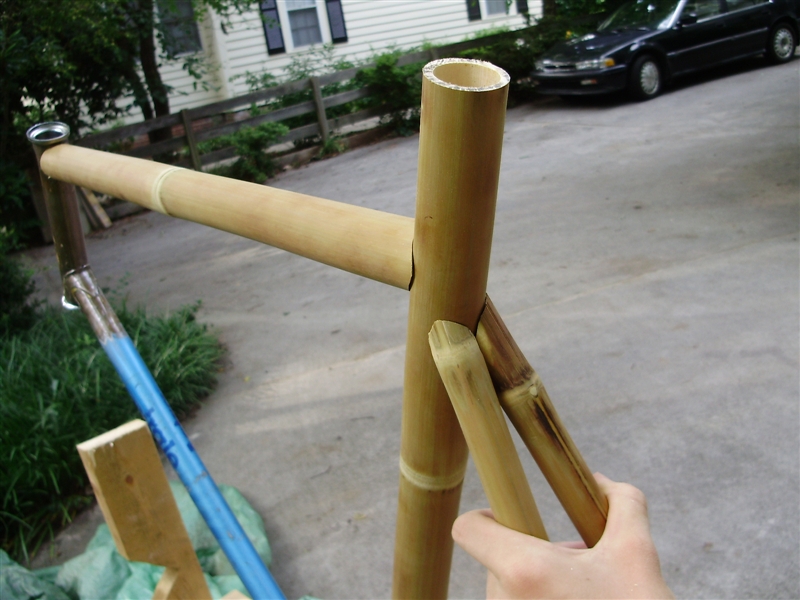

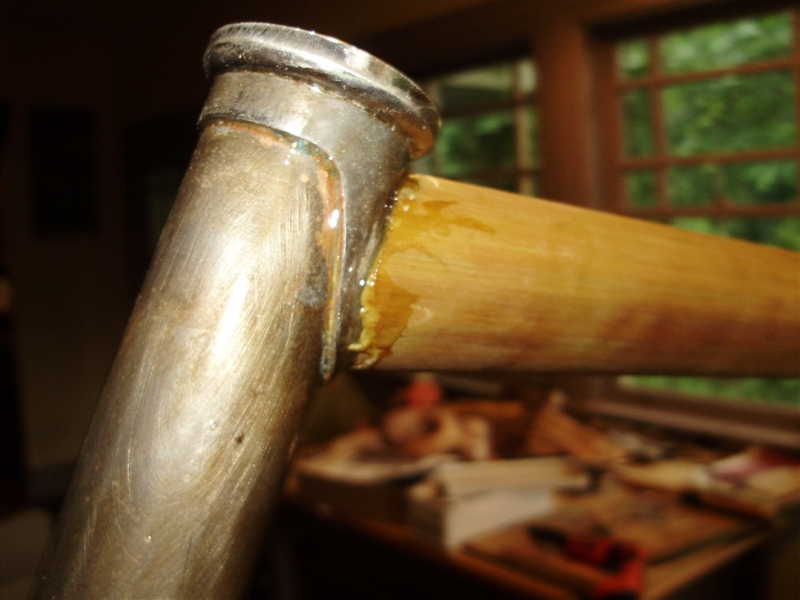
The next step was to take out the steel down tube. The trouble with this is that it would put some stress on the seat cluster joint, that was only tacked in place with a little epoxy, so I wrapped a thin layer of carbon on that joint before proceeding.

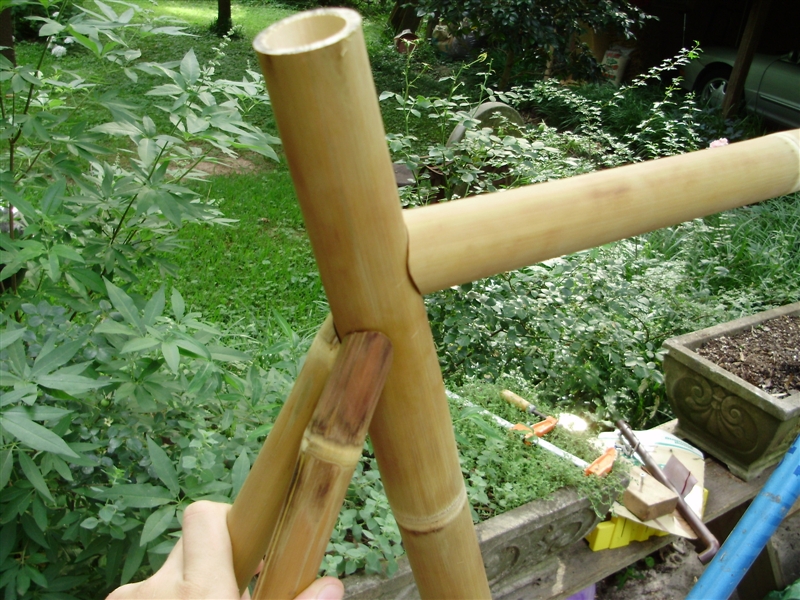
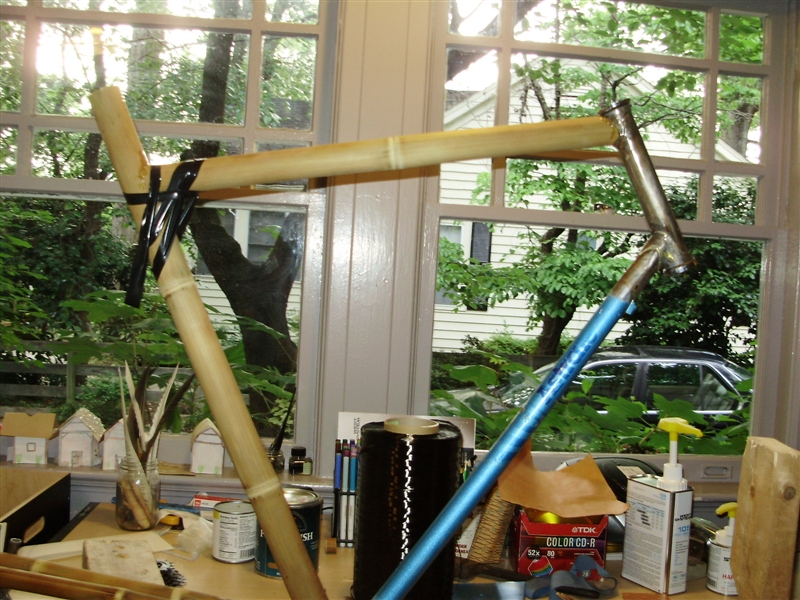
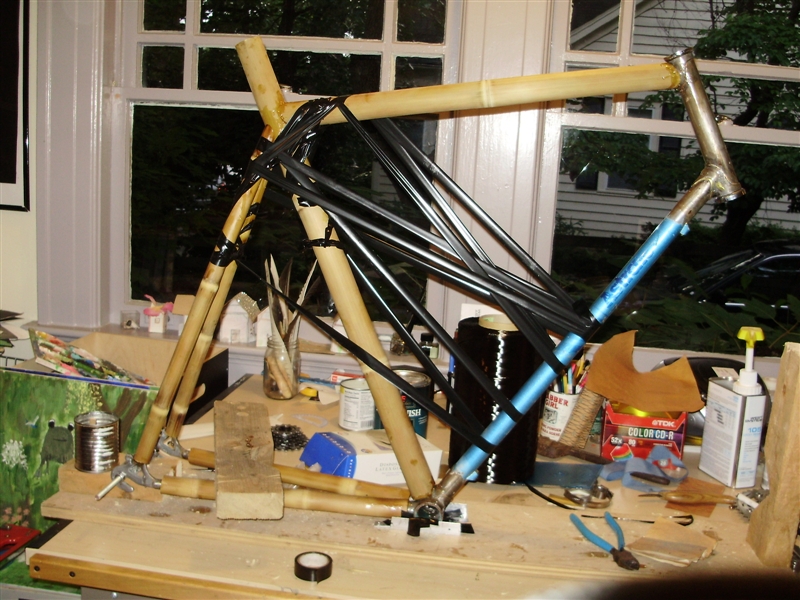
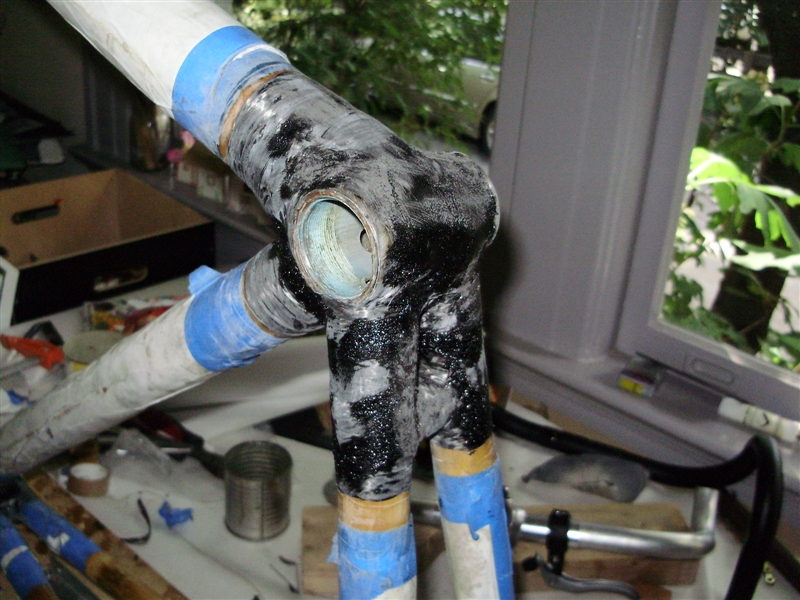
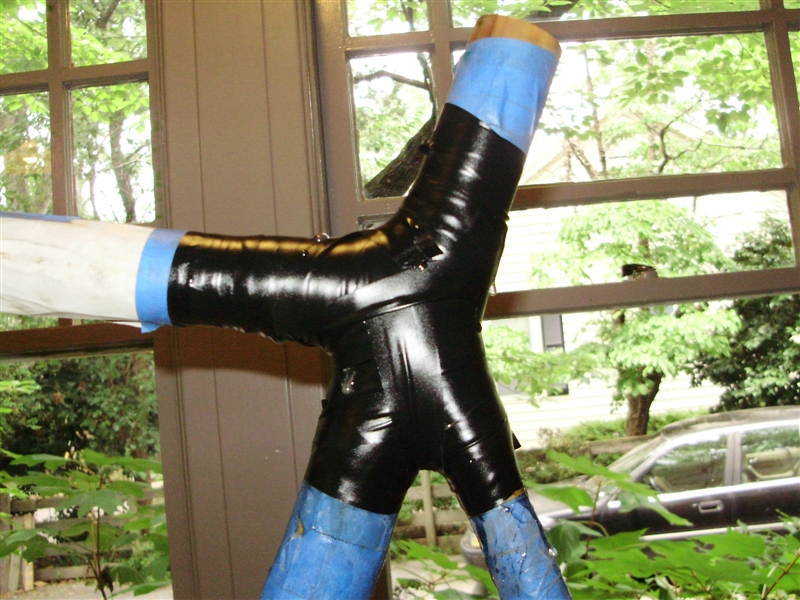
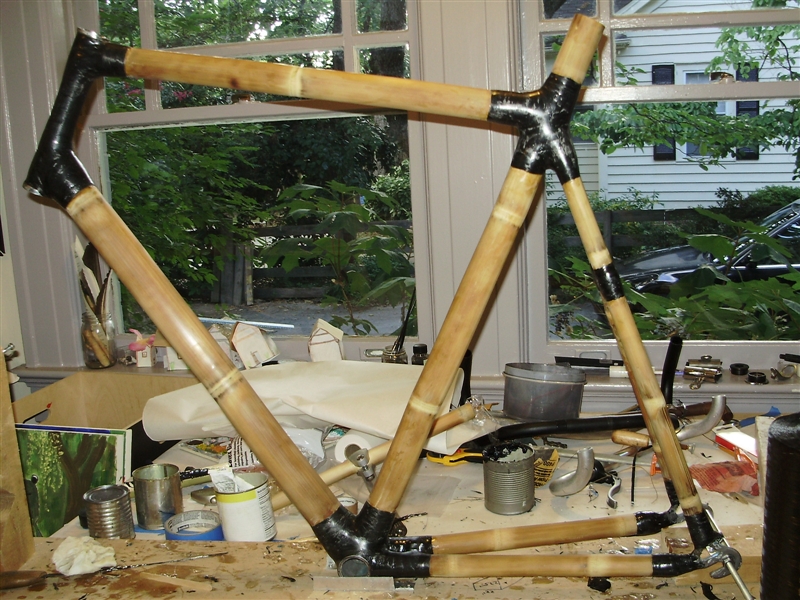
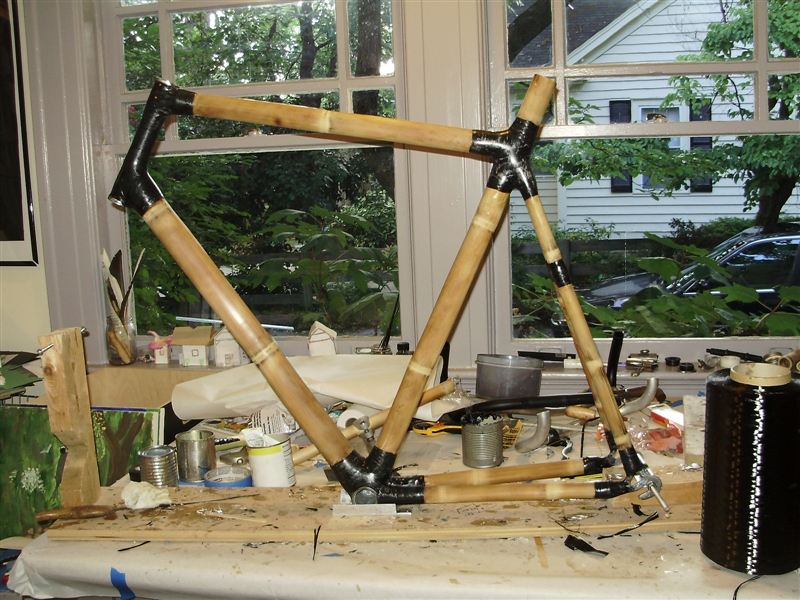
Everything tacked into place:
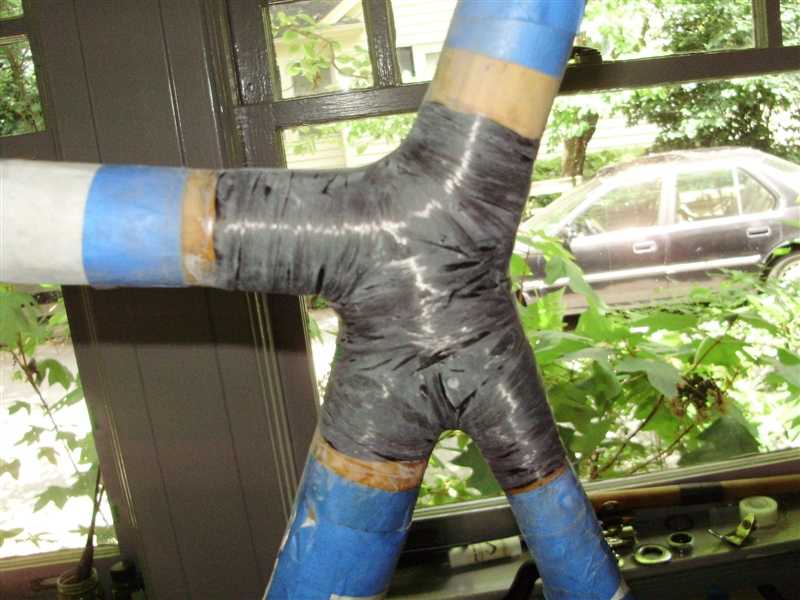
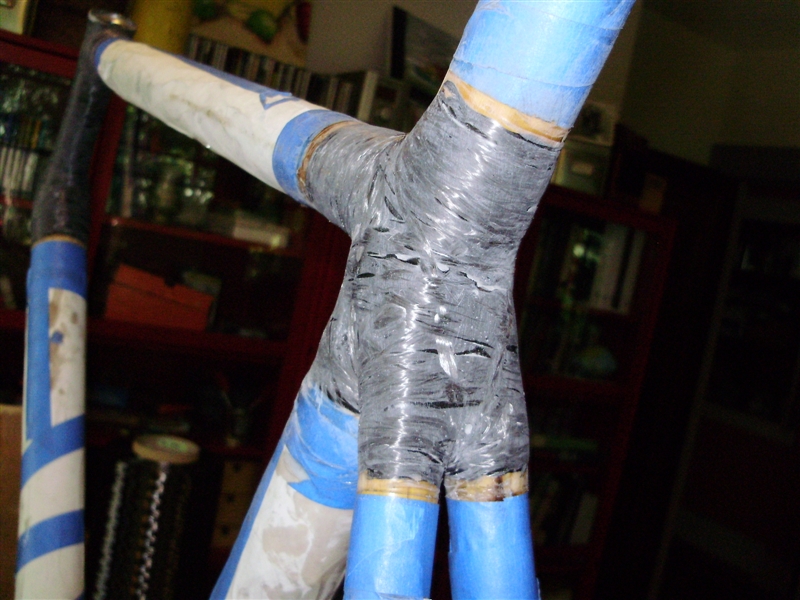
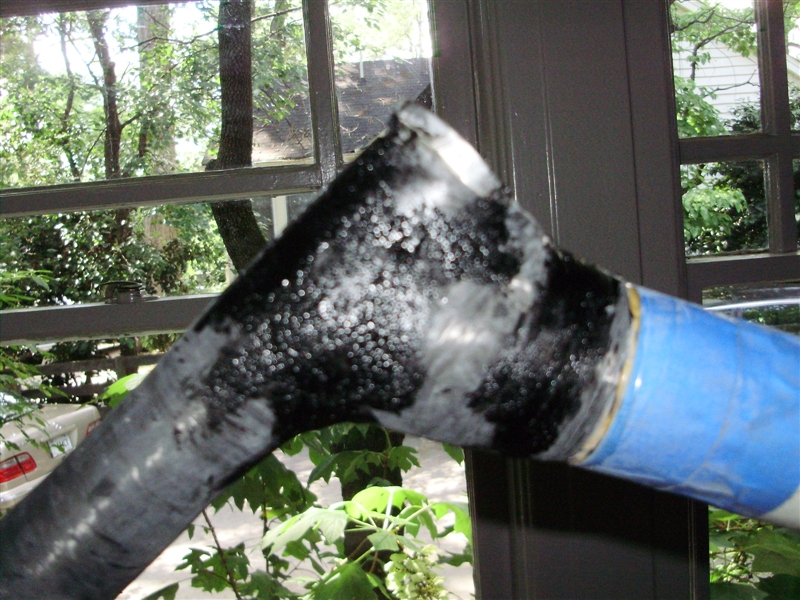
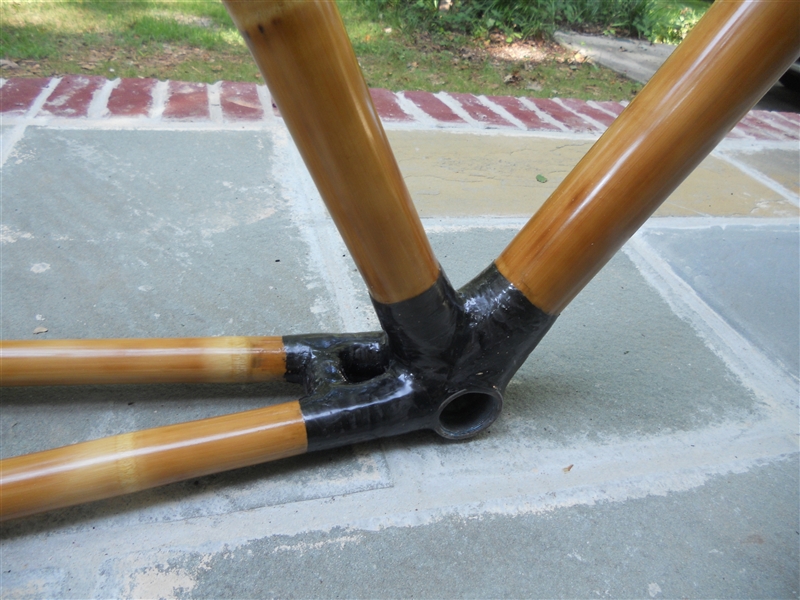
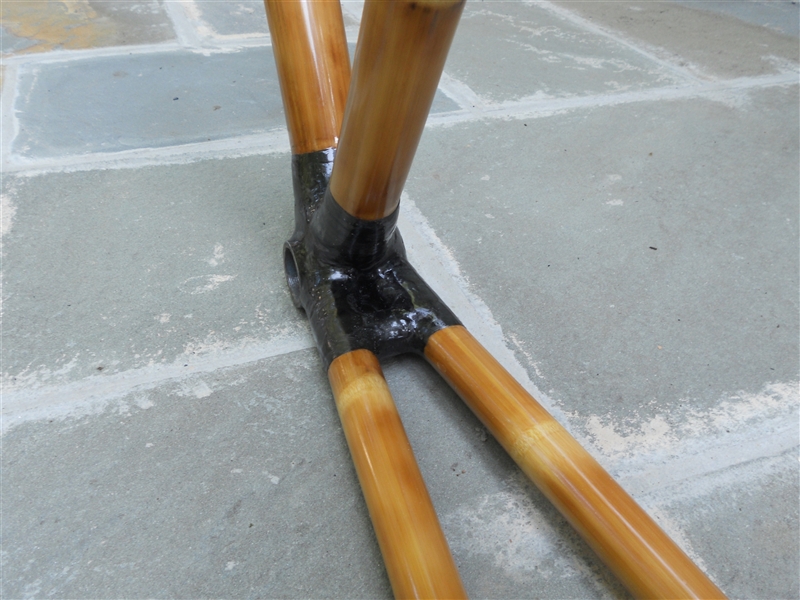
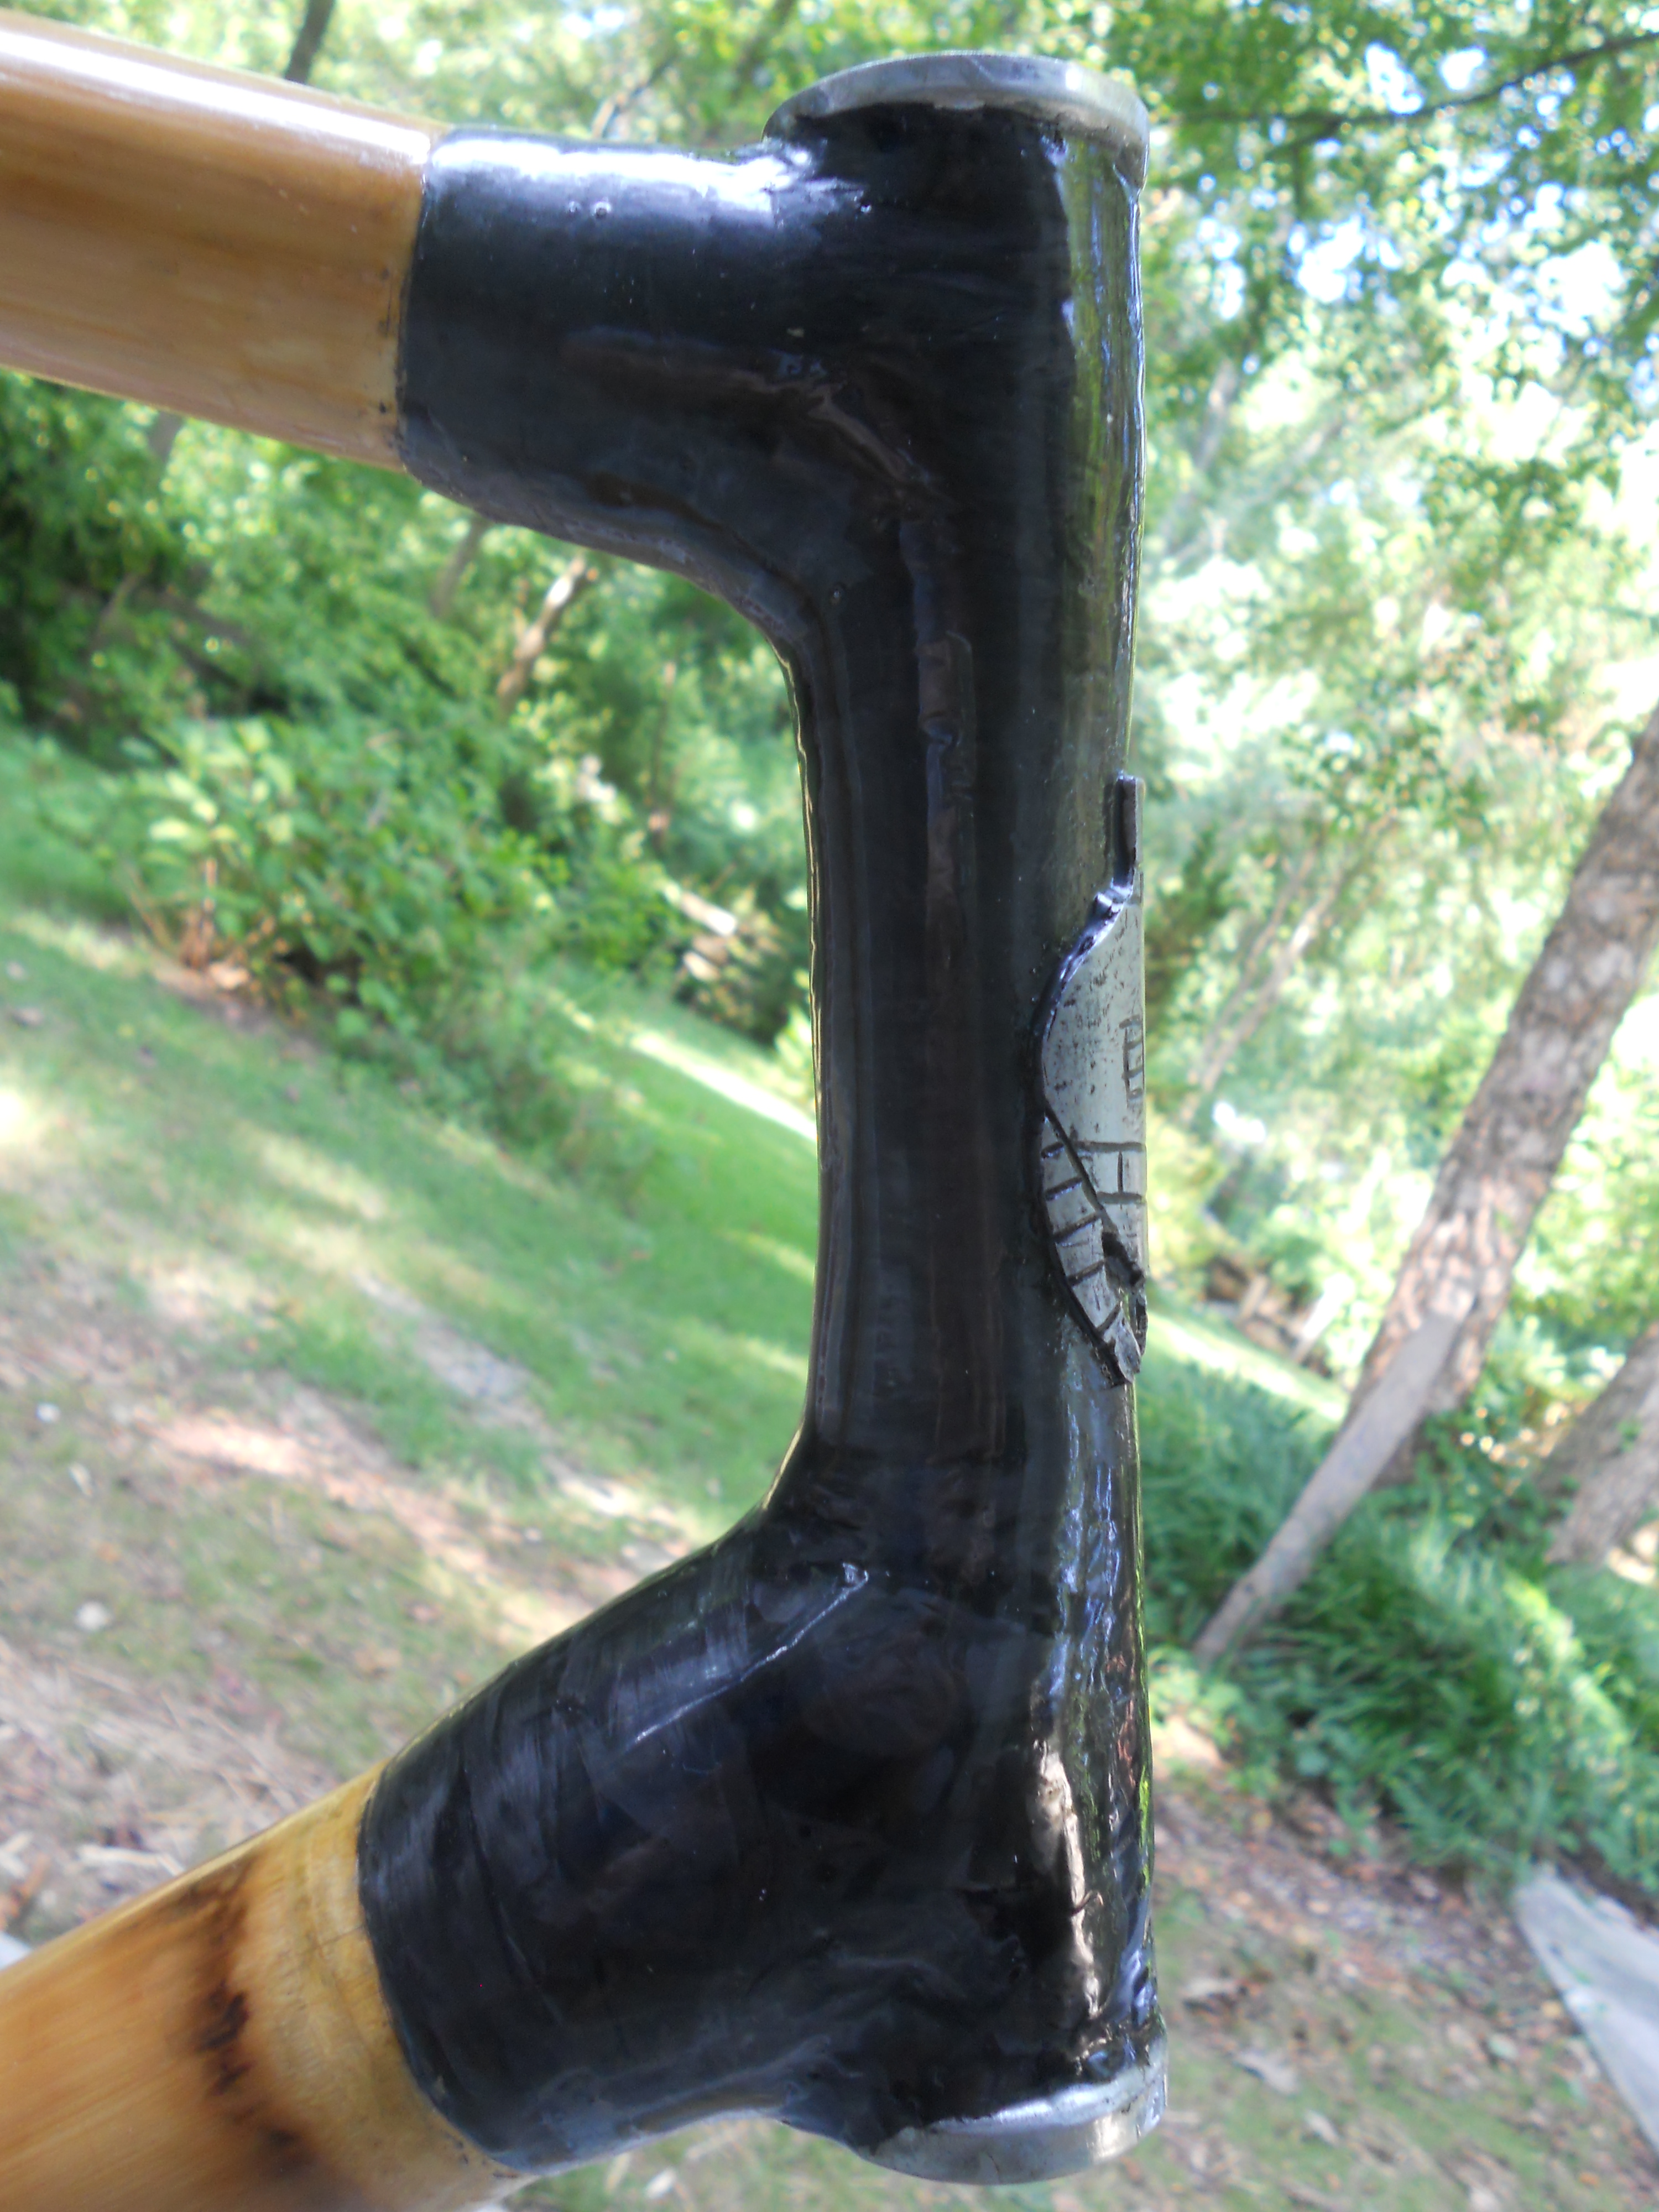
The next thing to do is a wrap a lot of carbon fiber around the joints. I would wrap the carbon a few layers thick, and then wrap the joint in electrical tape to compress the fibers and squeeze out excess epoxy. Don't worry if the joints don't look great after you pull off the tape- all that is needed is some sanding to fix them. When you are wrapping, make sure that you wrap in every direction. I did this by cutting short strips of the tow, laying them perpendicular to the general direction of the wrapping, and then re-wrapping over them. I chose to mask off the bamboo tubes with paper, to prevent them from getting epoxy all over them. This turned out to be a bittersweet decision. It did work well for keeping the tubes clean, but if the carbon and epoxy overlap the edge of the tape or paper anywhere, it is very difficult to remove the tap, and I had to cut away some of the carbon where this happened. After I felt the joints had a sufficient thickness of carbon on them, I sanded them down to a fairly smooth surface. This is not necessary, but I figure if you are going to put this much effort into building a bike frame, you might as well put in the extra time to make it look nice.

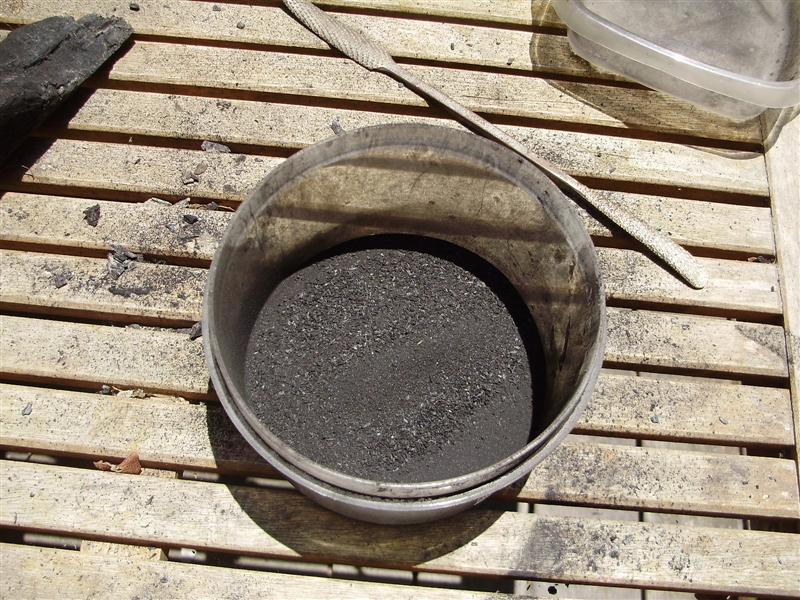
Once you have sanded the joints, you will find that there are some dips and pits that you simply can't sand down to. I filled these by making my own epoxy filler that matched the color of the carbon fiber. I did this by filing a burnt chunk of wood to create charcoal dust, which is mostly carbon. Once I had a good amount, I filtered out the larger particles with a strainer.
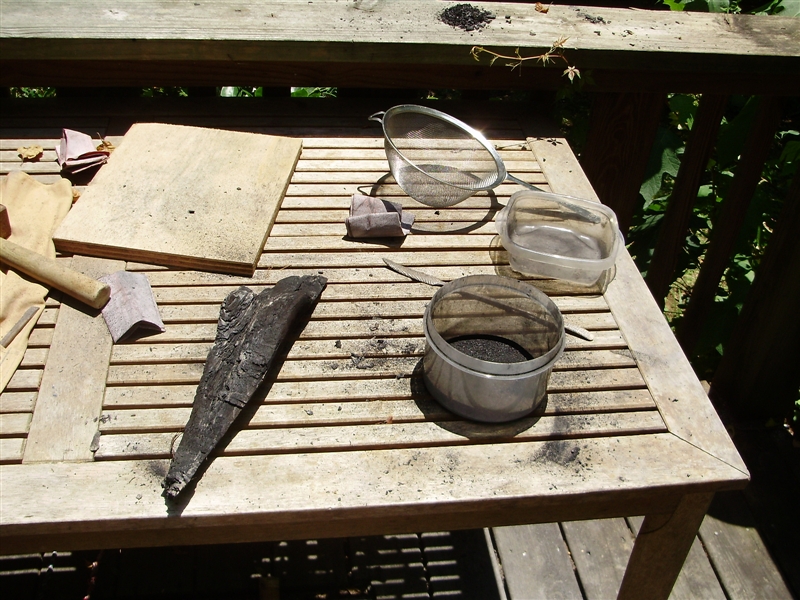
When mixed with the epoxy, this filler looks like tar.
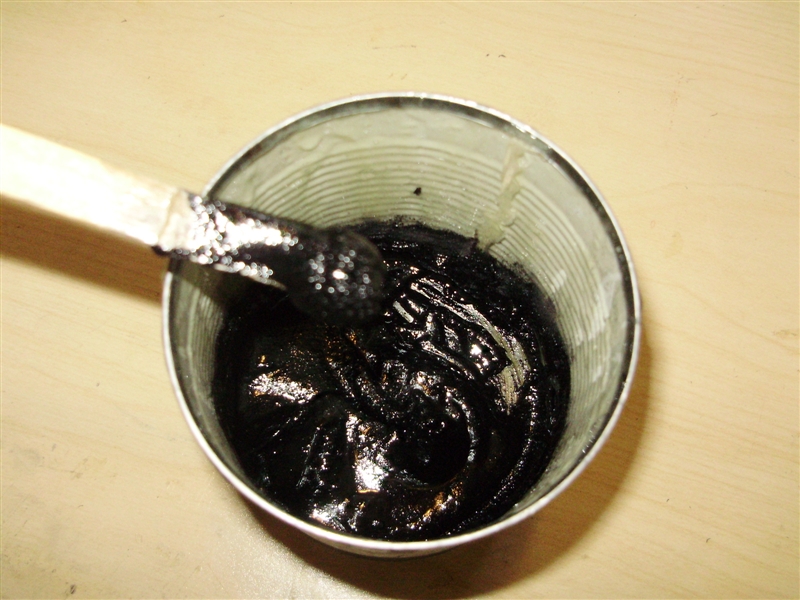
I applied the filler liberally to imperfections in the joints.
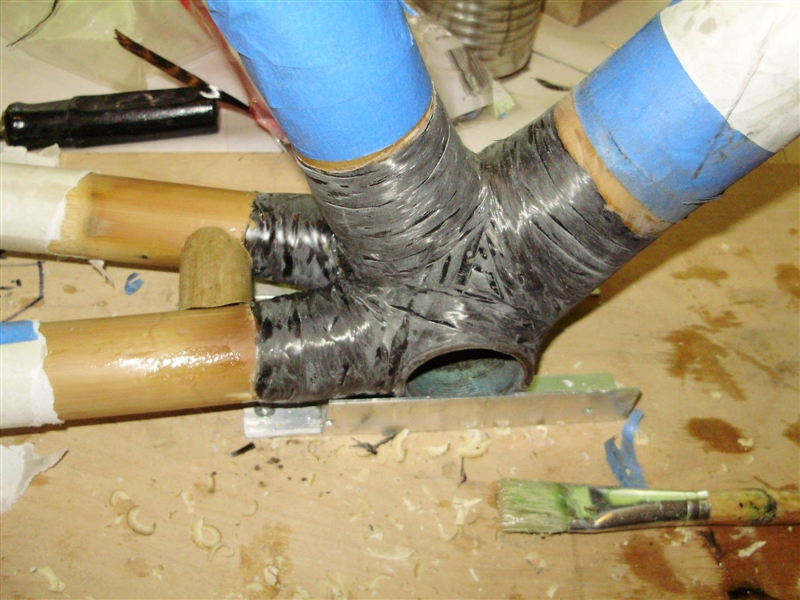
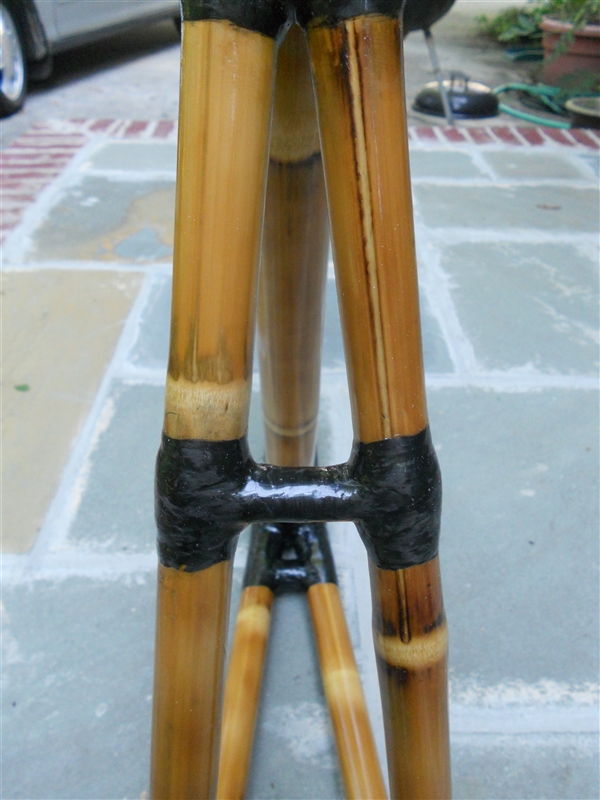
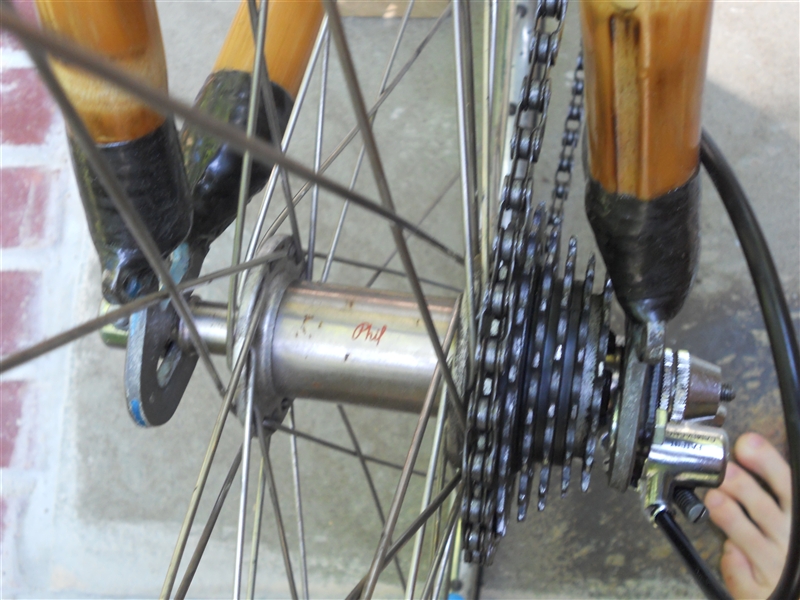
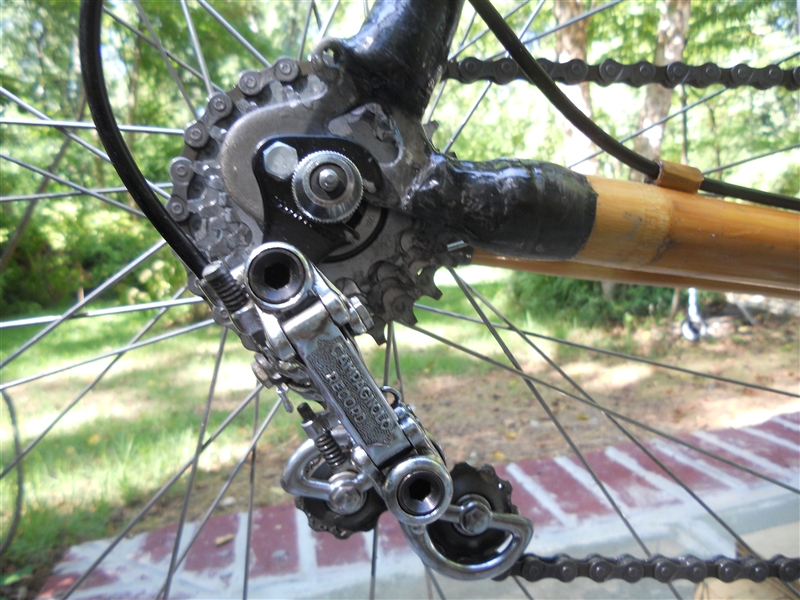
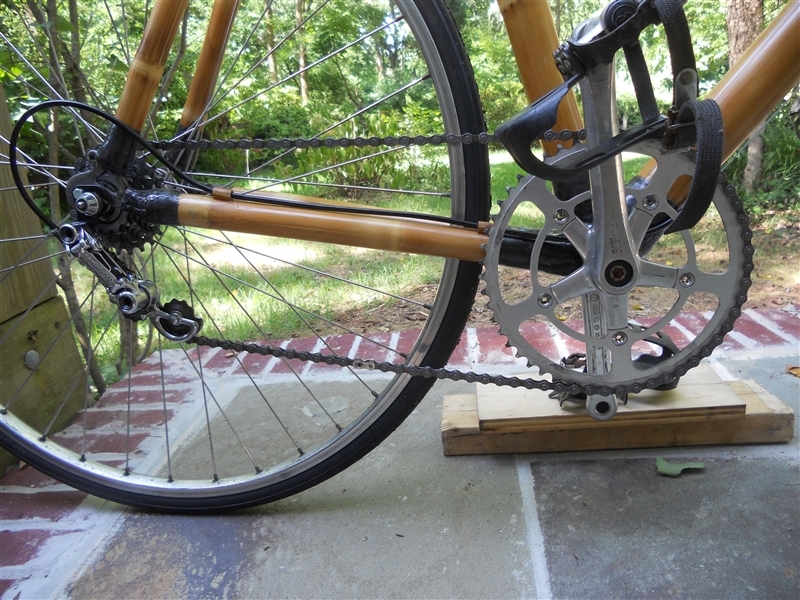
Before you go any farther, it is a good idea to check the clearance around the rear sprocket area. This is especially important if you are building a geared bike. I found that I had to grind away a large amount of bamboo and carbon in order for there to be clearance for the smallest sprocket and the chain.
Don't forget a brake bridge!

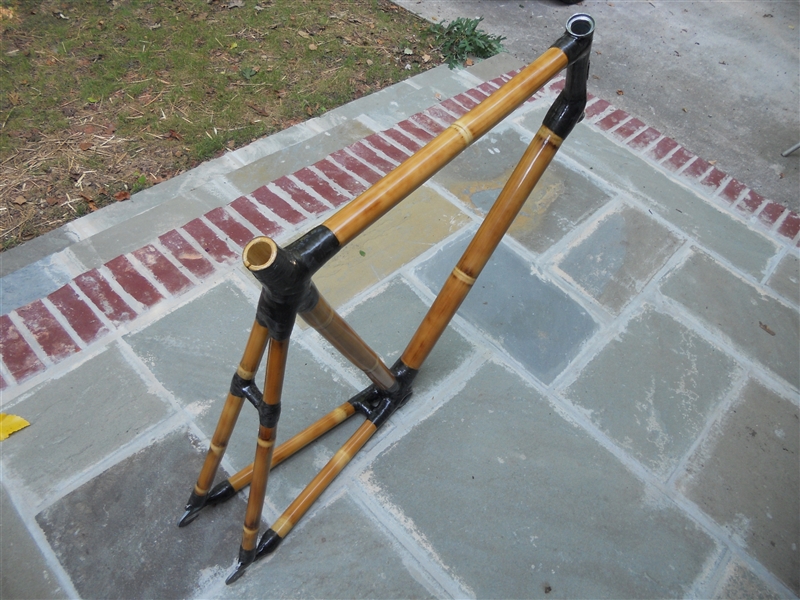
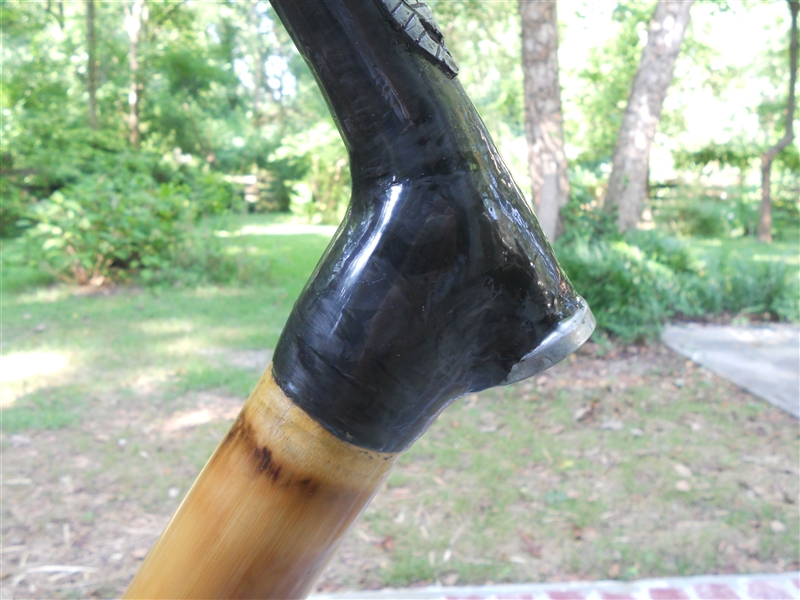
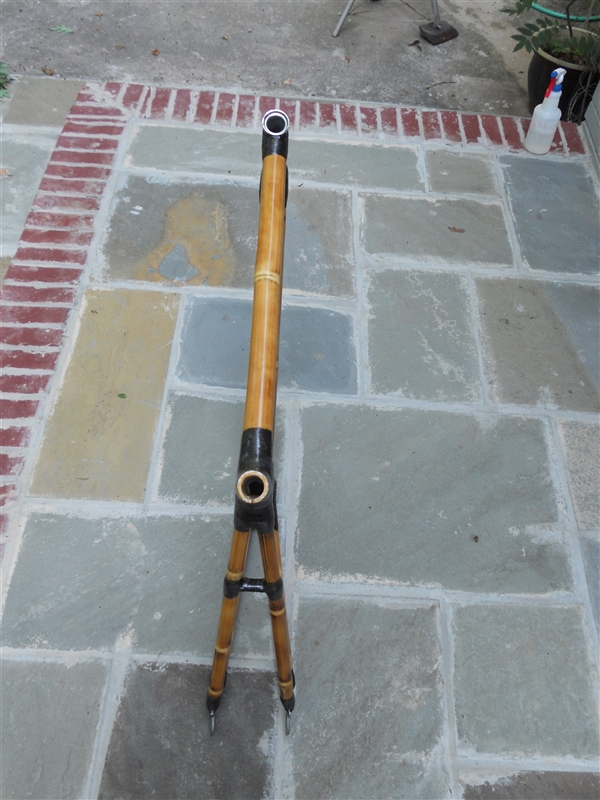
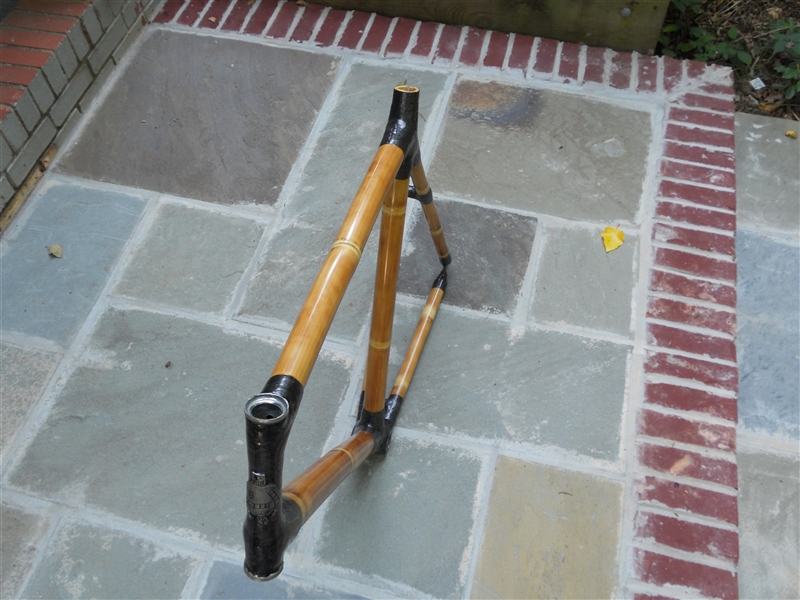
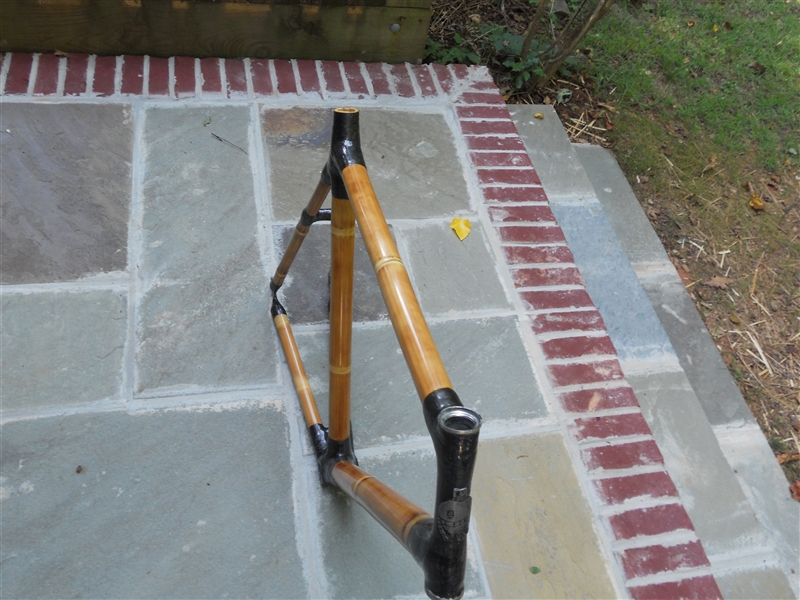
Fully sanded, and ready for a clear coat:

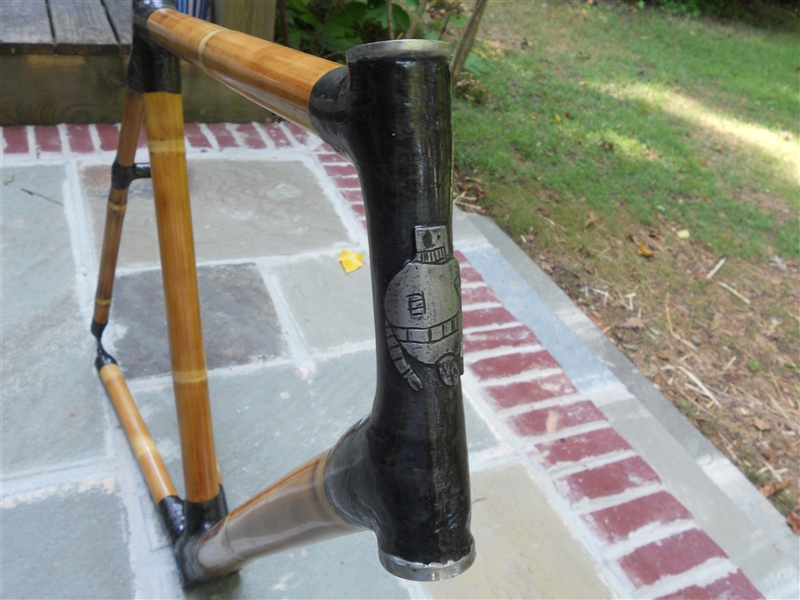
On the joints, I simply brushed over a very thin layer of epoxy.
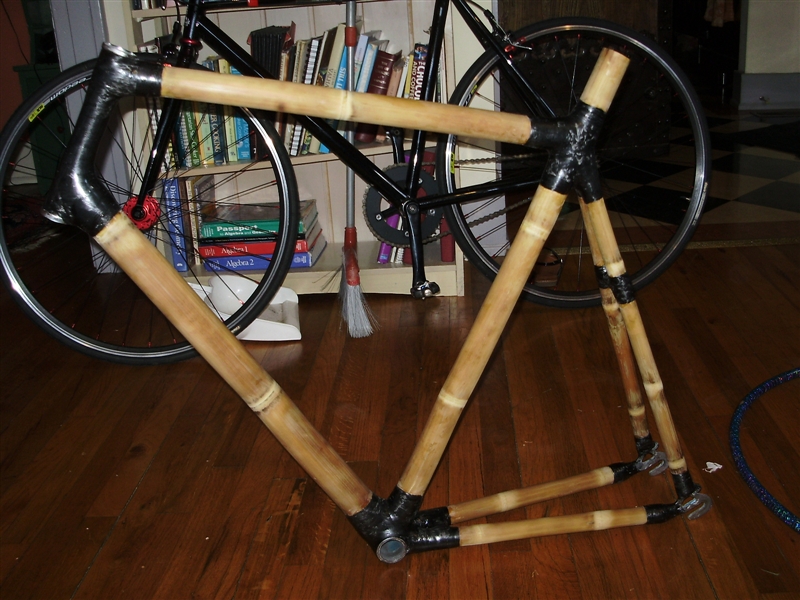

On the bamboo, I used spar varnish, which is flexible enough for boat masts, so should be good enough for a bike frame:

Most people who build bamboo frames insert a metal segment of seat post, as bamboo cracks easily when compressed. I chose not to do this. To make a standard 27.2 mm seat post fit snugly, I first carved two very thin bamboo shims that narrowed the inside of the seat tube to the correct diameter. To fix them in place, I wrapped a seat post in wax paper to stop epoxy from binding to it. I then coated the shims liberally with epoxy, and stuck them around the seat post and wax paper. I then pushed this whole assembly into the seat tube, and left it to dry. When I removed the seat post and paper, the inside of the seat tube was the perfect diameter for a seat post. I wrapped the seat tube joint all the way up with one layer of carbon fiber, to stop the bamboo from splitting. I then cut a slot down the tube with a Dremel, and drilled a hole at the bottom of the slot.

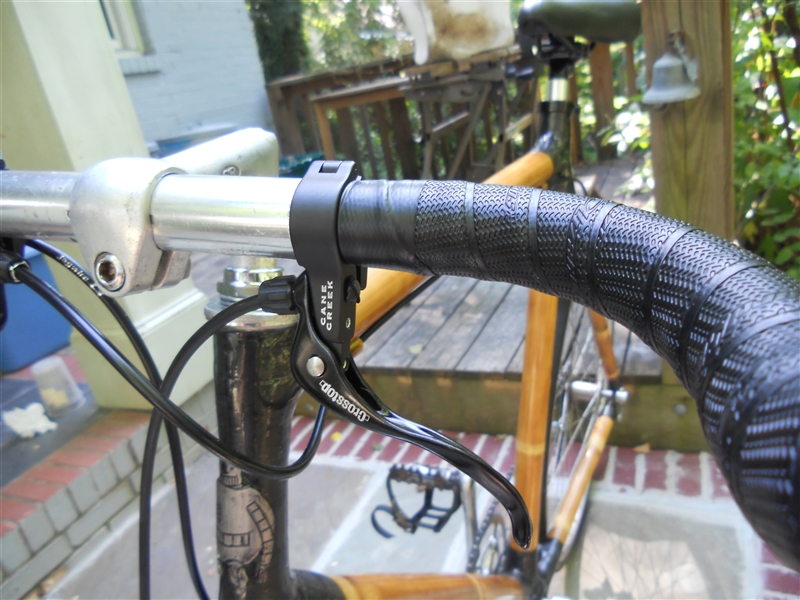
The last step left is to build up the bike. I actually found this to be very easy to do, if you have the proper tools. I borrowed a bottom bracket tool and chain tool, but other than that all the tools needed are very common. Stringing the derailleur takes some time, but it was a fairly simple process. If you need help with any step of building up a bike, there are countless sources on the web waiting to help you.
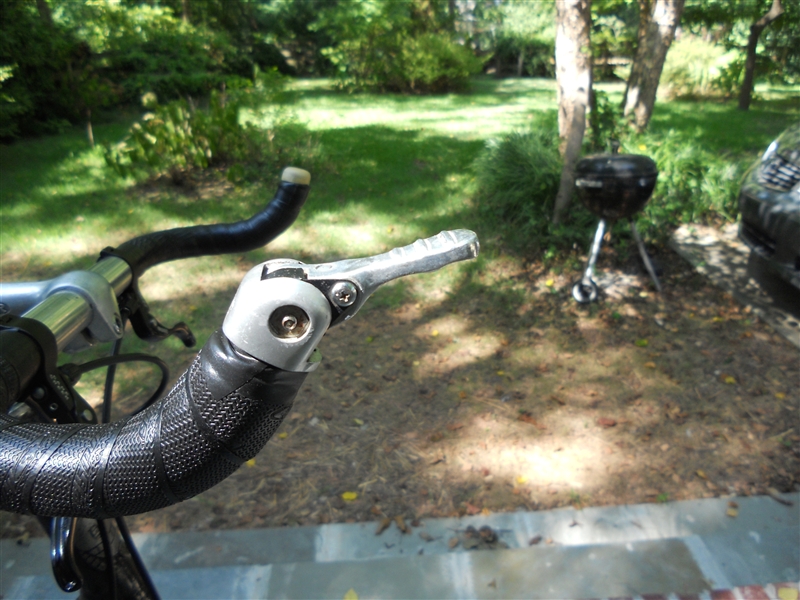
Since I only used a rear derailleur, I needed something to fill the other end of my handelbars. I made a wooden plug by cutting a two inch long stick of an appropriate thickness. I then cut the head off a small wood screw, and installed the screw in a drill as one would a drill bit. I screwed the wood onto the drill , so that powering the drill spins the wood, like a tiny lathe. I then took the wood to some coarse sandpaper, at high drill speed to round the top and remove material to fit into the bar. It turned out quite nicely in my opinion.
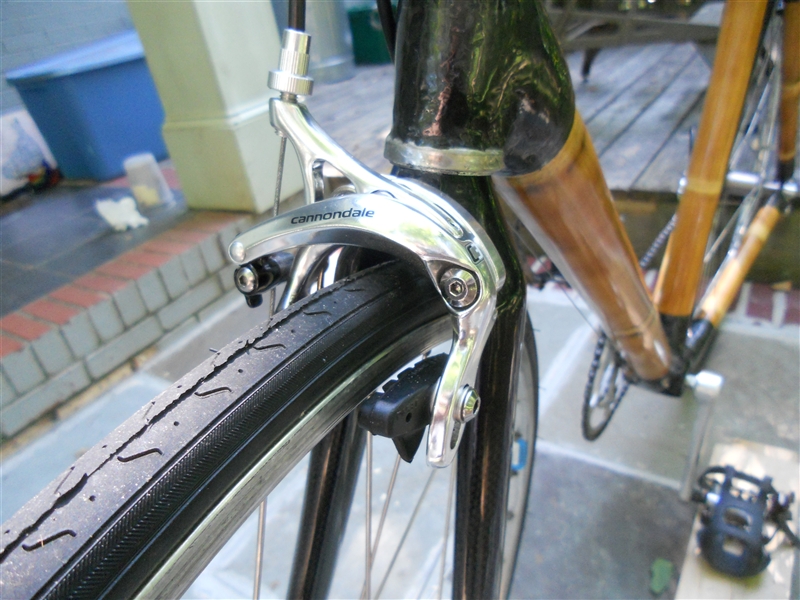
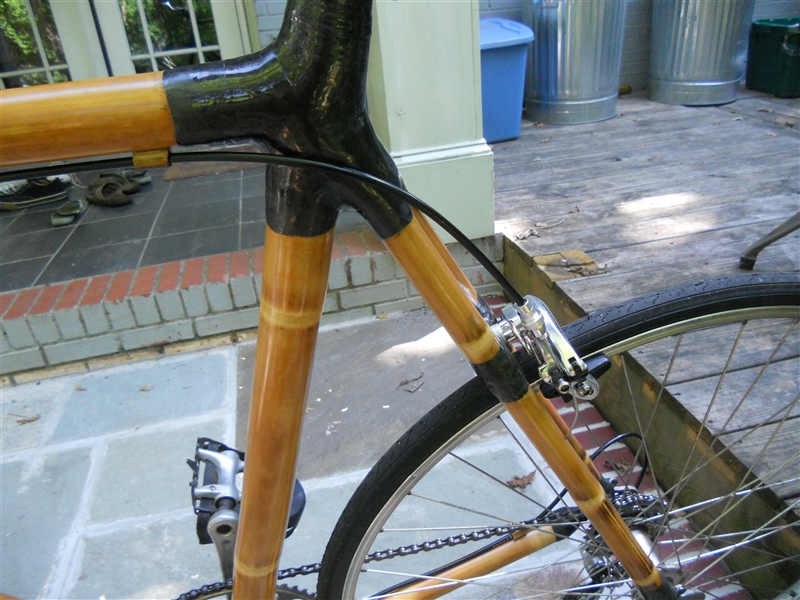
I picked up a threaded carbon road fork from Nashbar for an extremely low price, thanks to a 20% off coupon code. The combination of bamboo frame and carbon fork make for an extremely smooth ride, even when compared to my old lugged steel frame, which is a very relaxed ride.
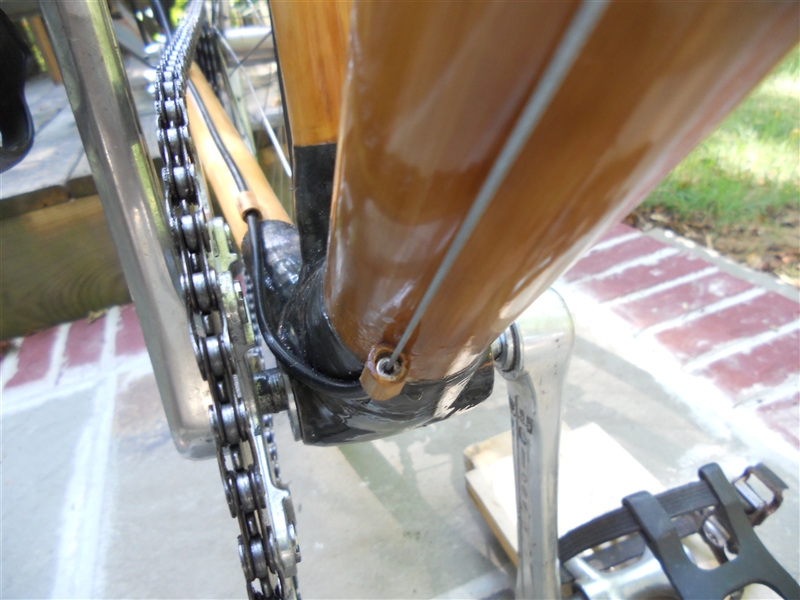
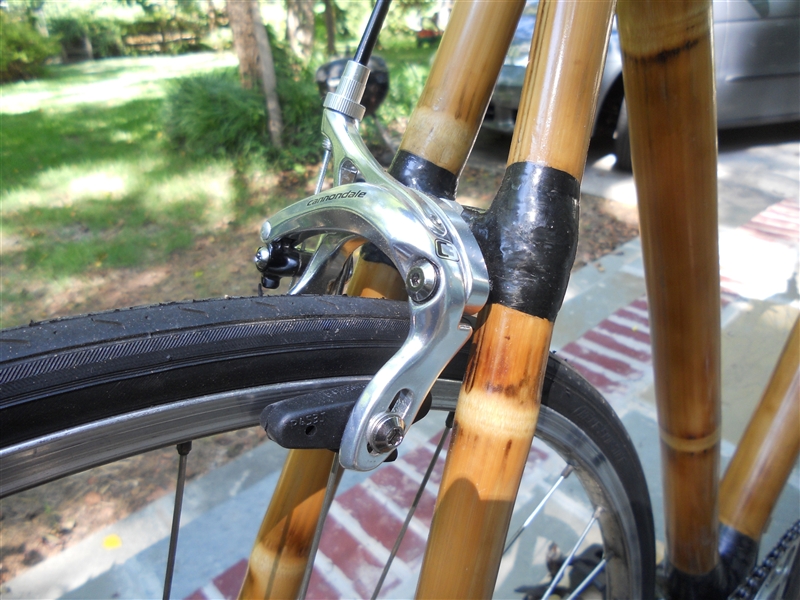
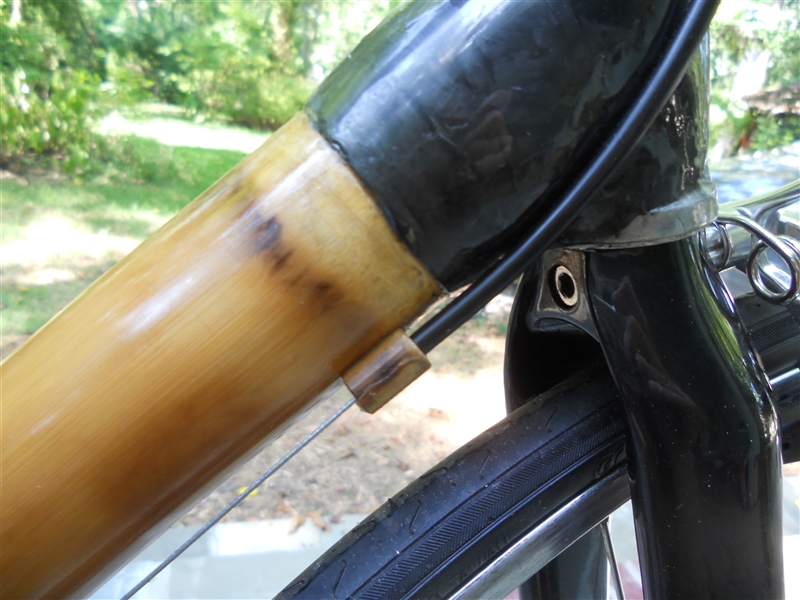
I made cable stops out of bamboo as well. I just epoxied them on, but if you are using this type of cable stop for brakes you might want to wrap the with some carbon fiber as well.
I have since replaced the pedals with Crank Brothers Candy SL's which are black and gold, matching the frame perfectly.
This was an extremely fun project, so I will most likely be building another one. There are numerous aspects of the frame that can be improved on, and new techniques to explore. And after all, I have to use all my extra carbon fiber for something. The next frame I am designing is very different to this one, and as far as I know any bamboo bike that has ever been built. It will be a much more challenging build, but what's the fun in an easy project?
Comments