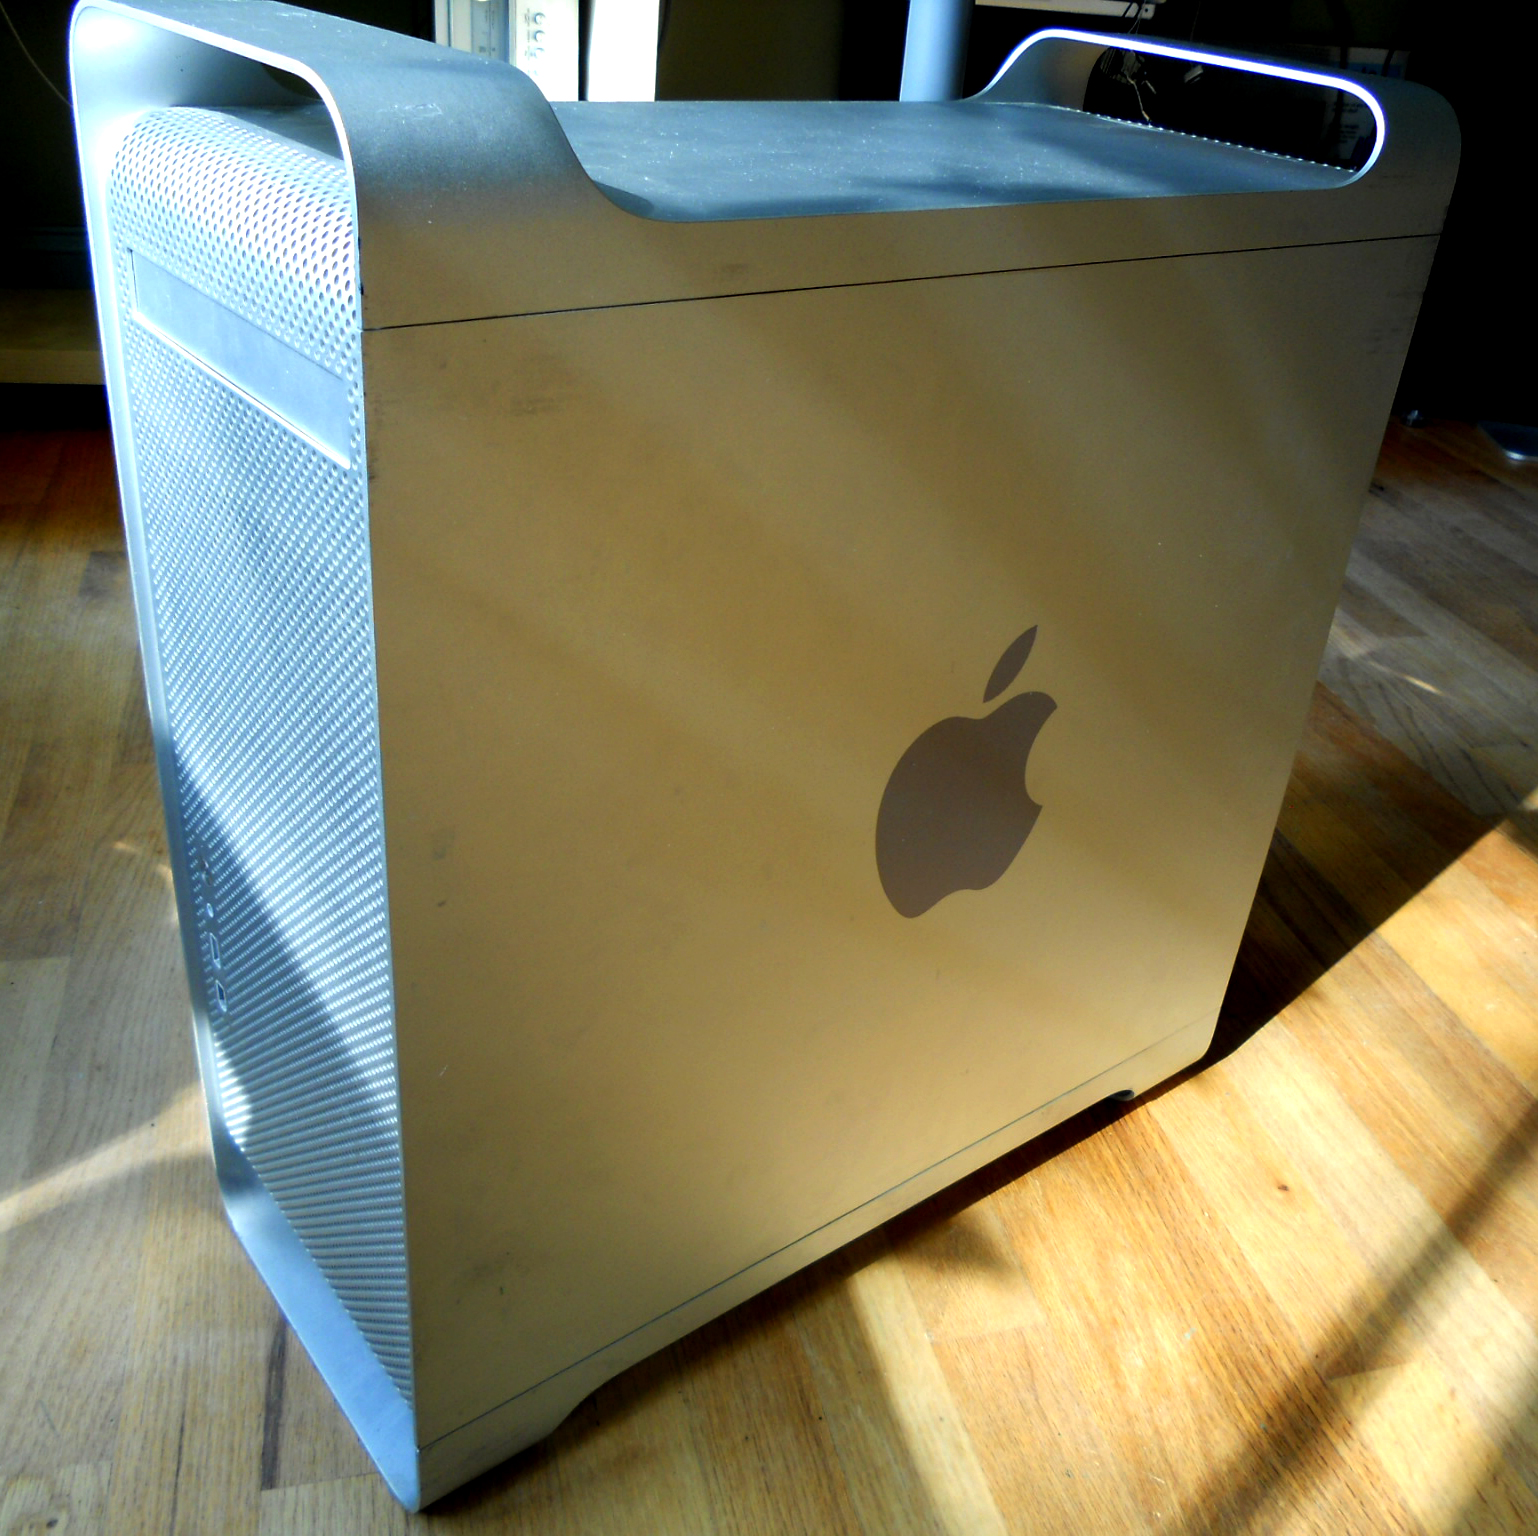
How to Fit Your PC in a Power Mac G5 Case
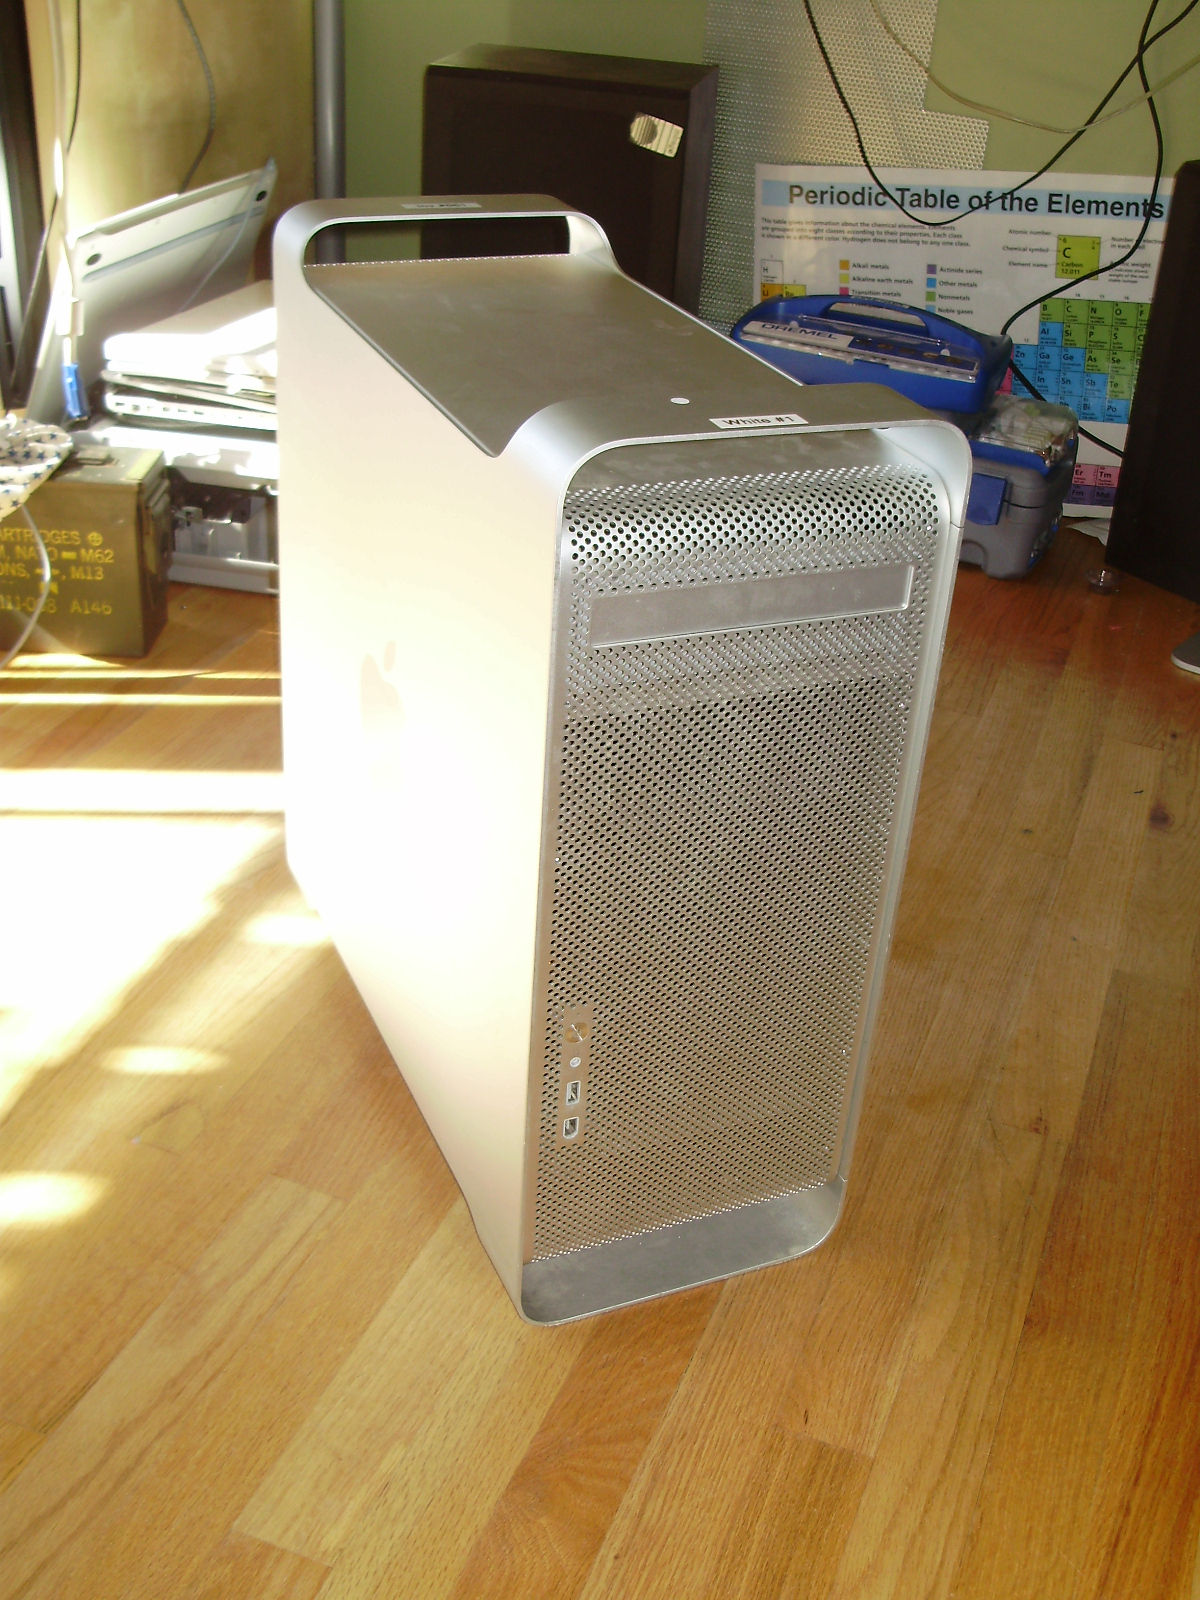
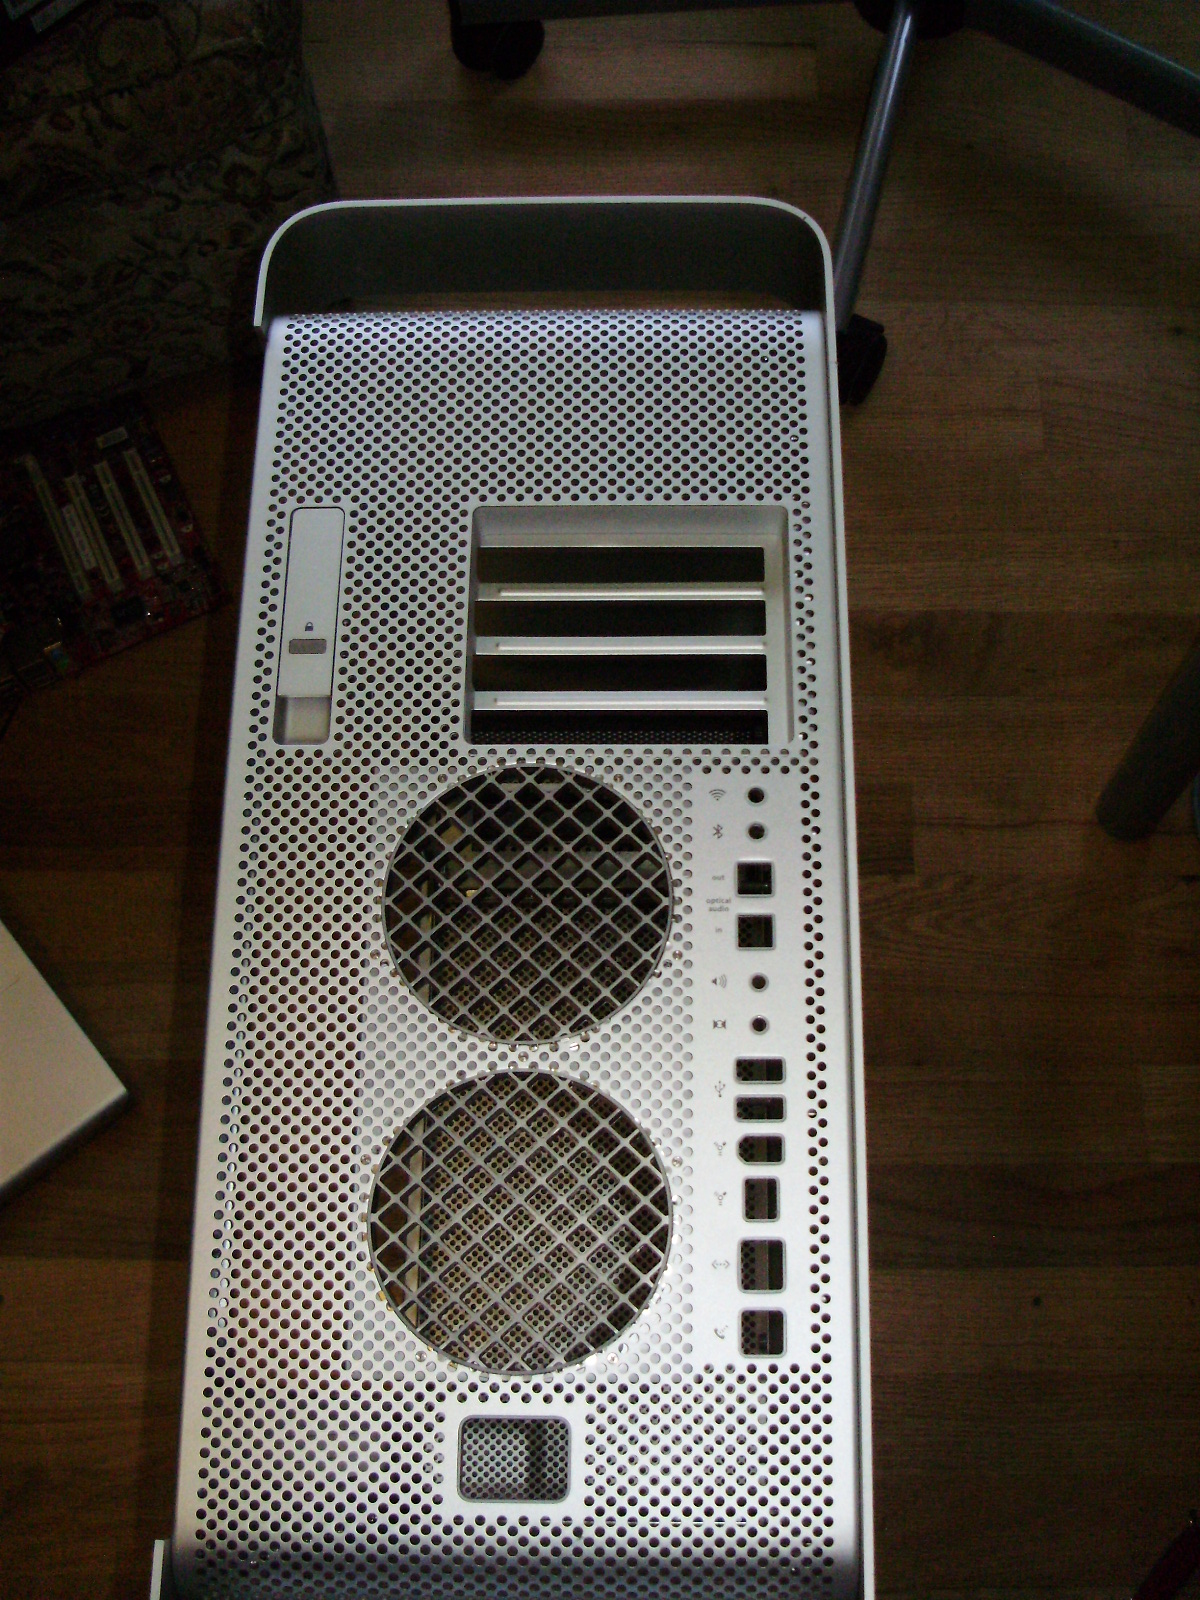
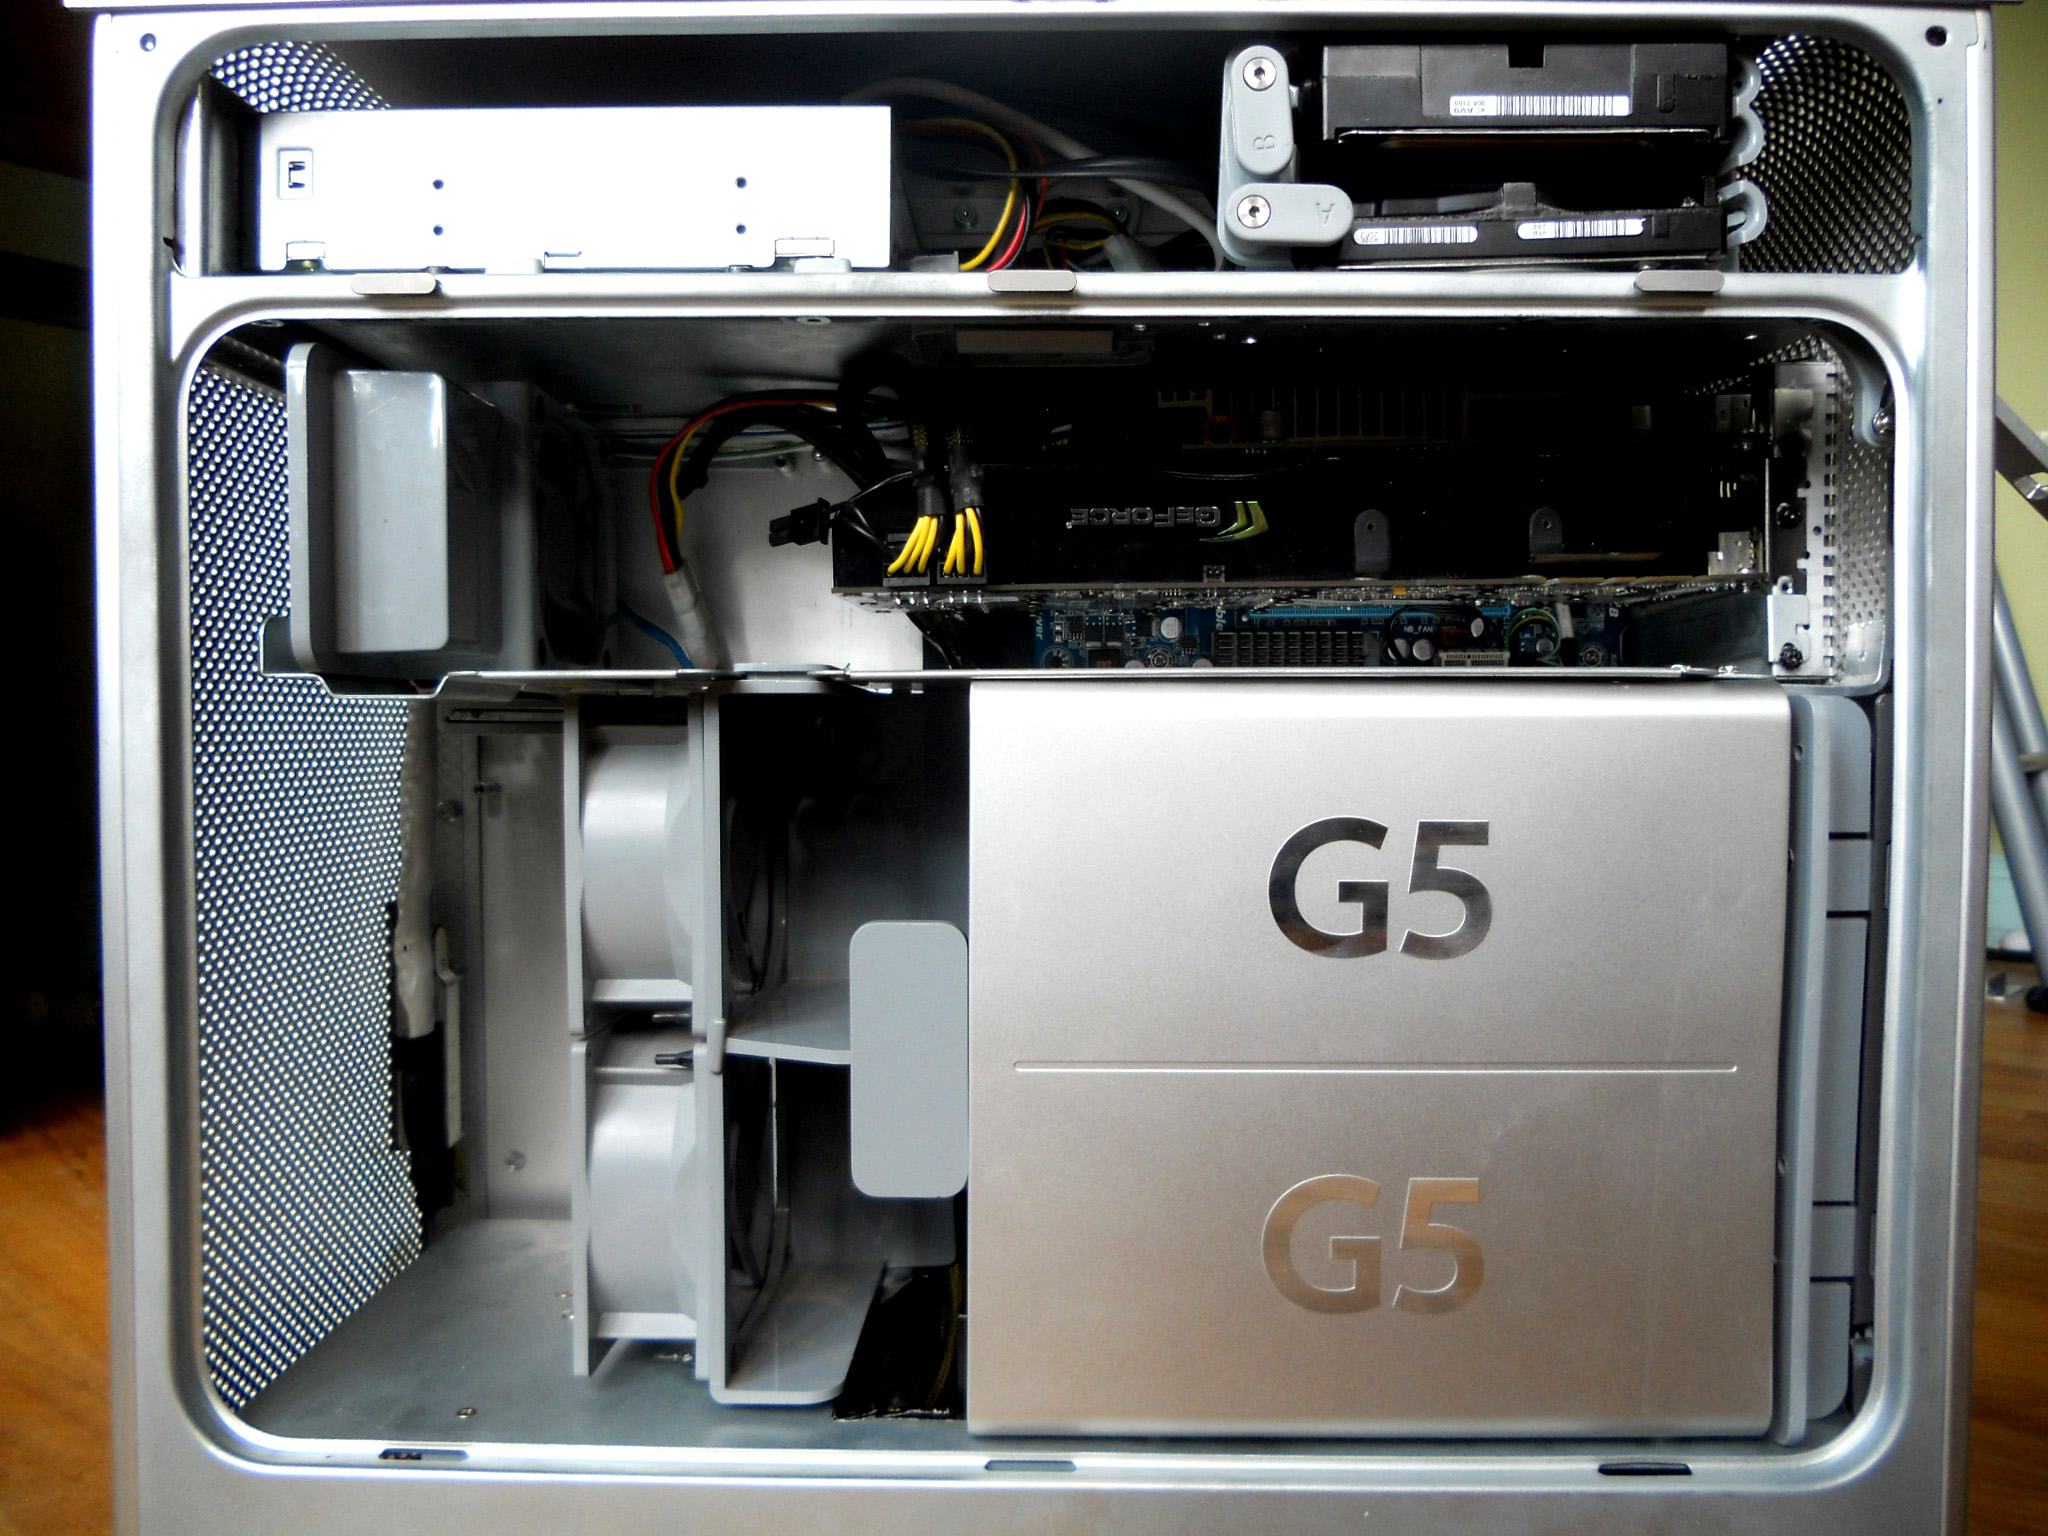
Whether you are an apple fan or not, it is hard to disagree with the fact that the Power Mac G5 computer looks great, inside and out. My goals for this project were to preserve the look of the case, inside and out; fit my PC's hardware, including a full length ATX motherboard, 2 GPU's, and a CoolIt ECO; and keep the system fully upgradeable, meaning no modifying the hardware.
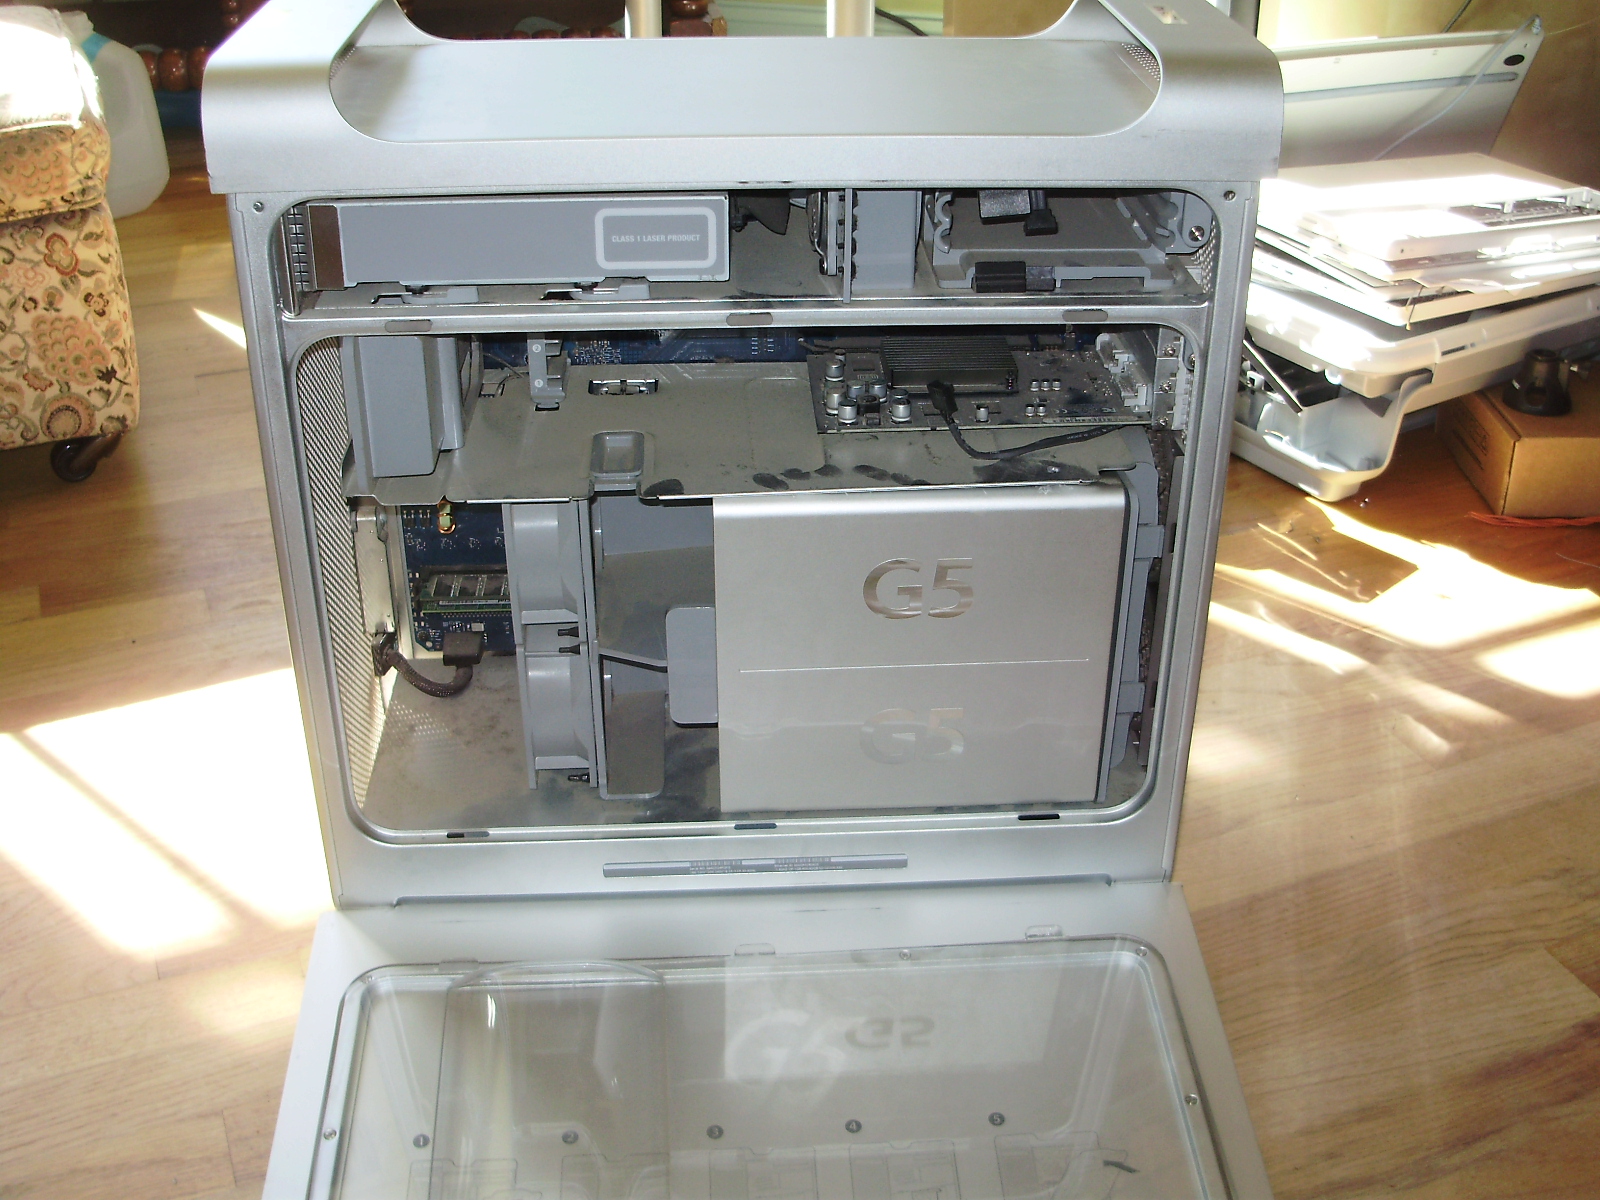
I started out with a broken Dual 1.8 Ghz G5 with all the parts save the HDD's.
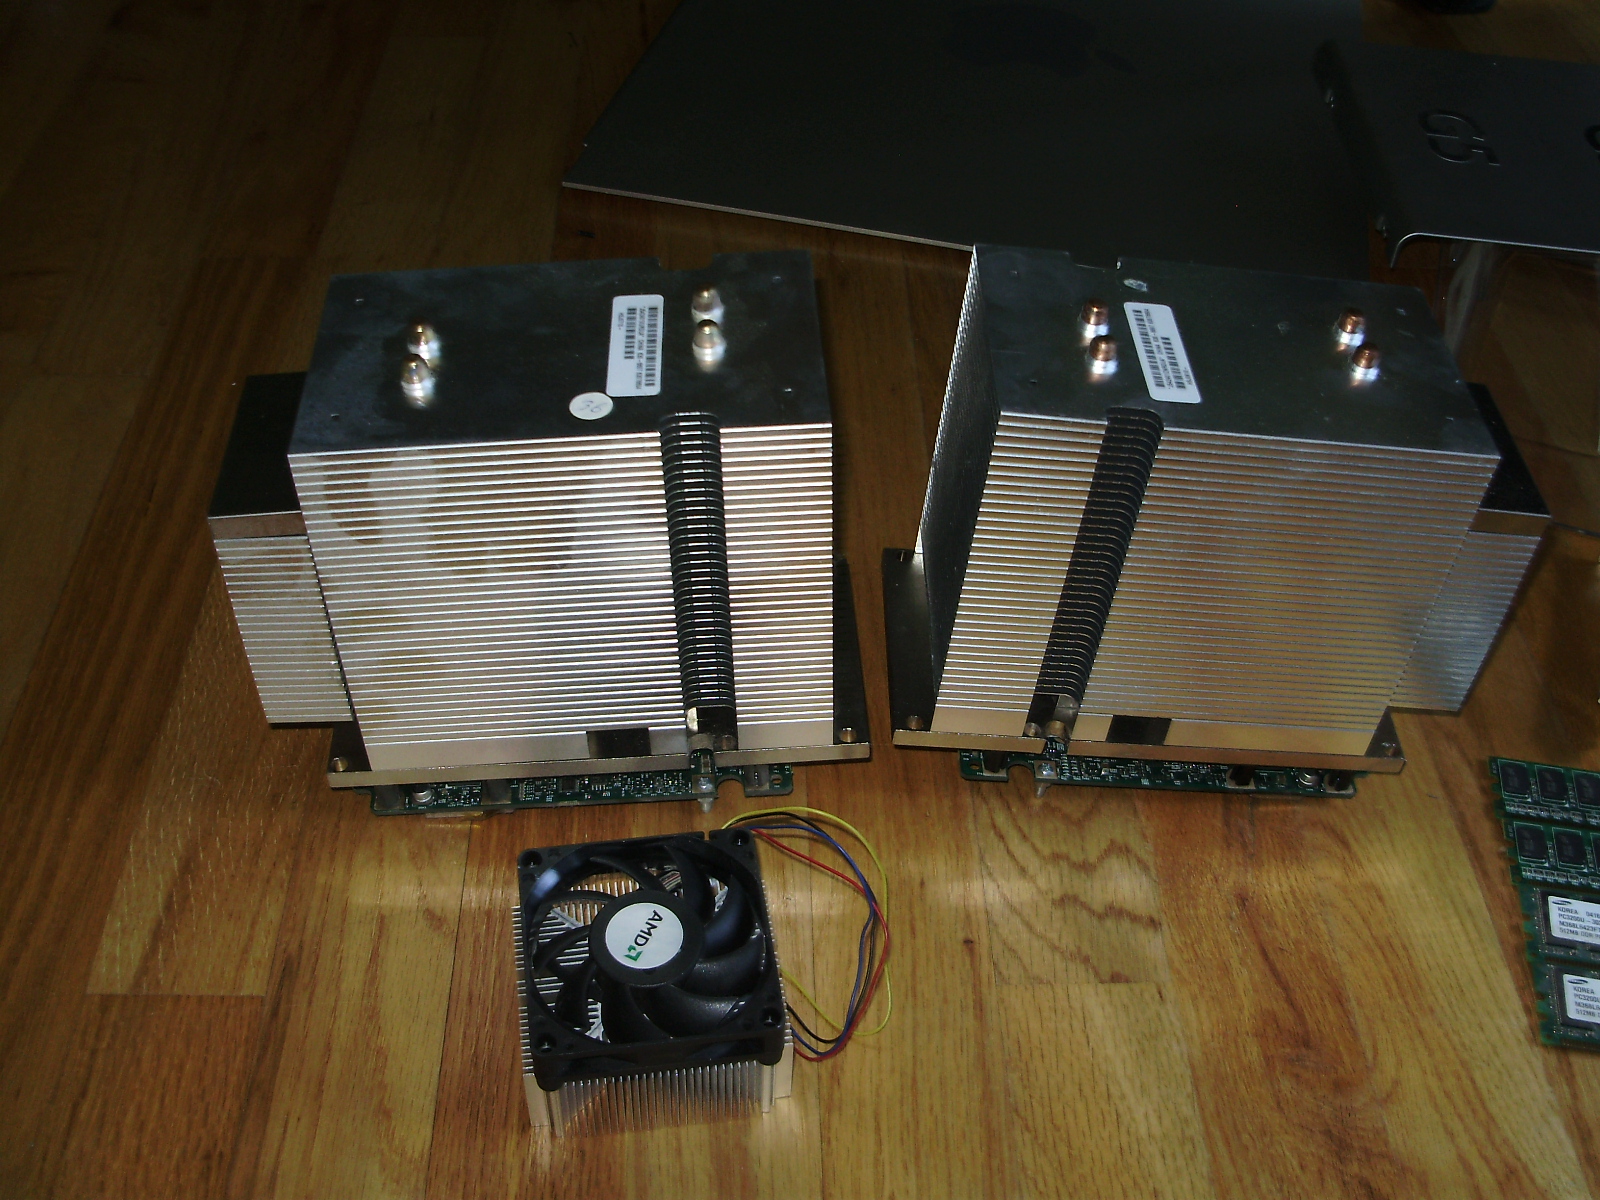
Although it looks very neat and tidy on the inside, the G5 is an absolute pain to completely disassemble. Here are the CPU's mounted to their heatsinks. The stock AMD cooler is for size reference:
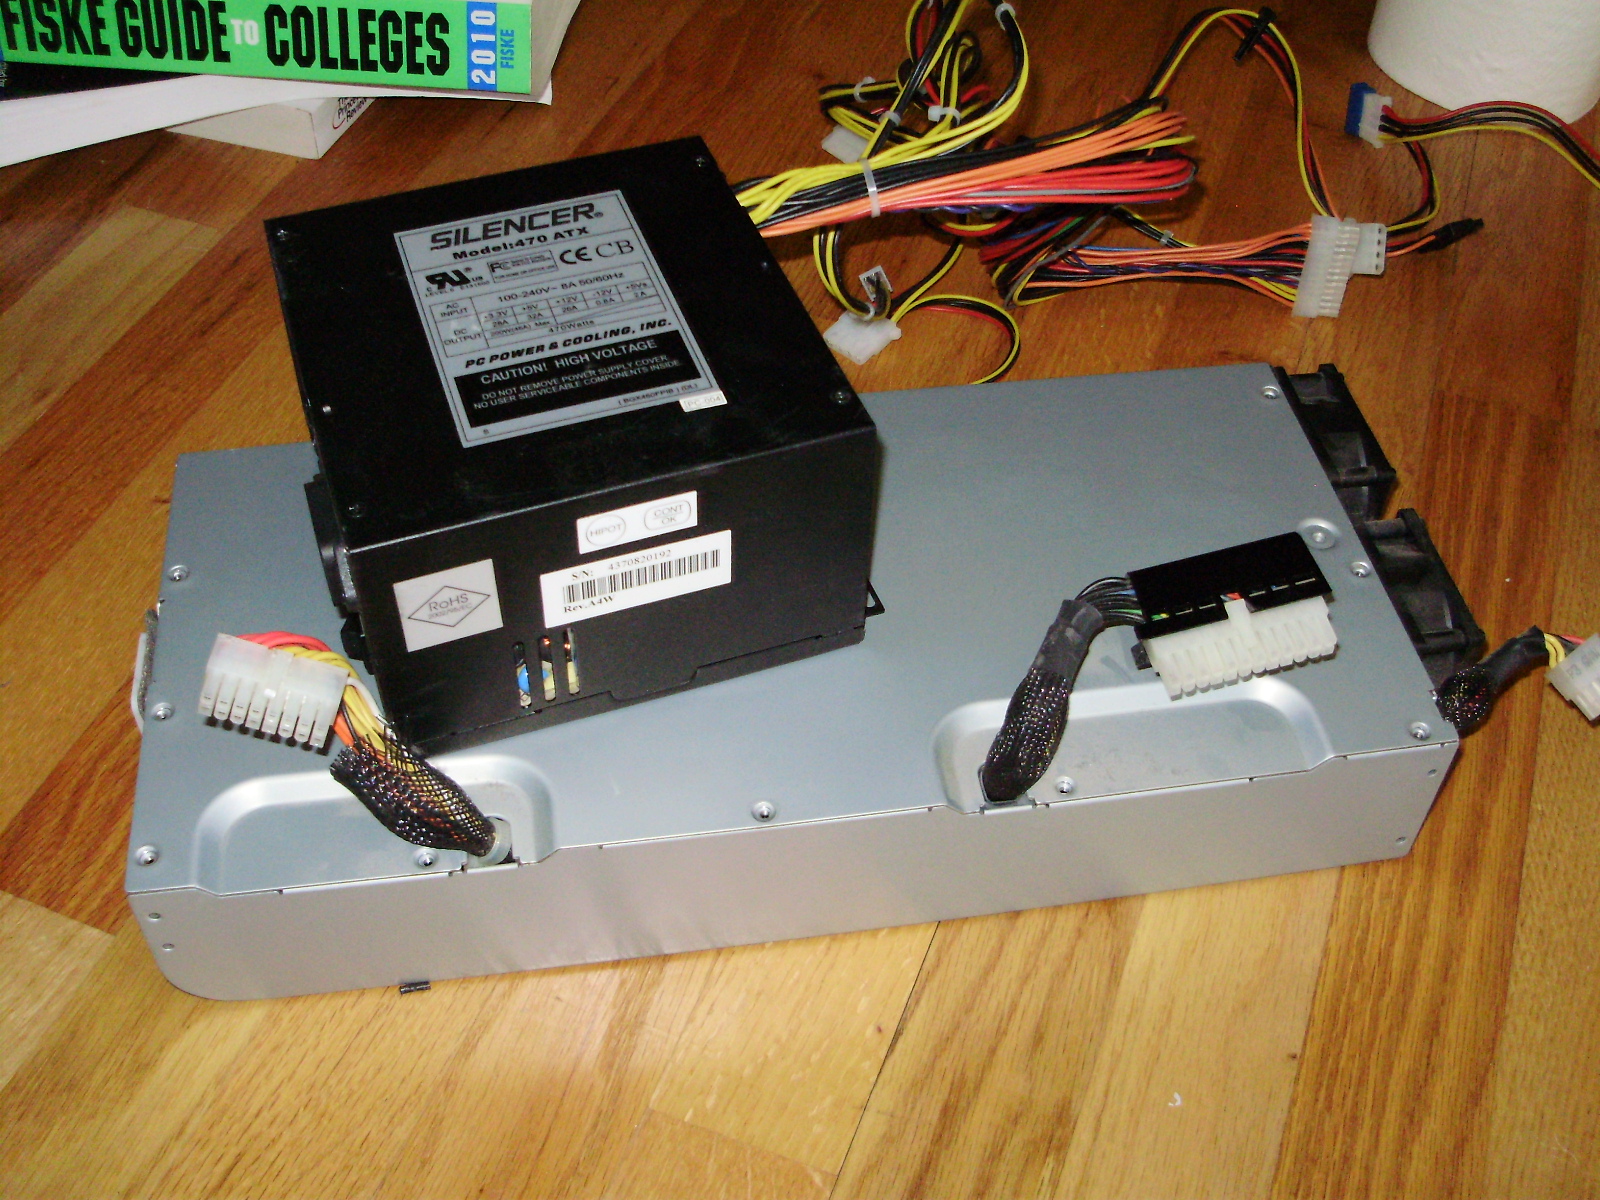
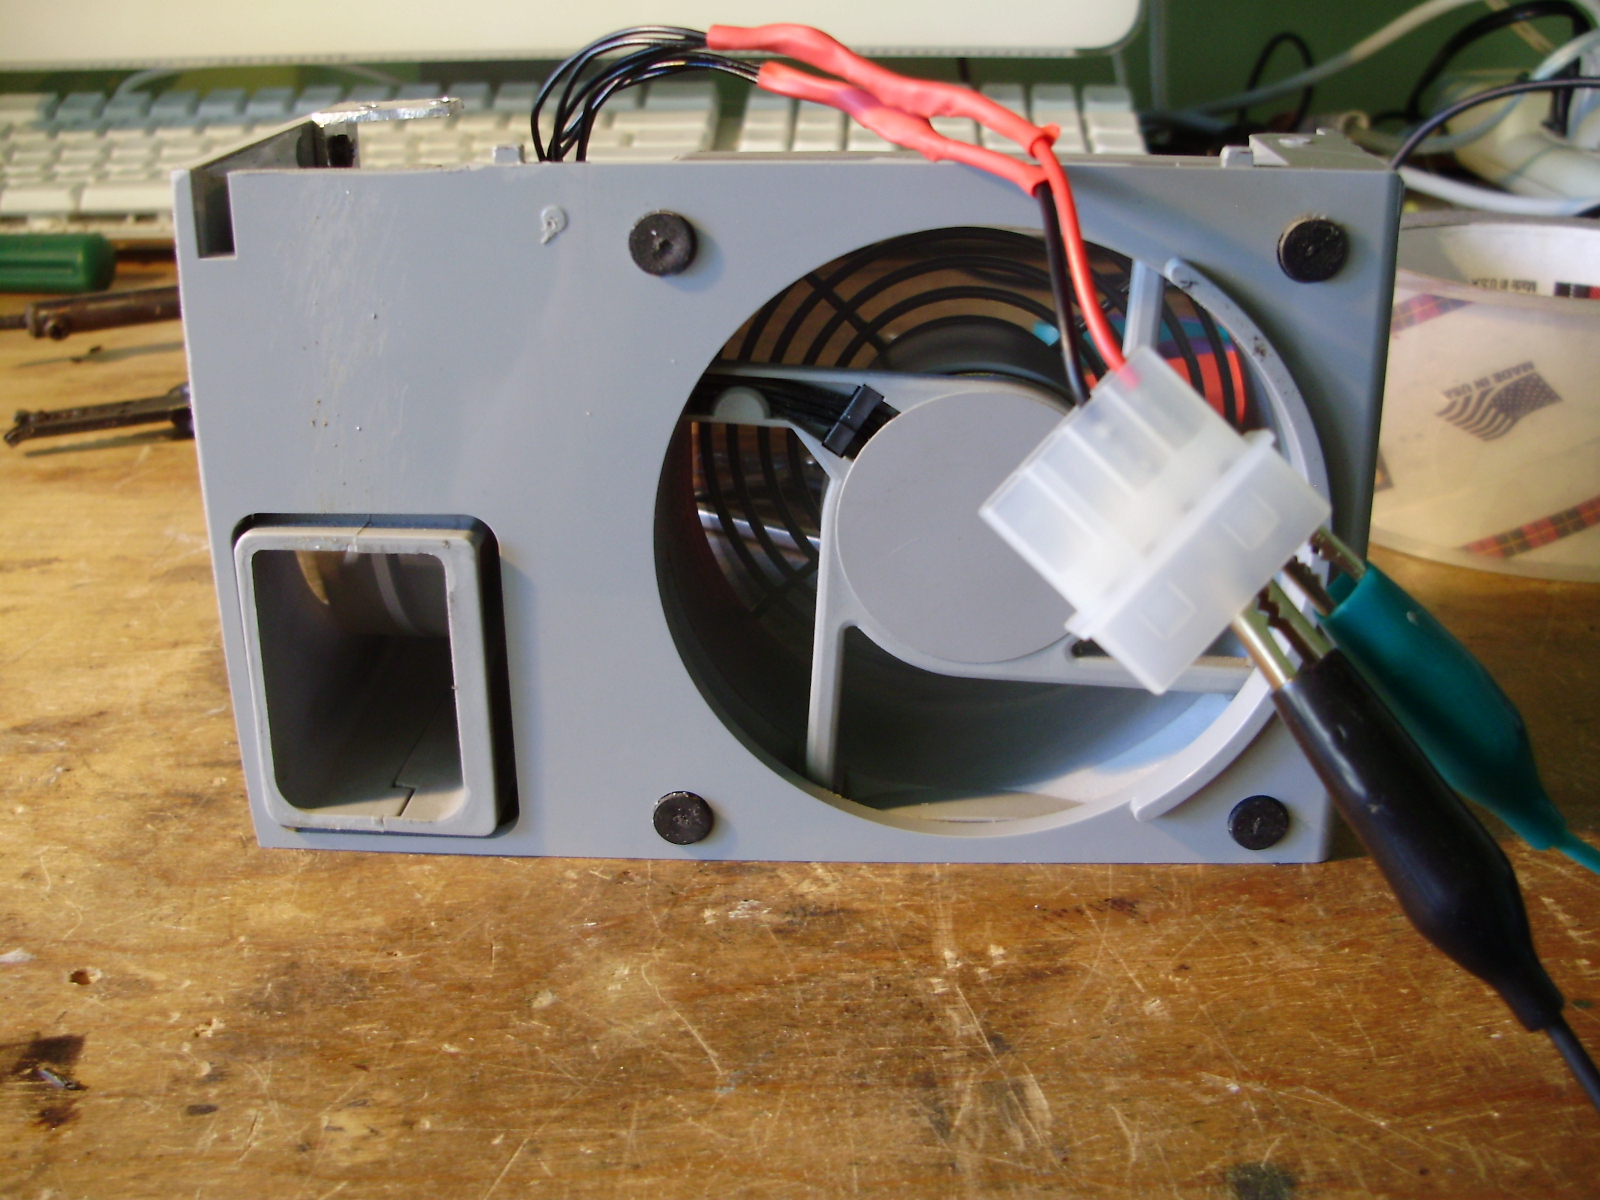
Here is the PSU compared to a standard ATX one:
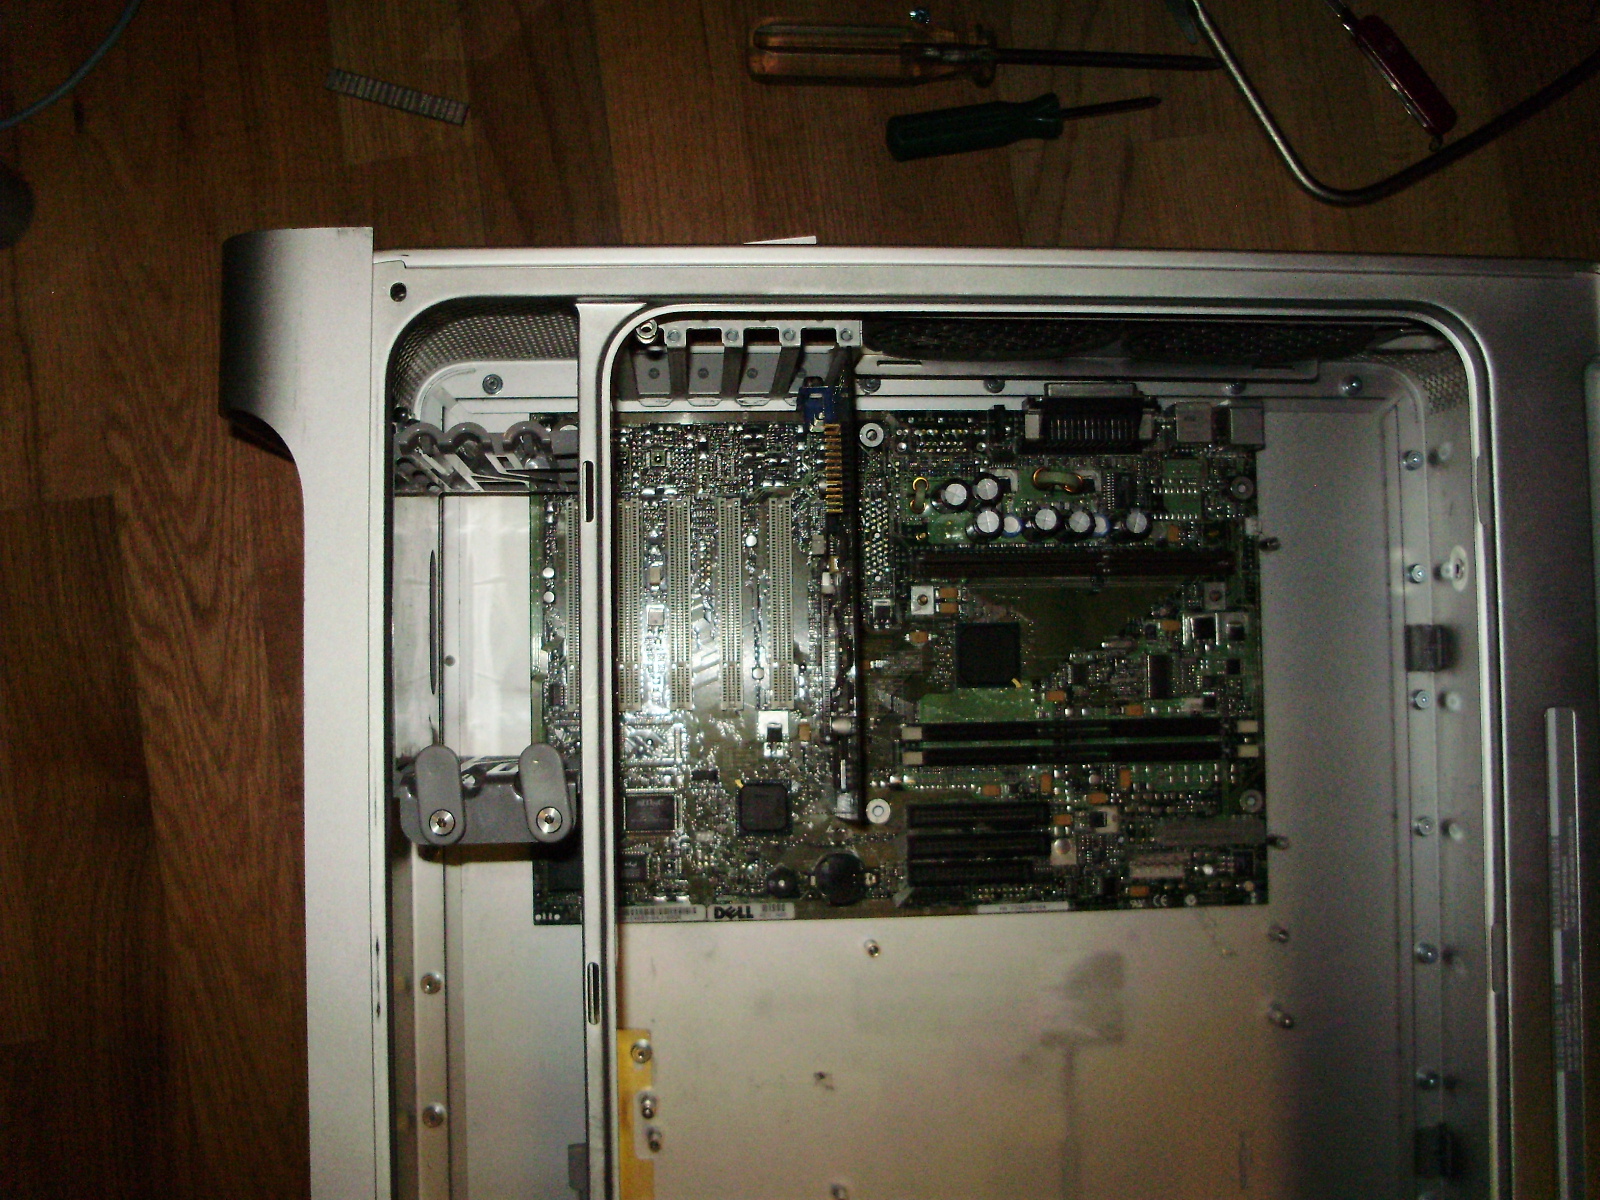
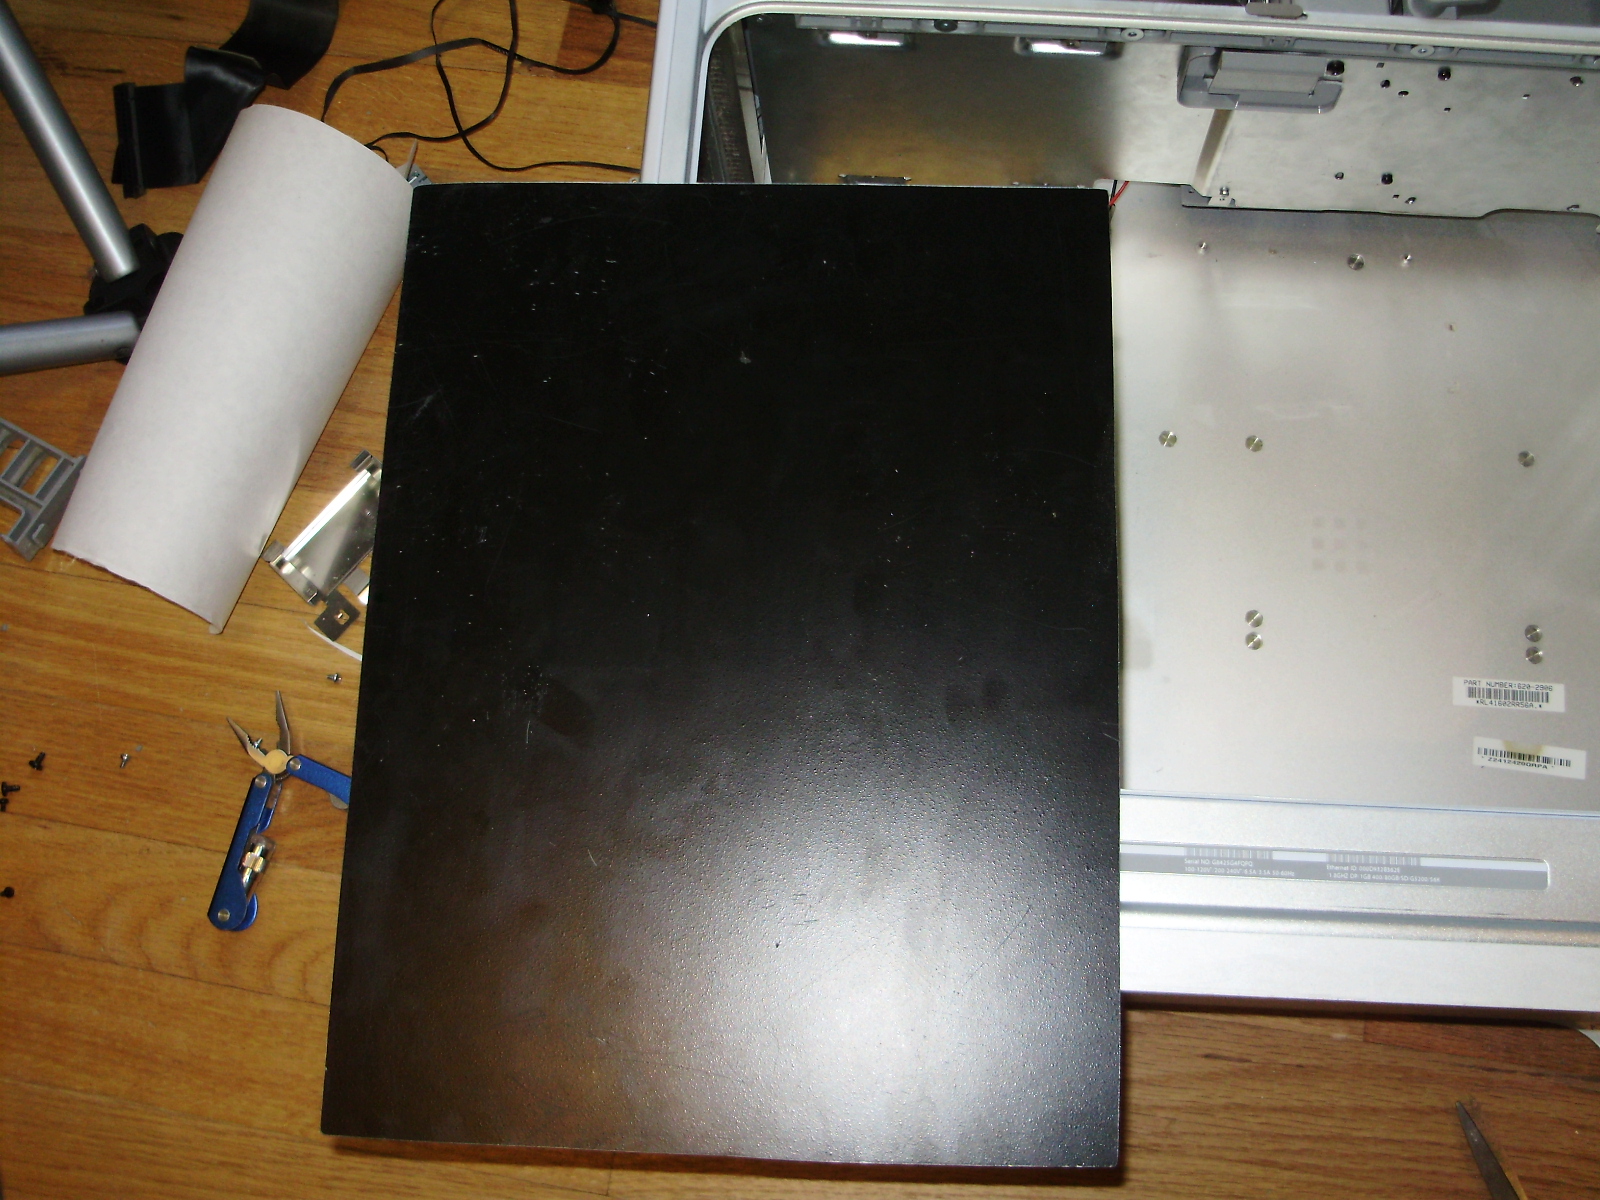
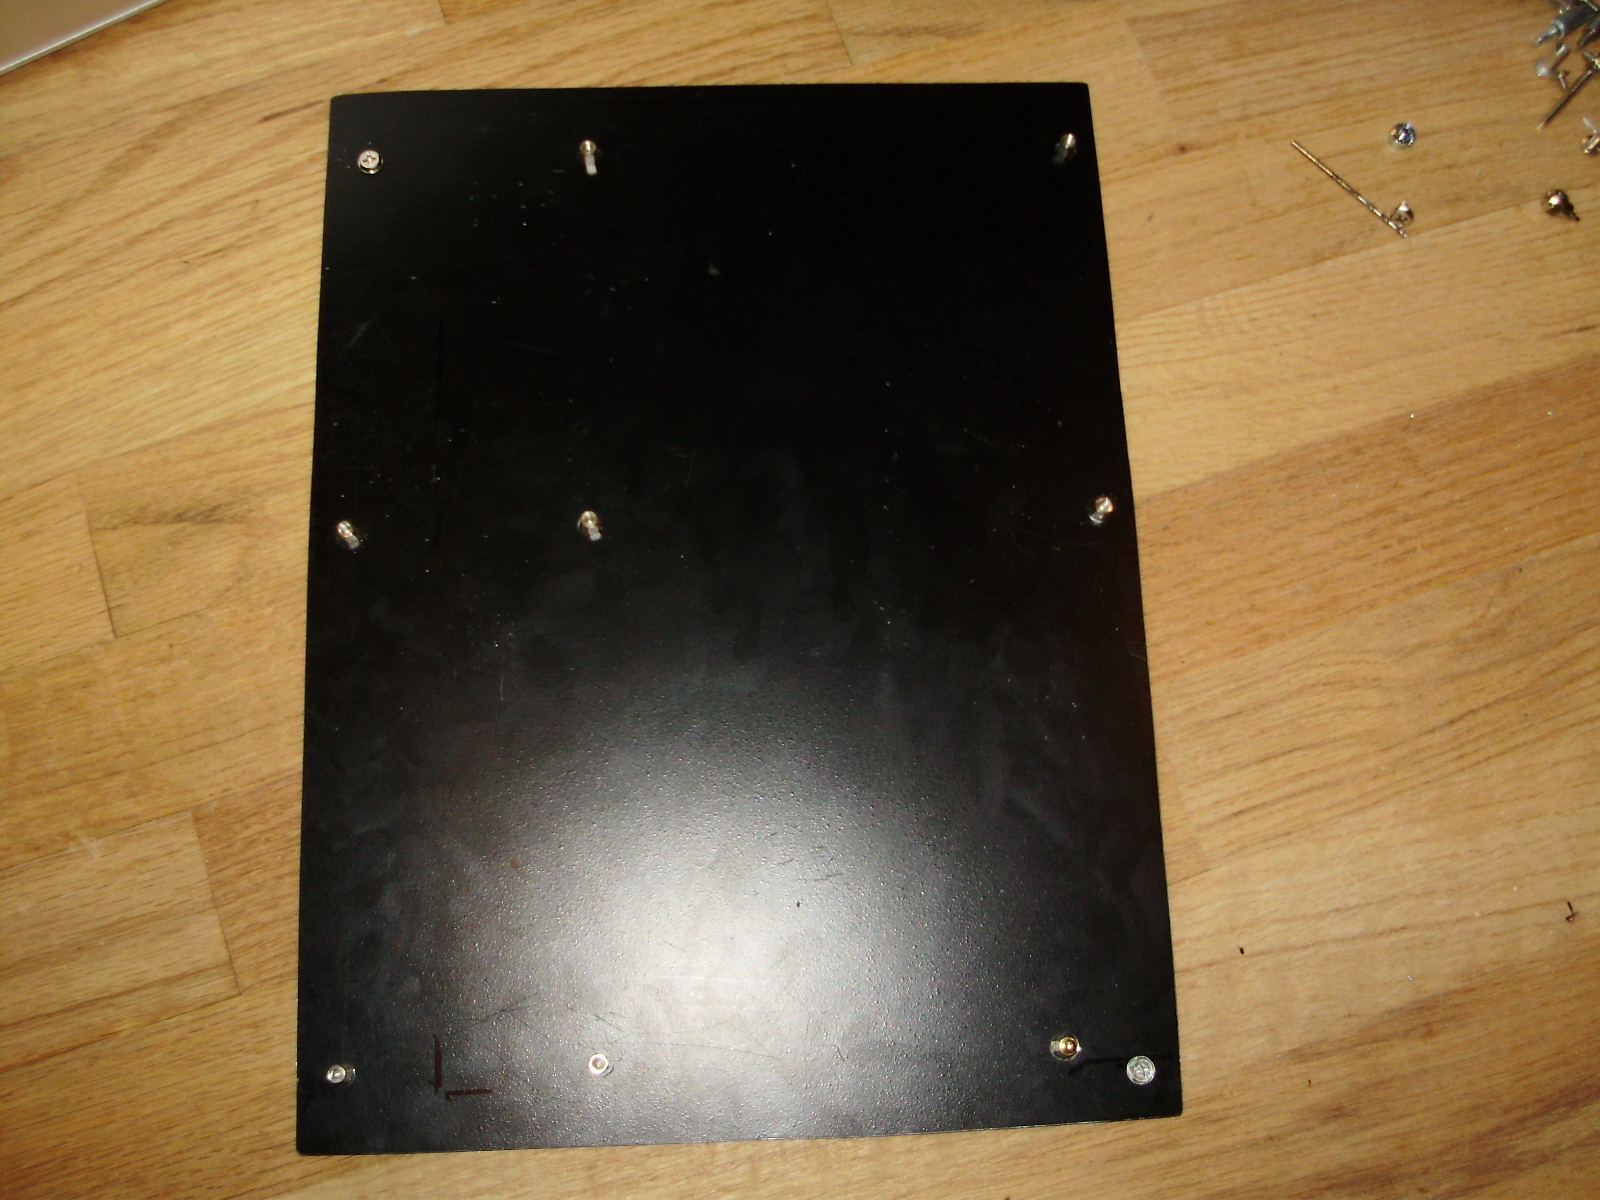
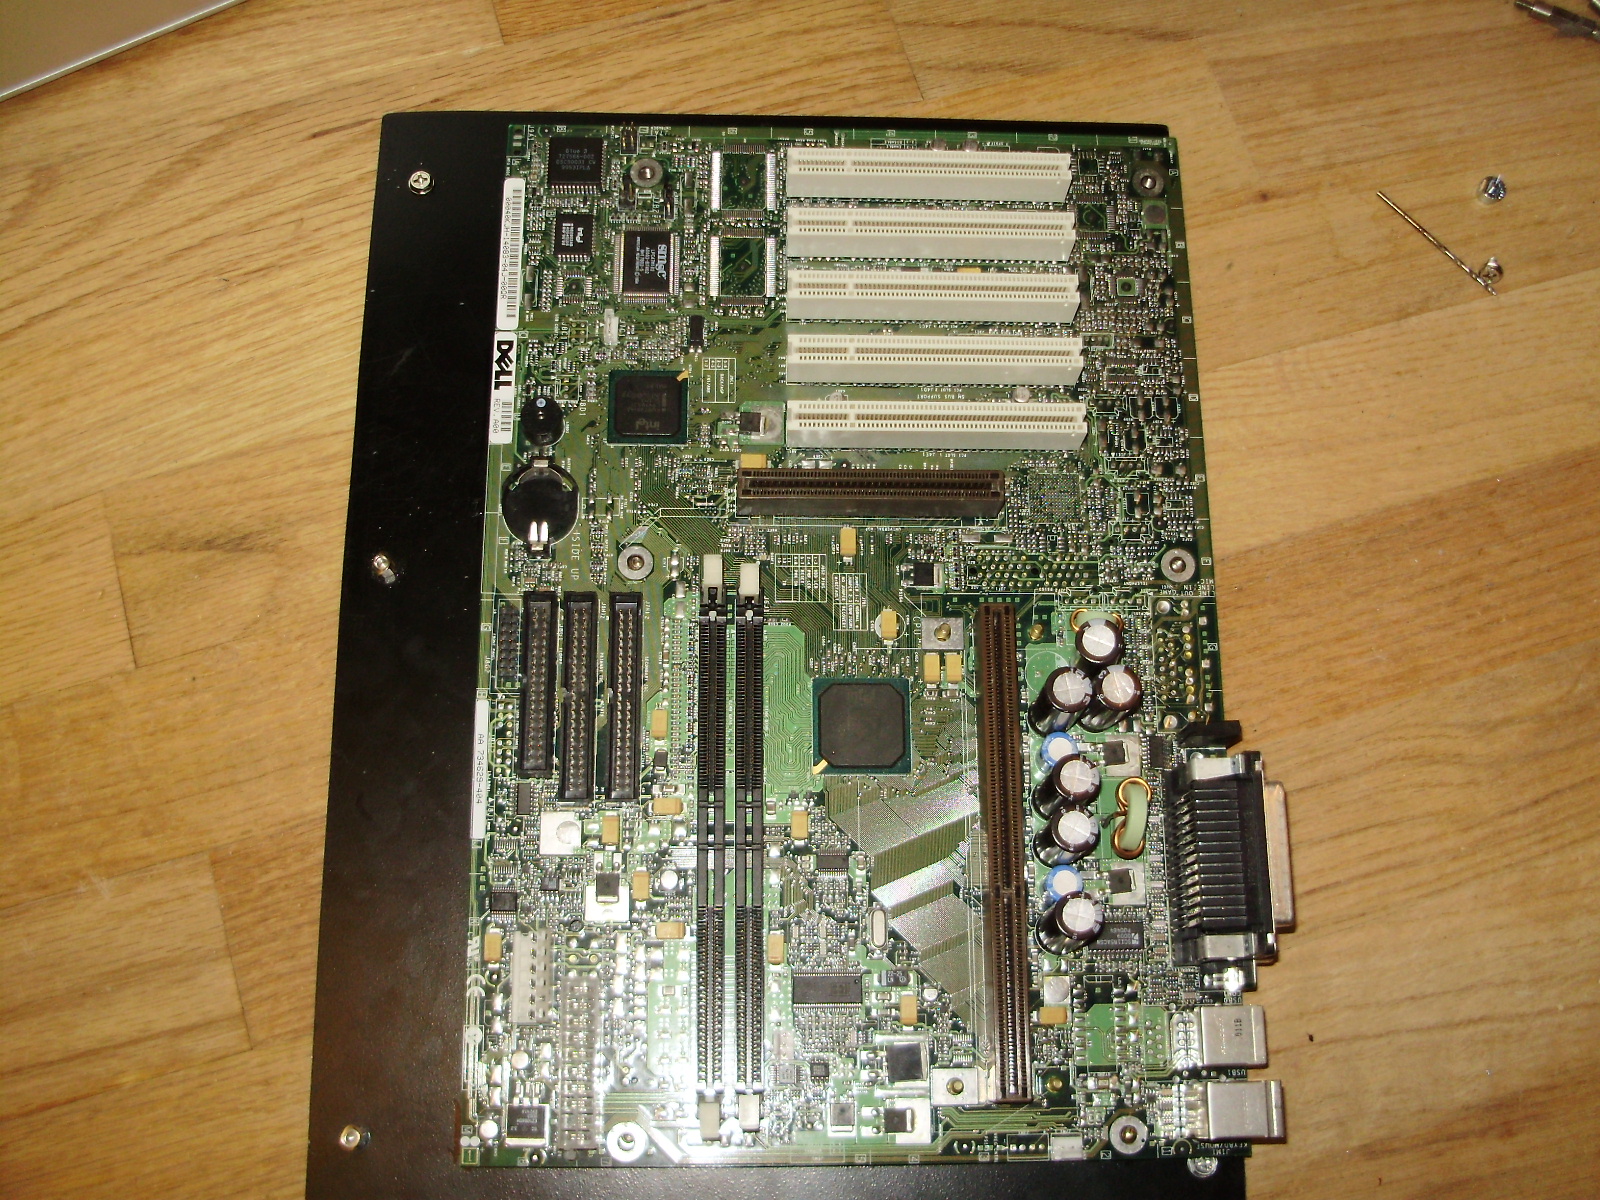
Motherboard:
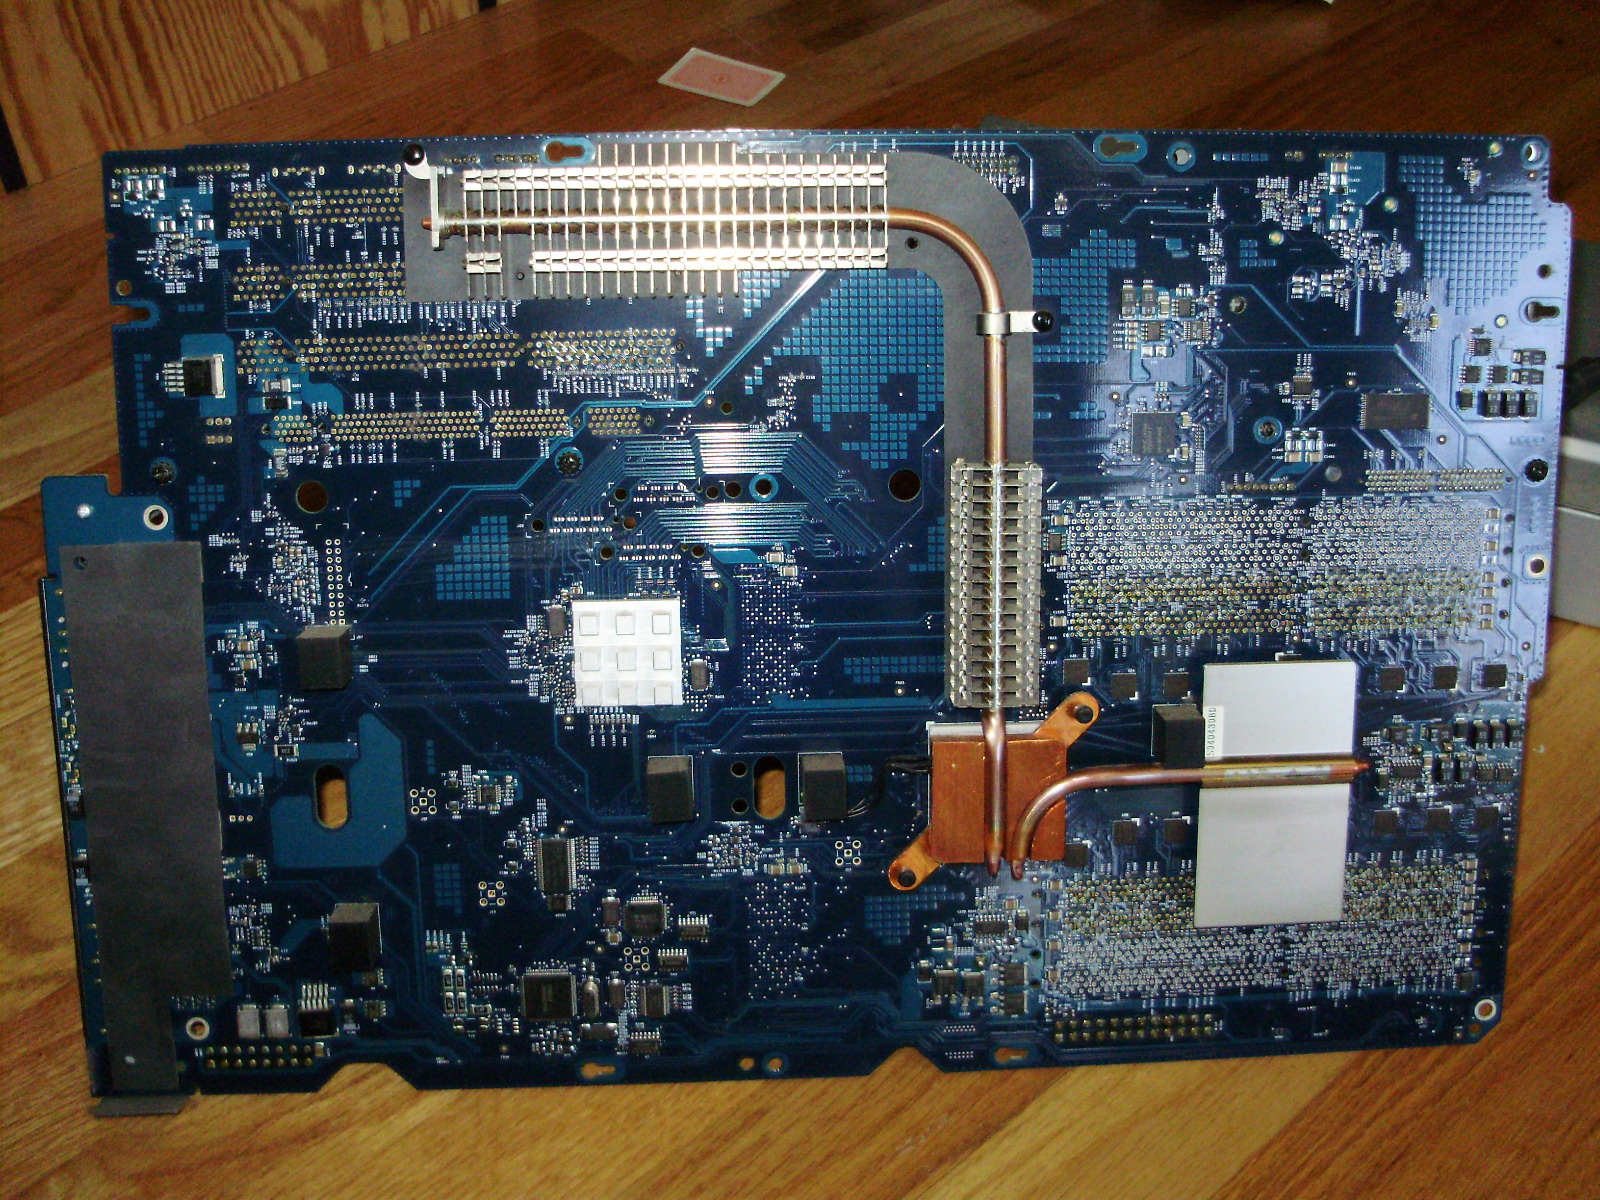
Interestingly, the motherboard has its chipset heatsinks on the back of the board, rather than on the front:
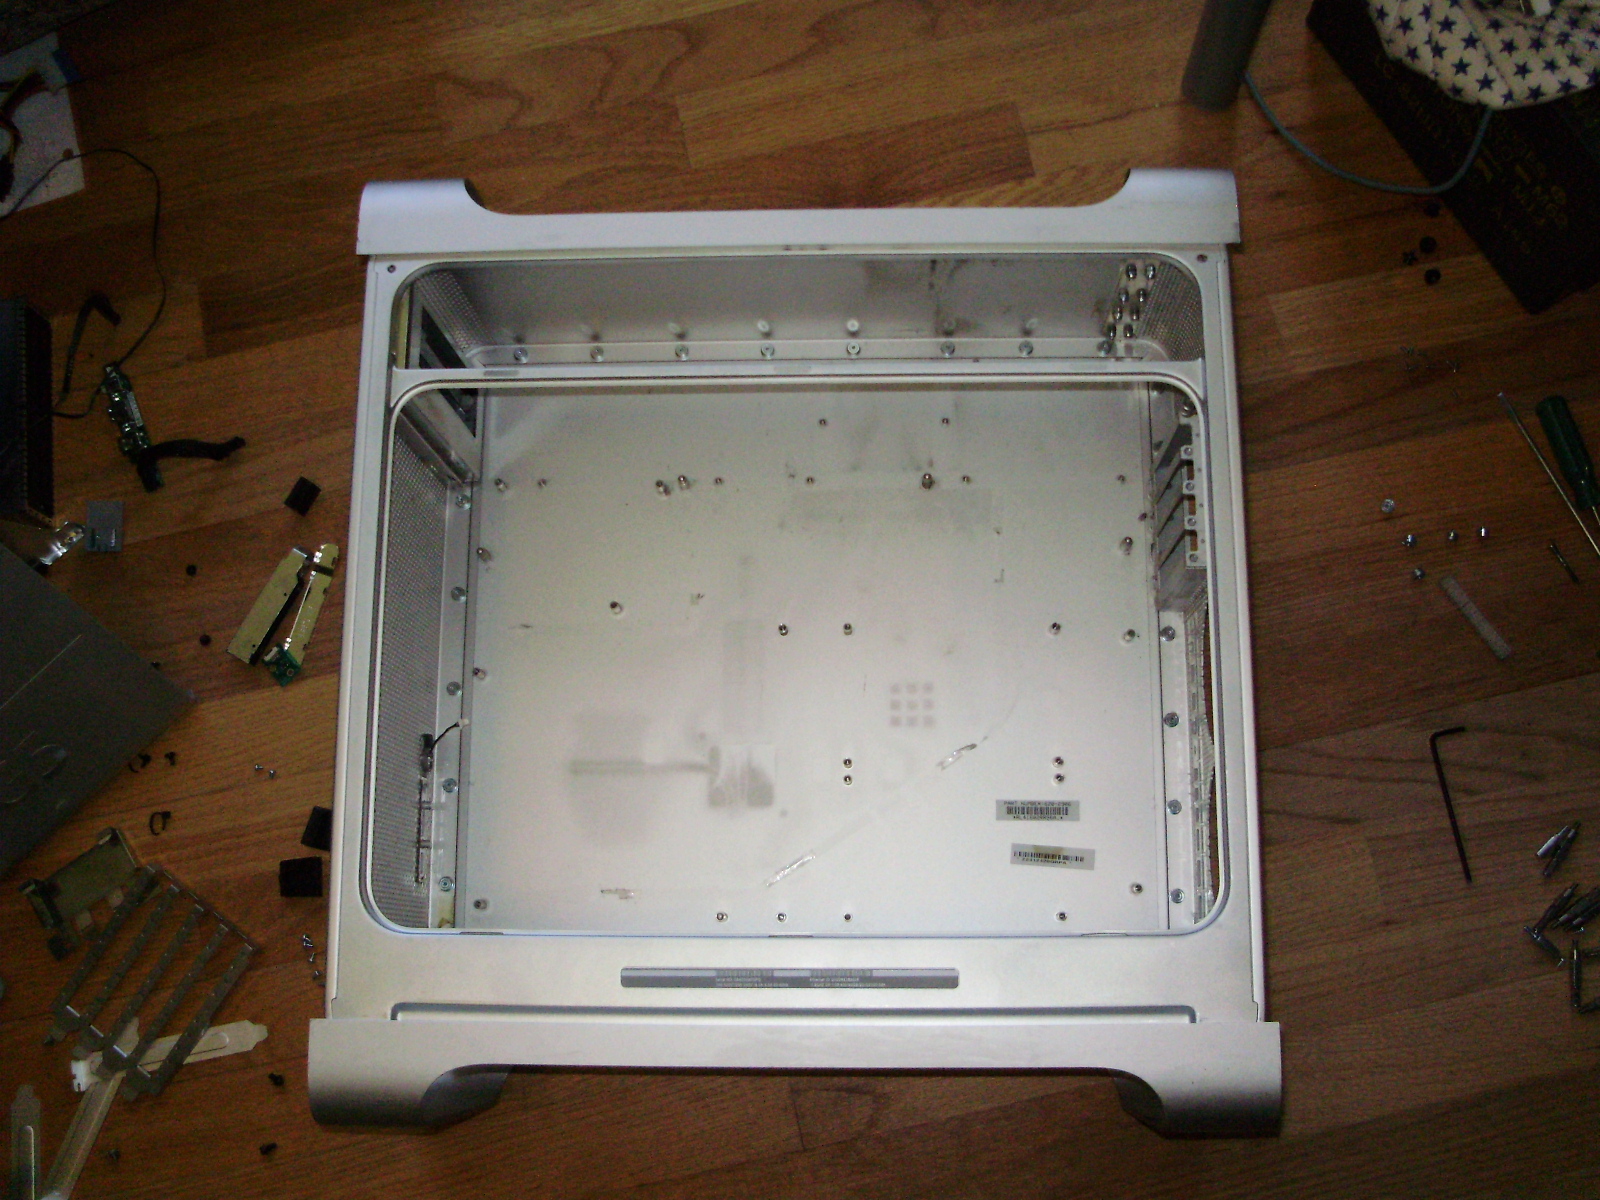
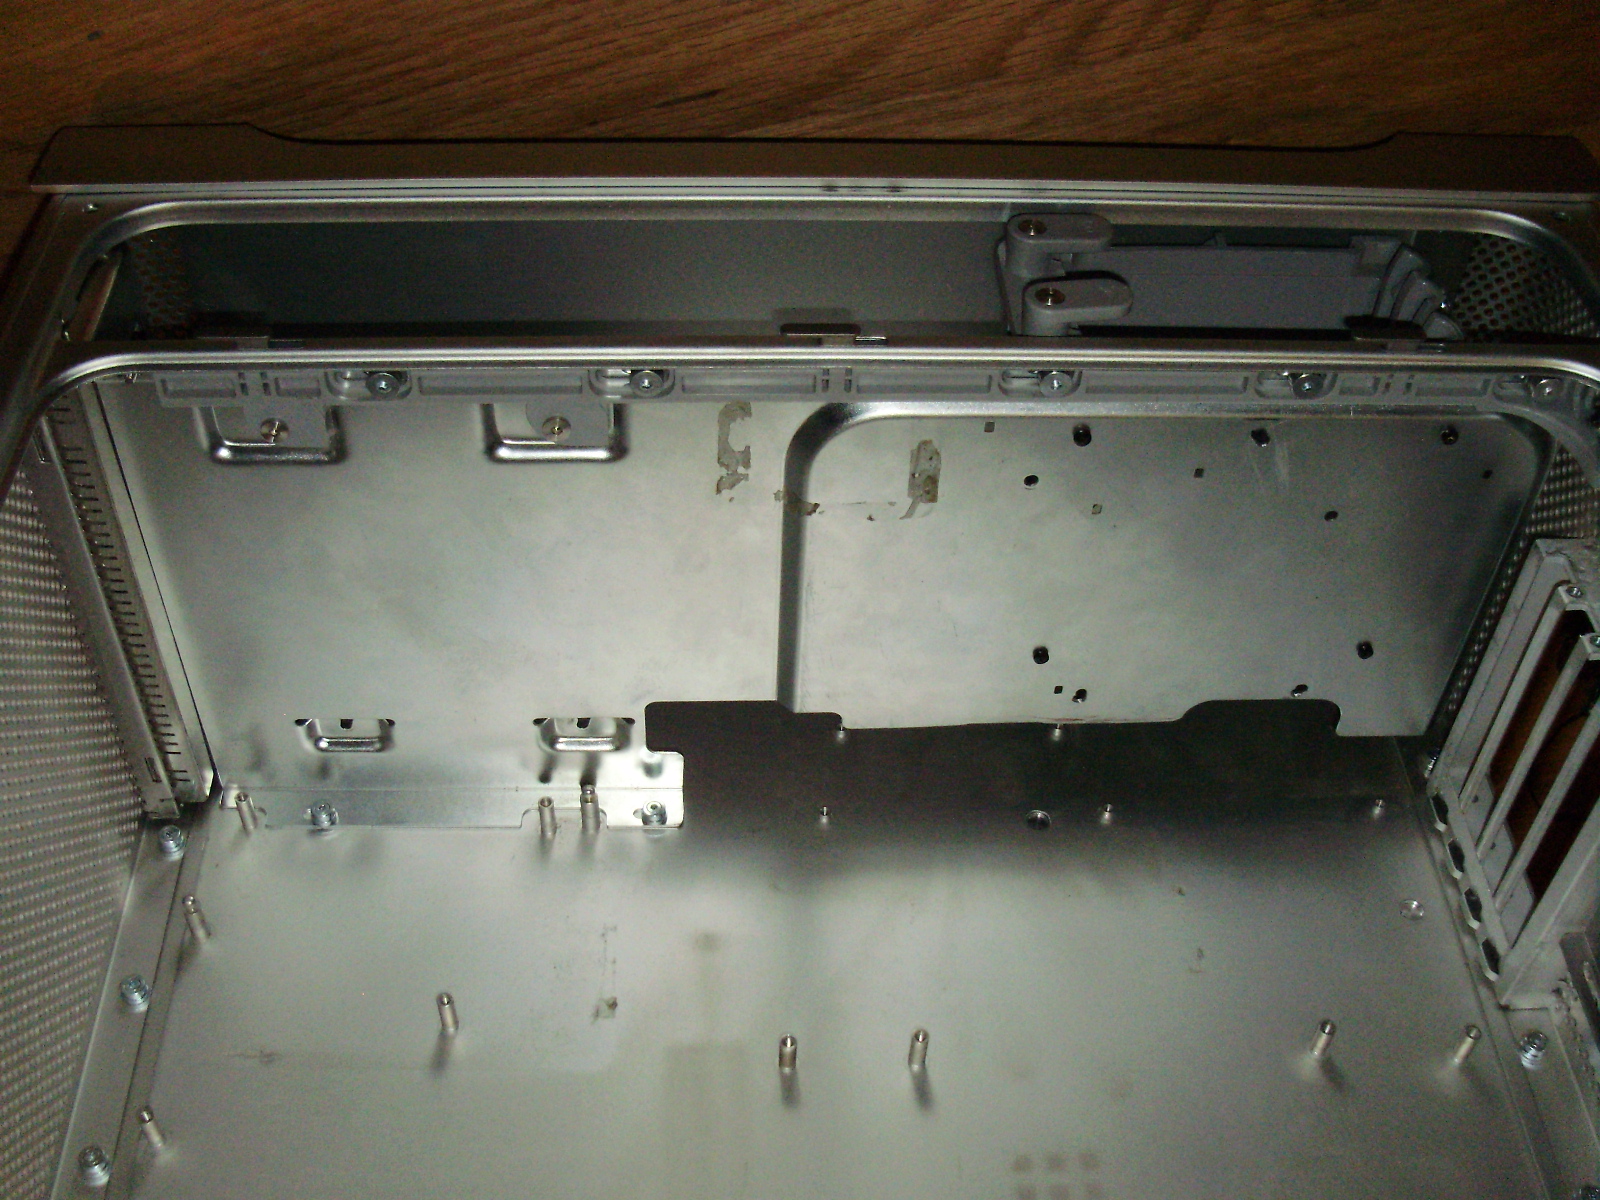
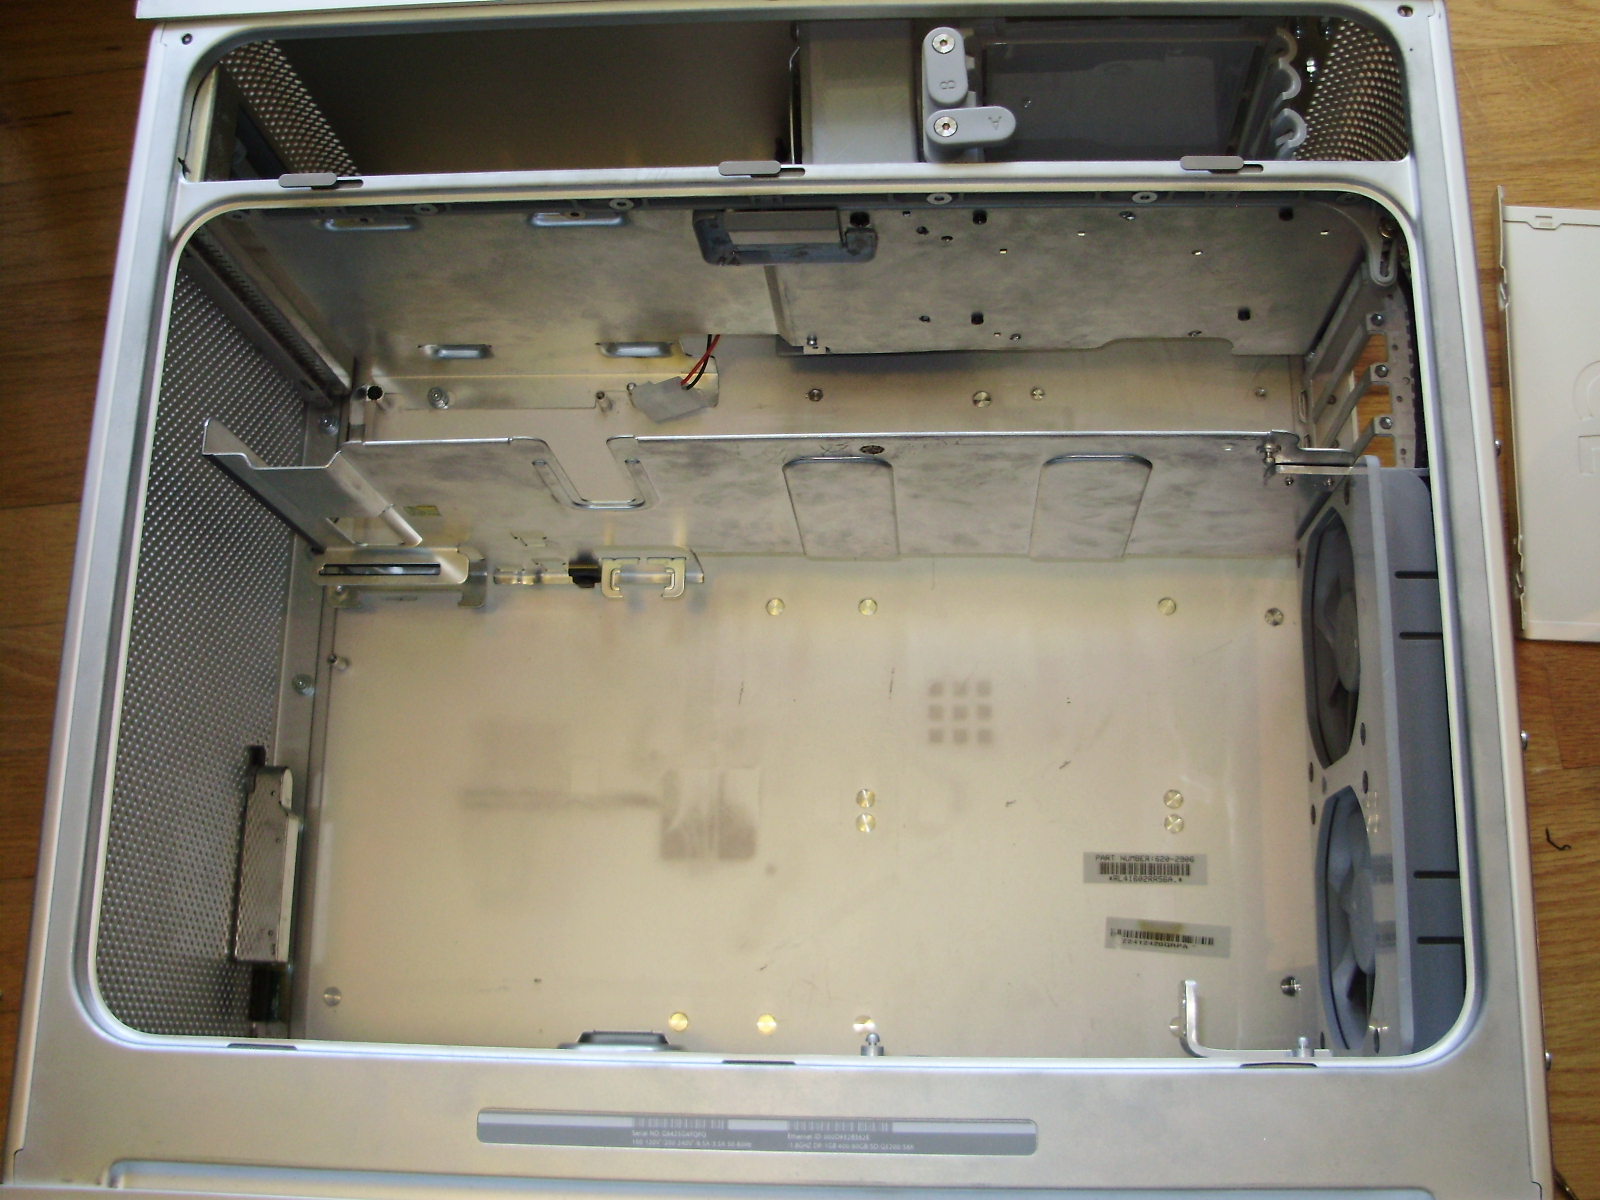
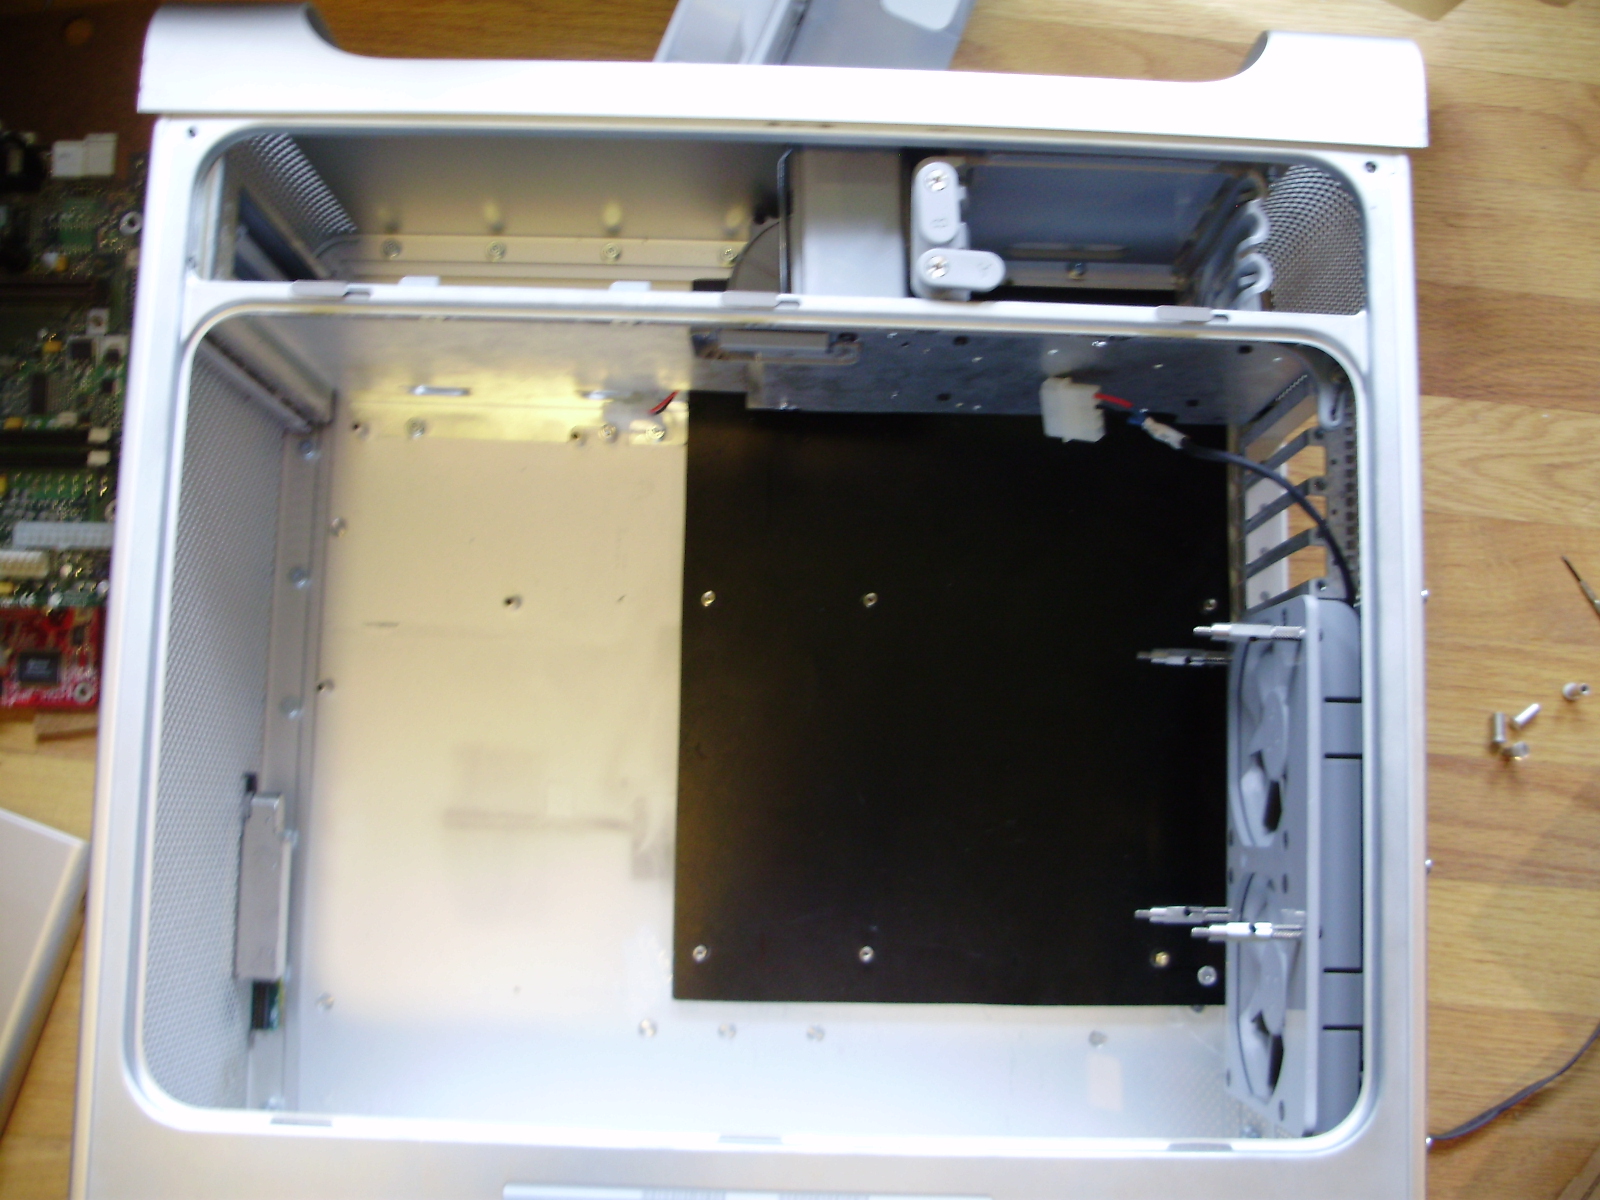
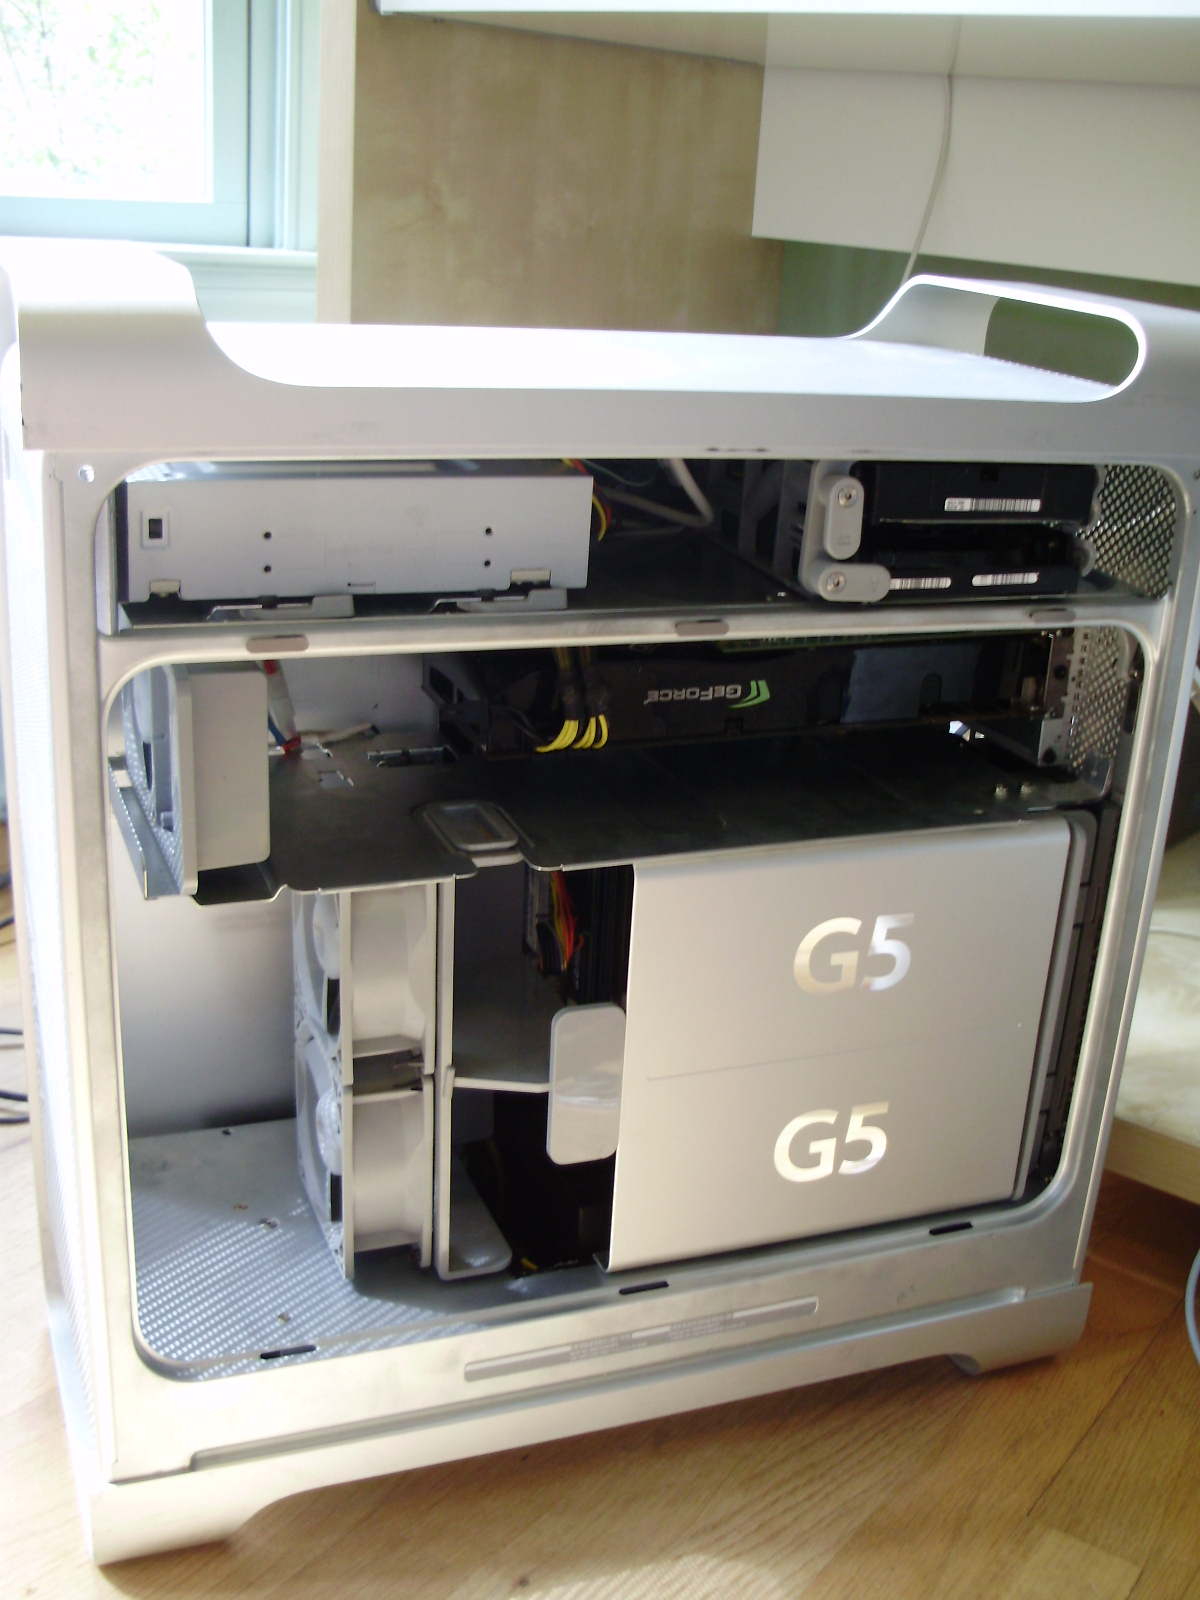
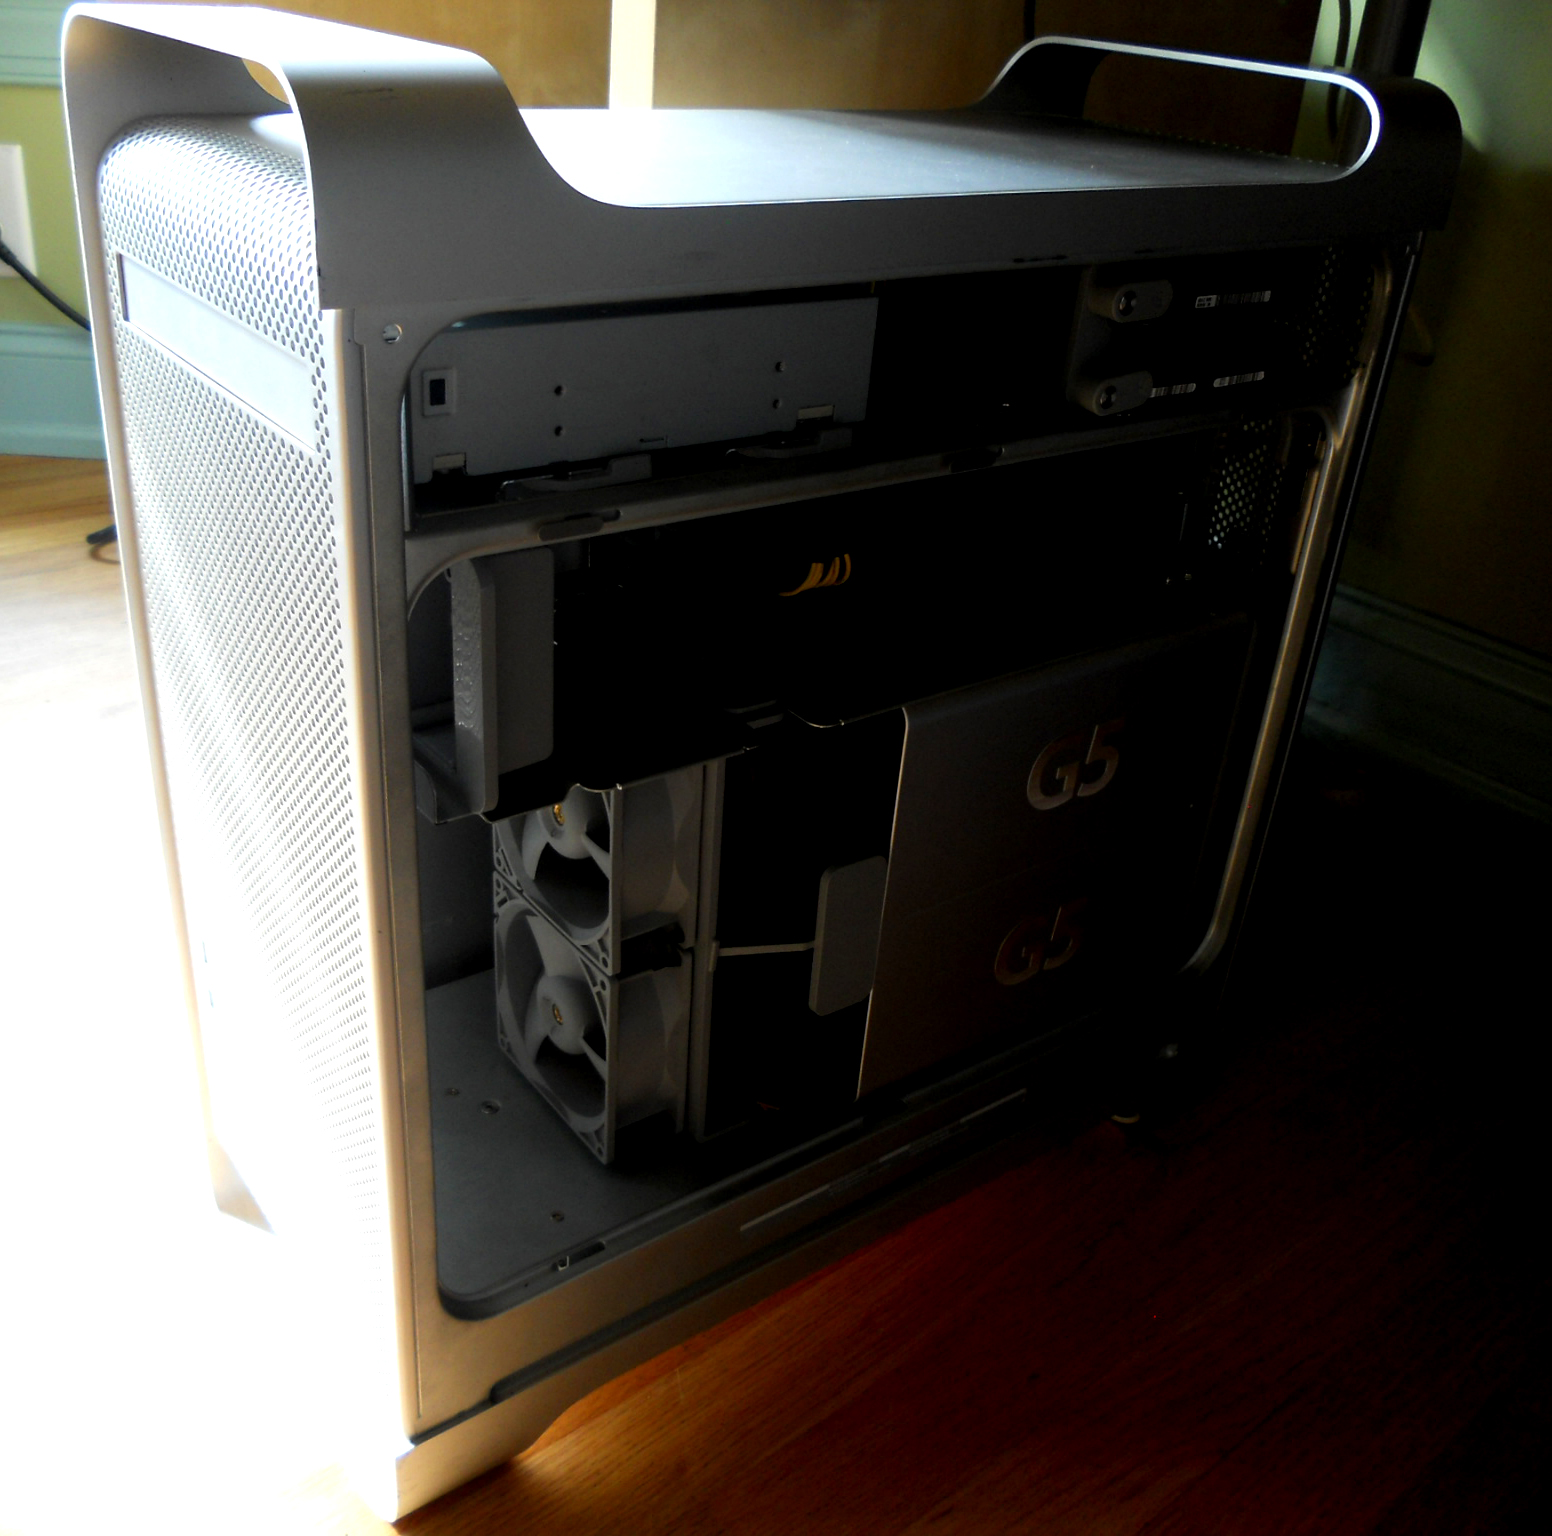
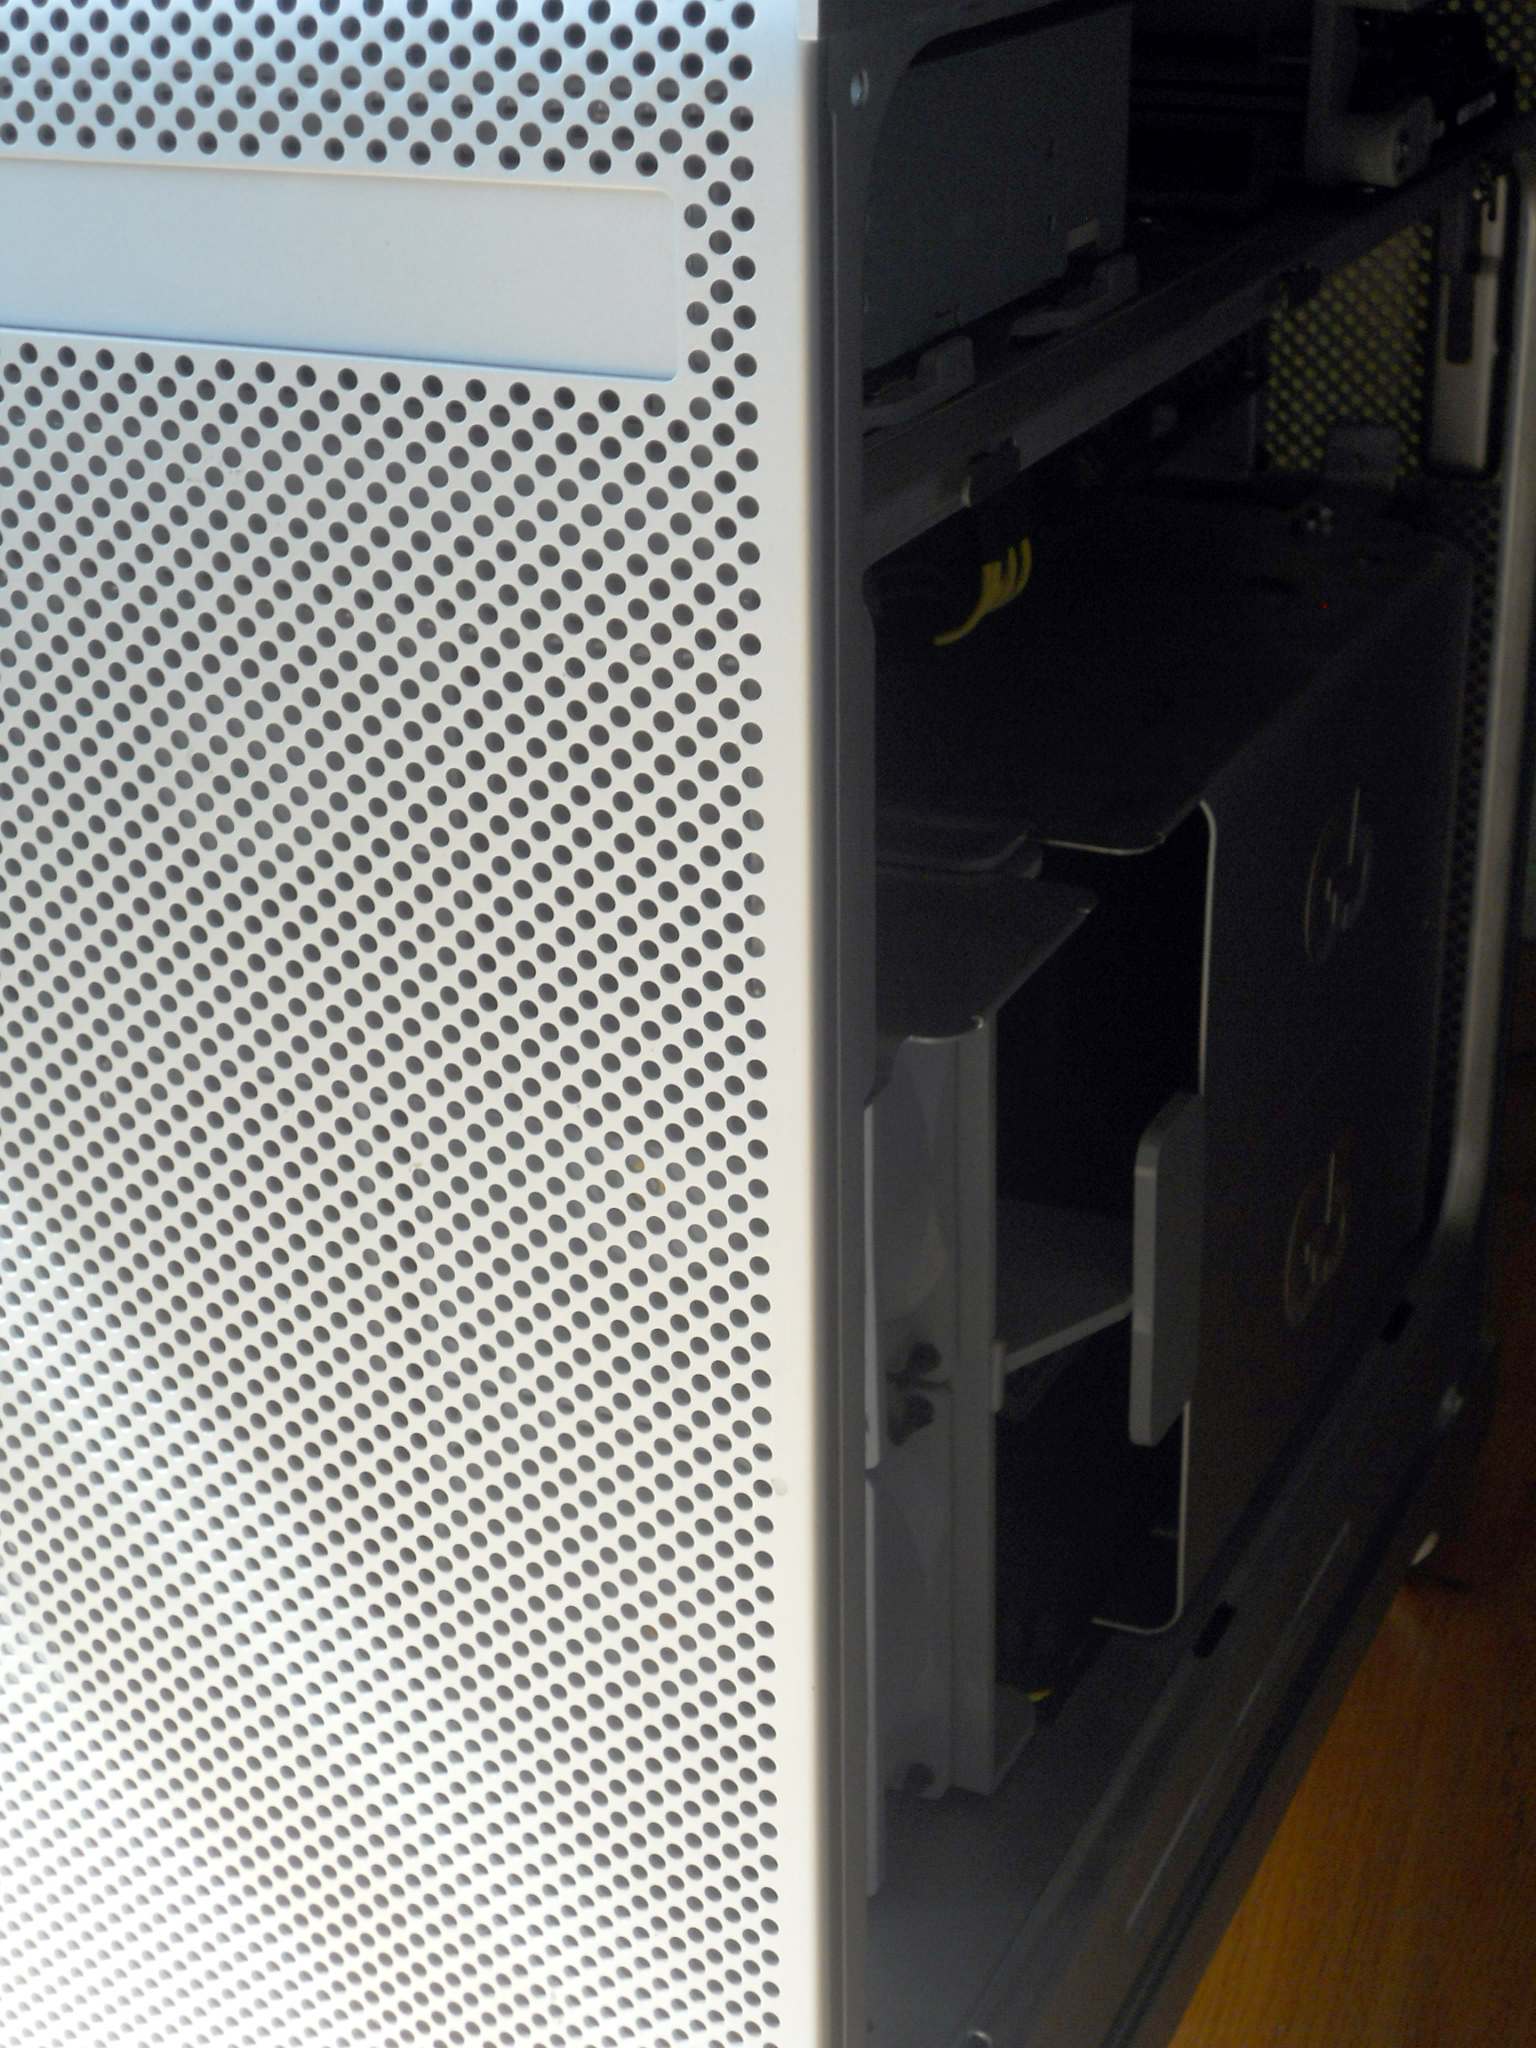
To start, I completely emptied out the case, including the latching mechanism that holds the side panel on:
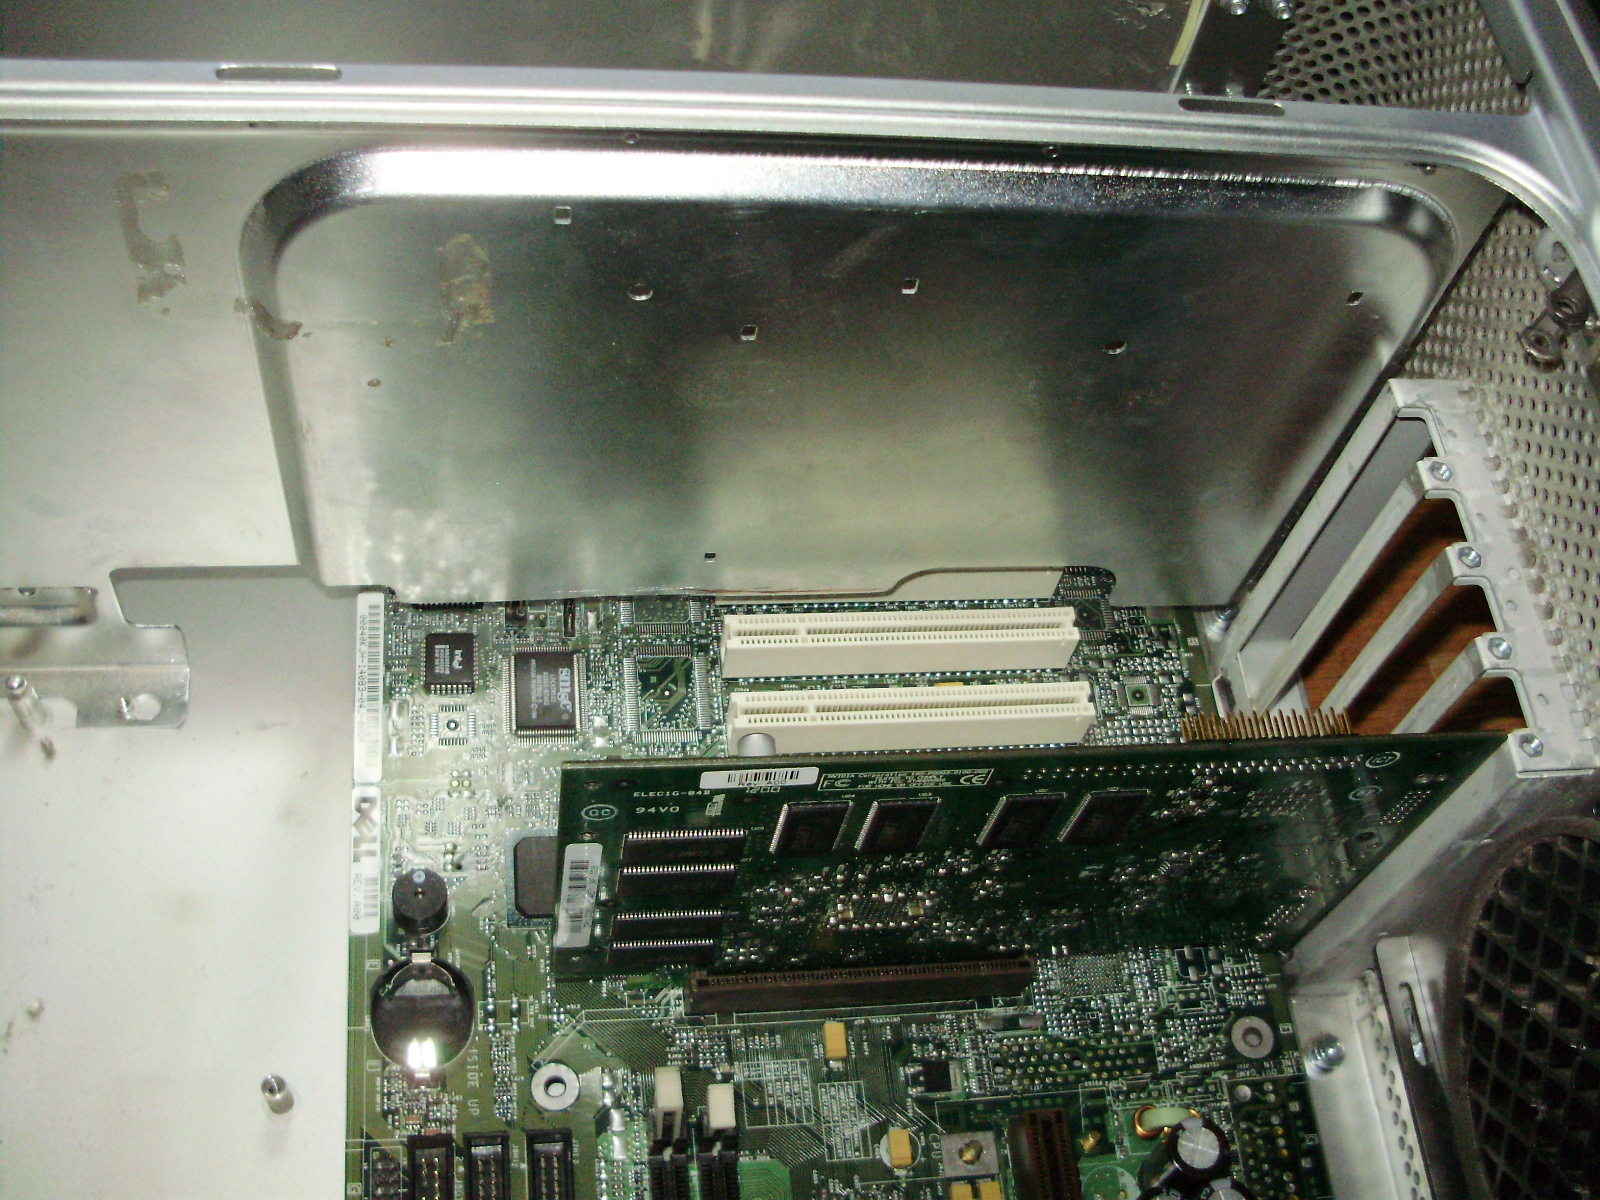
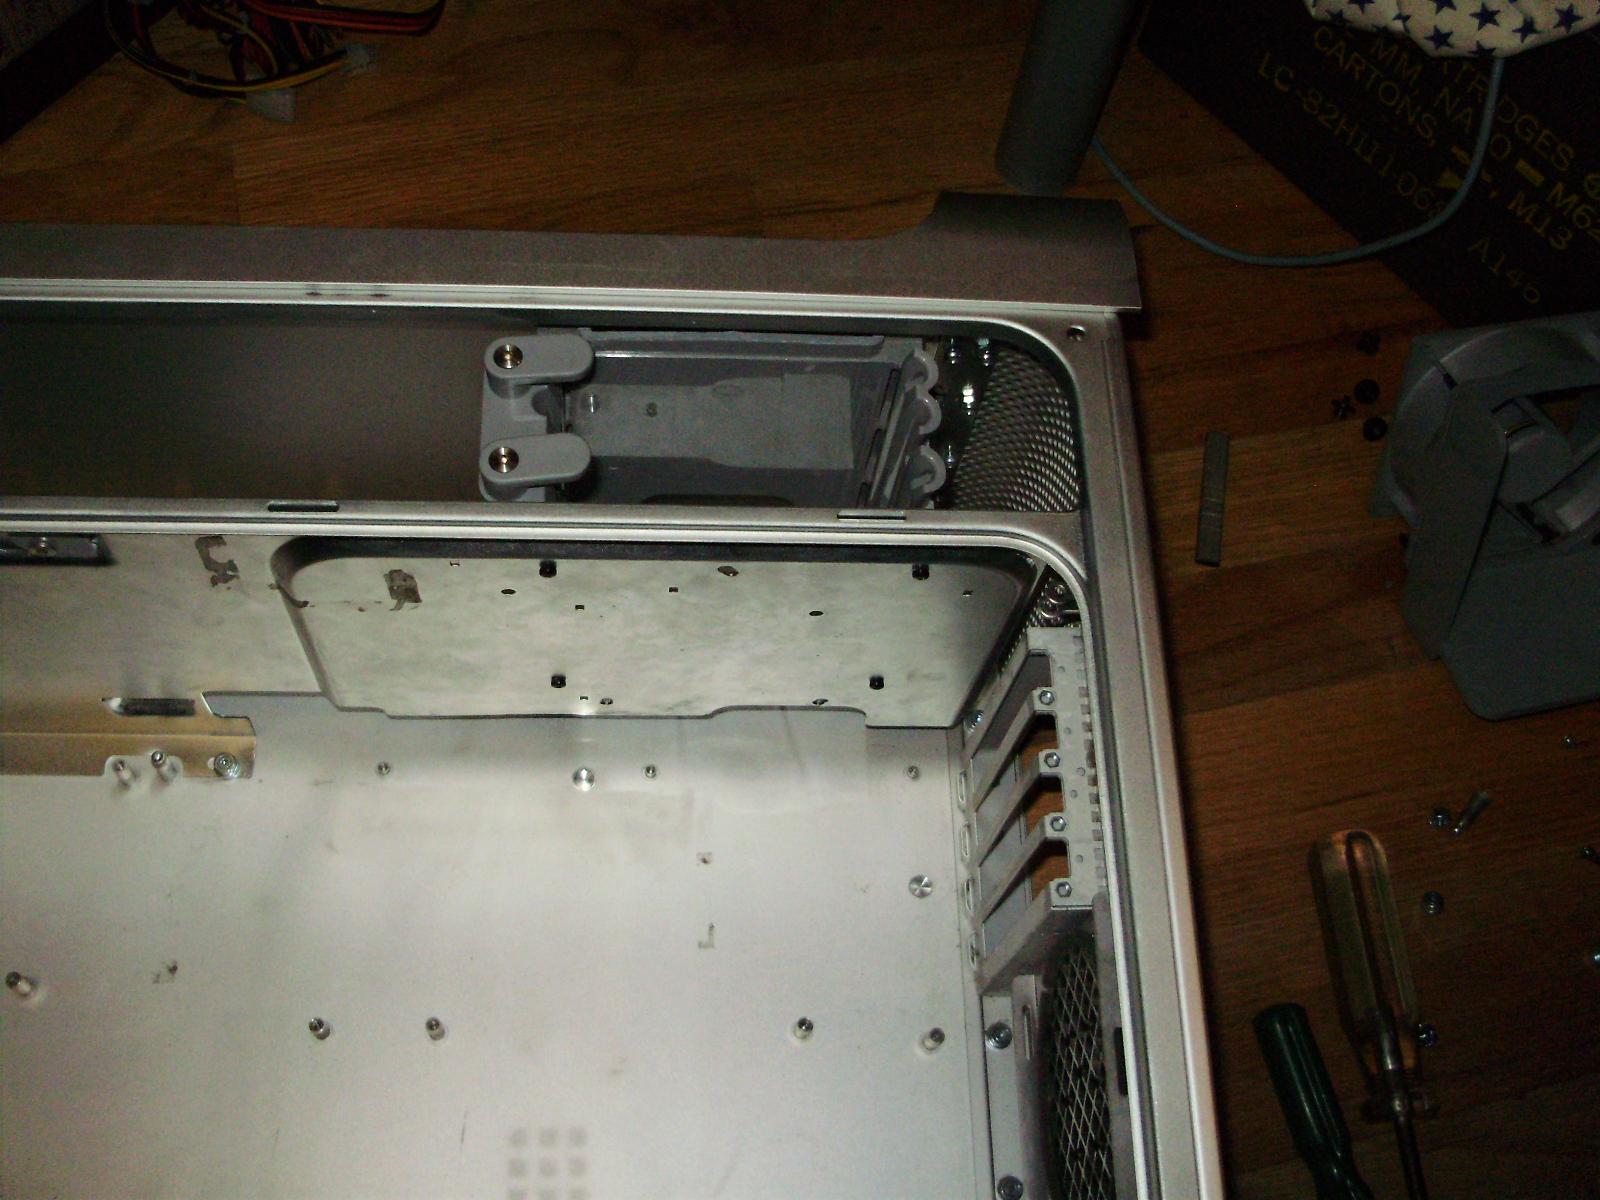
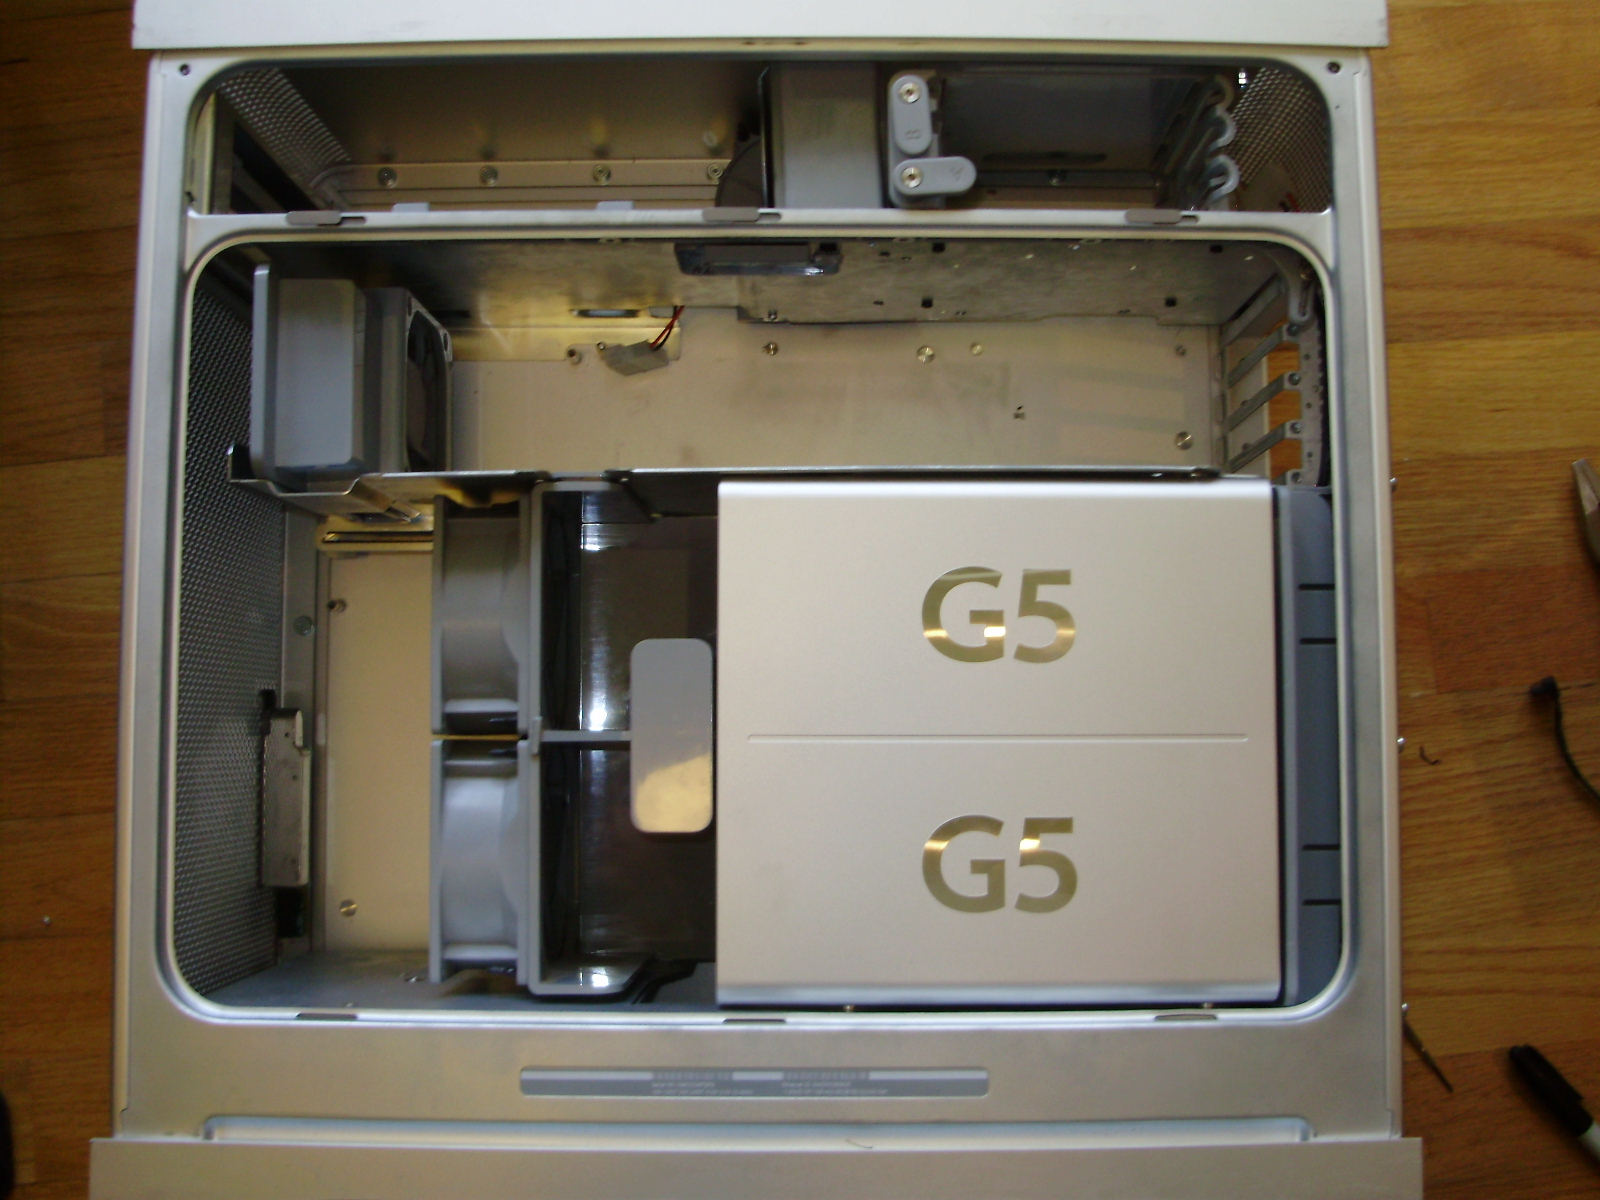
Since this case must fit a full ATX length motherboard, I had to cut the top divider to give the board clearance:
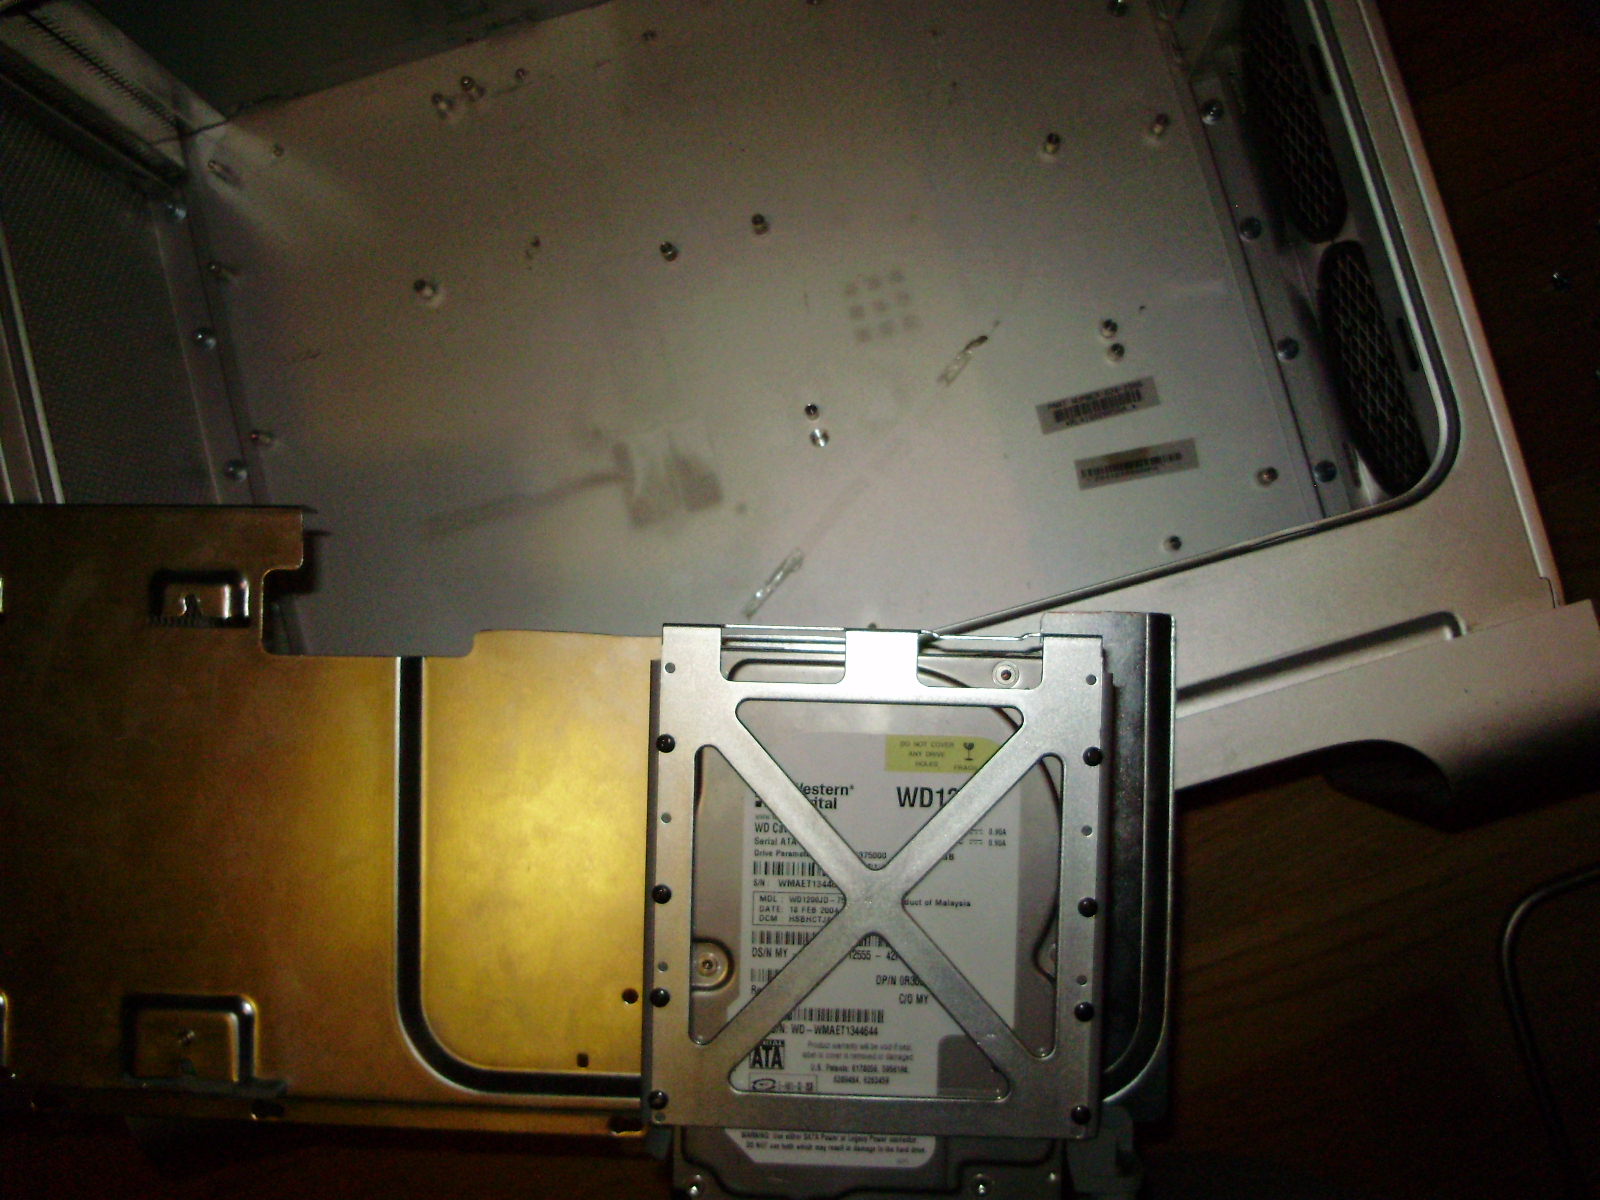
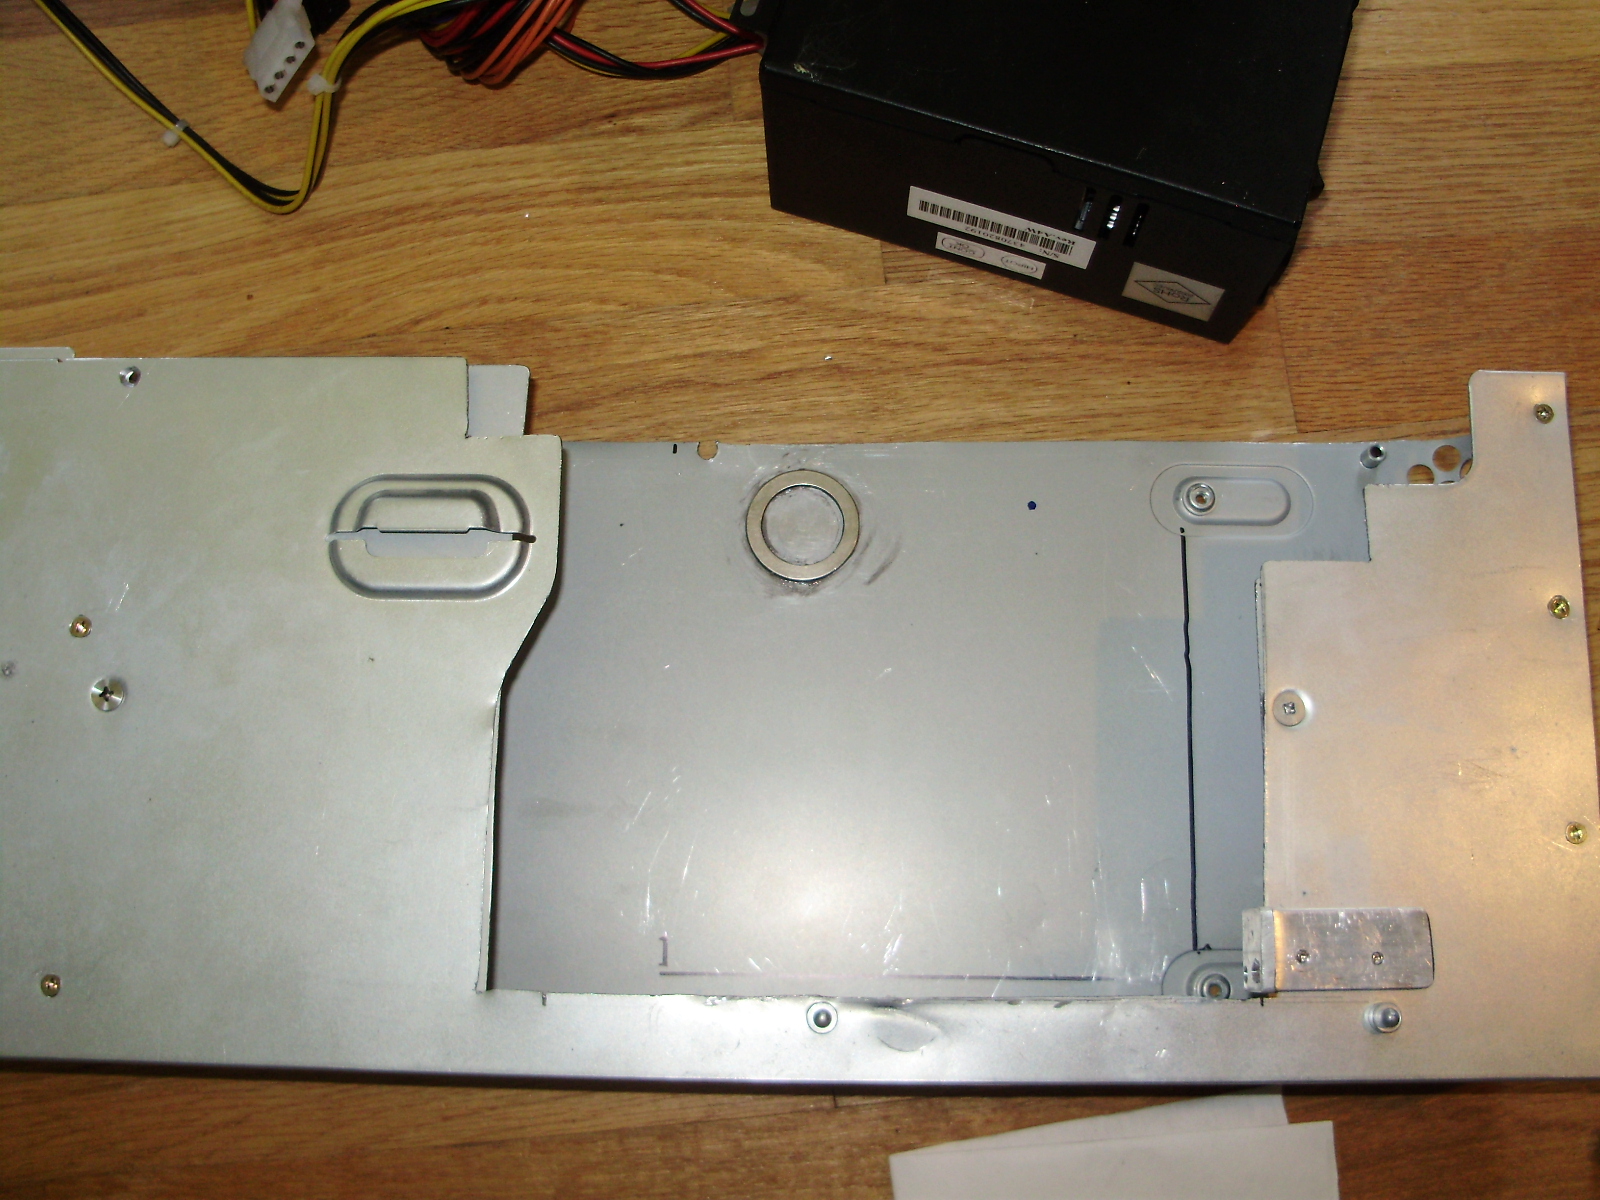
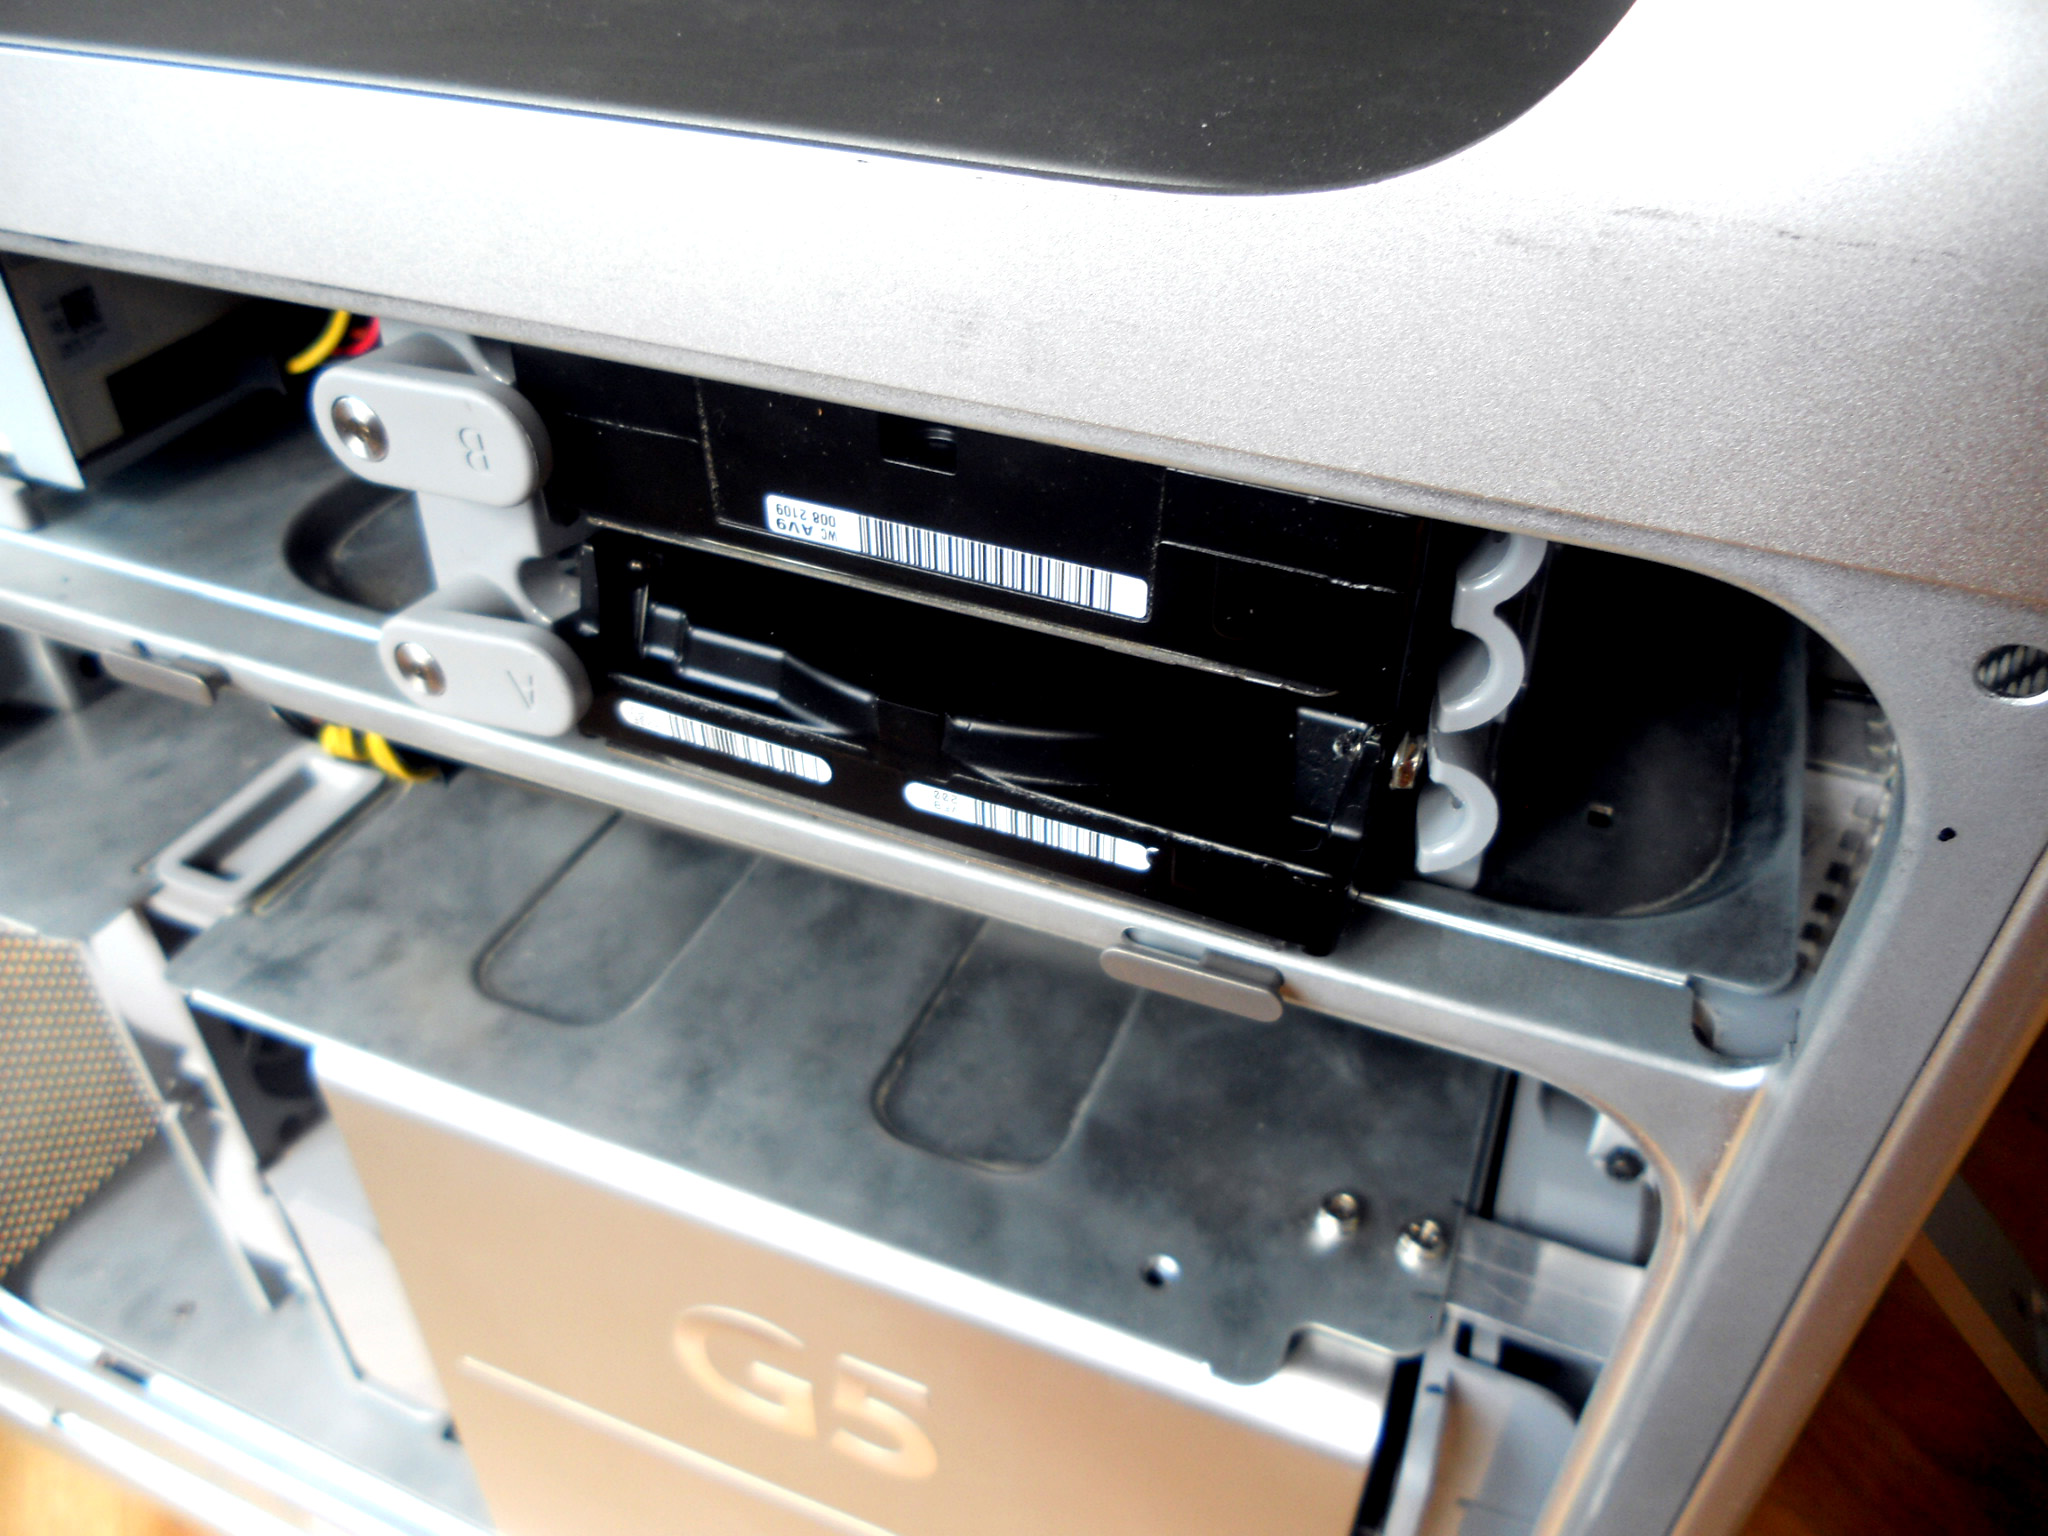
Since the motherboard now sat where the HDD cage was mounted, I had to move the cage forwards so the board could fit under it. For it to fit, I had to cut the cage's plastic shorter:
Then I screwed it to the divider:
I then reinstalled the latching mechanism:
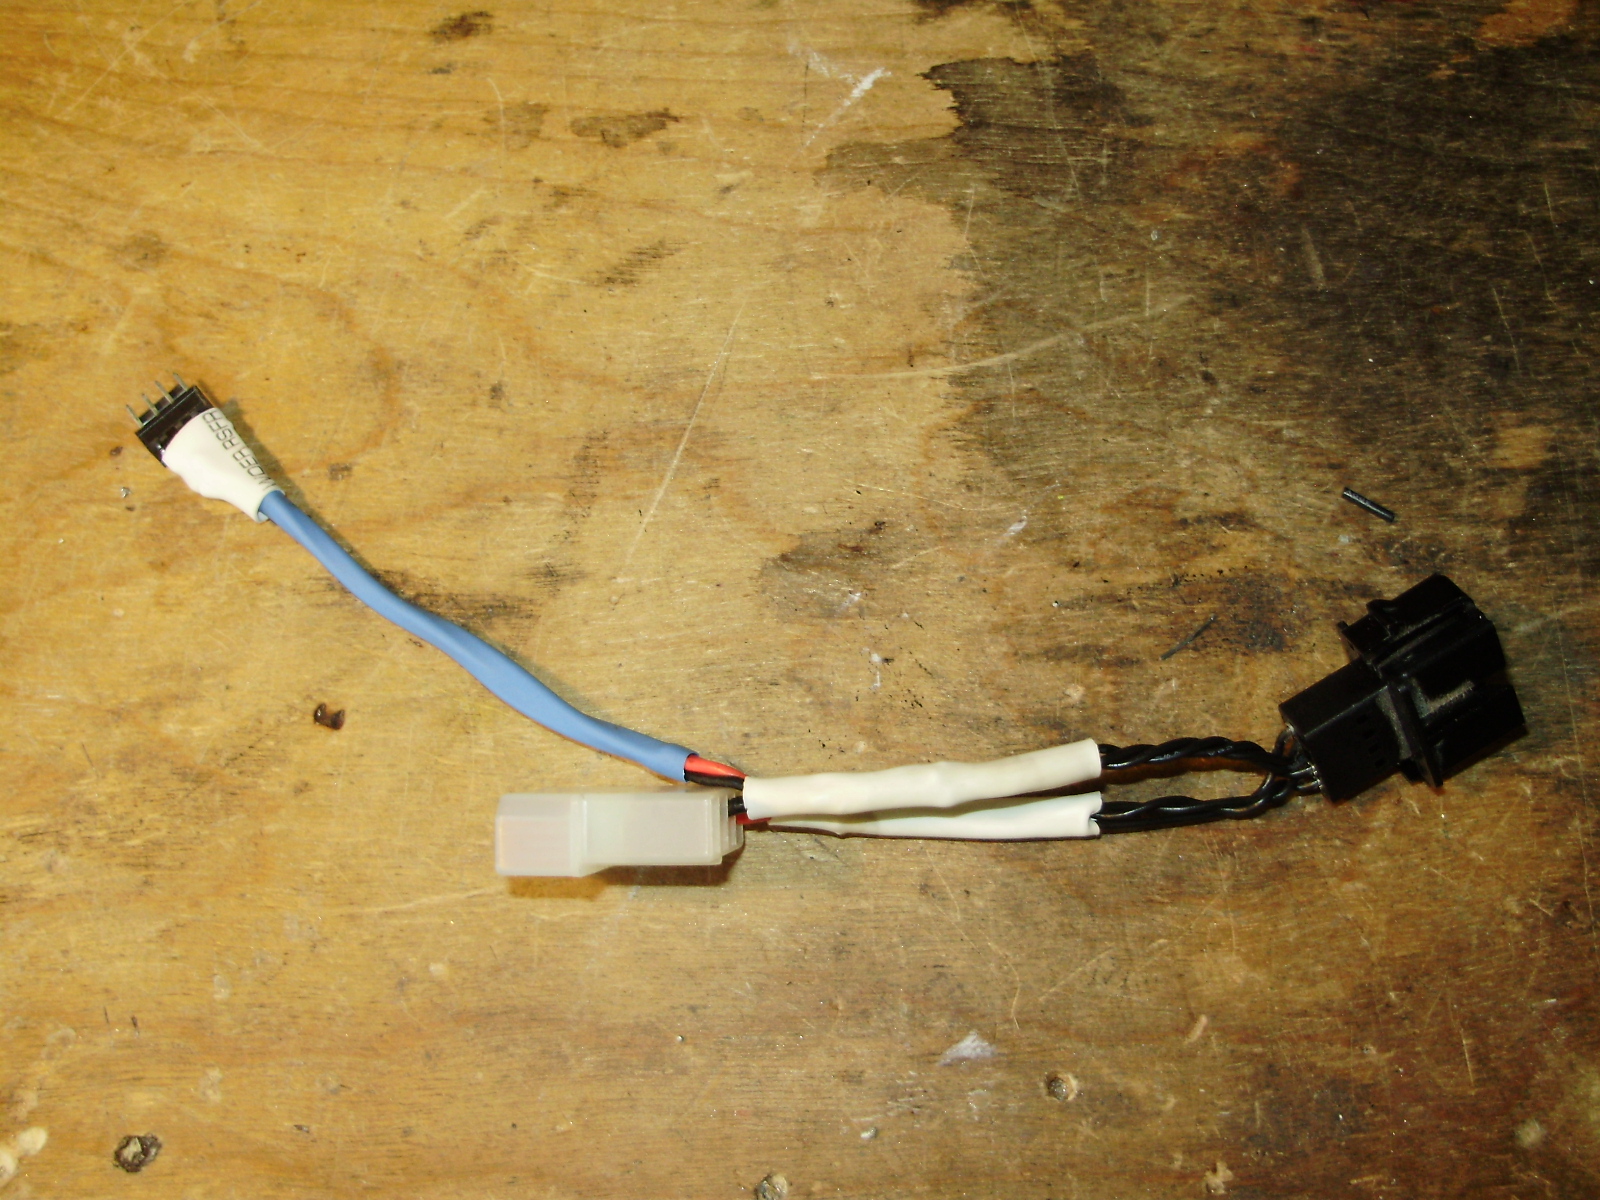
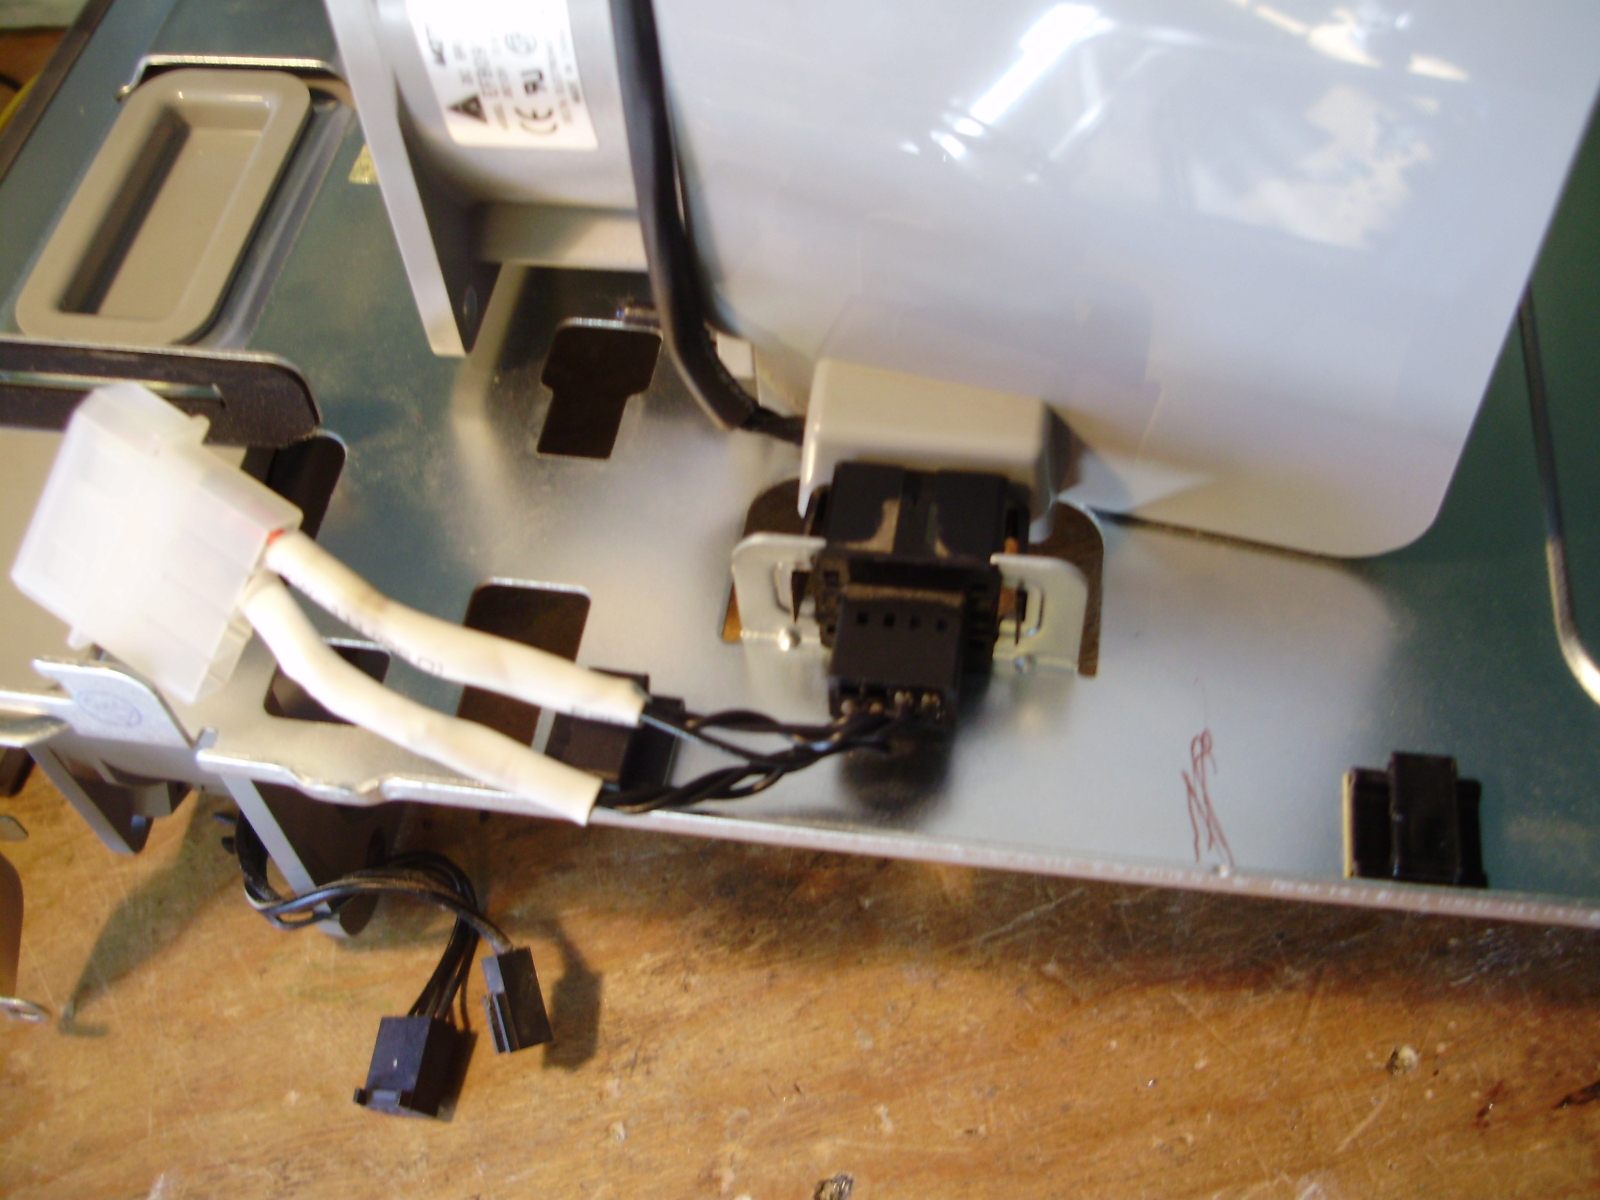
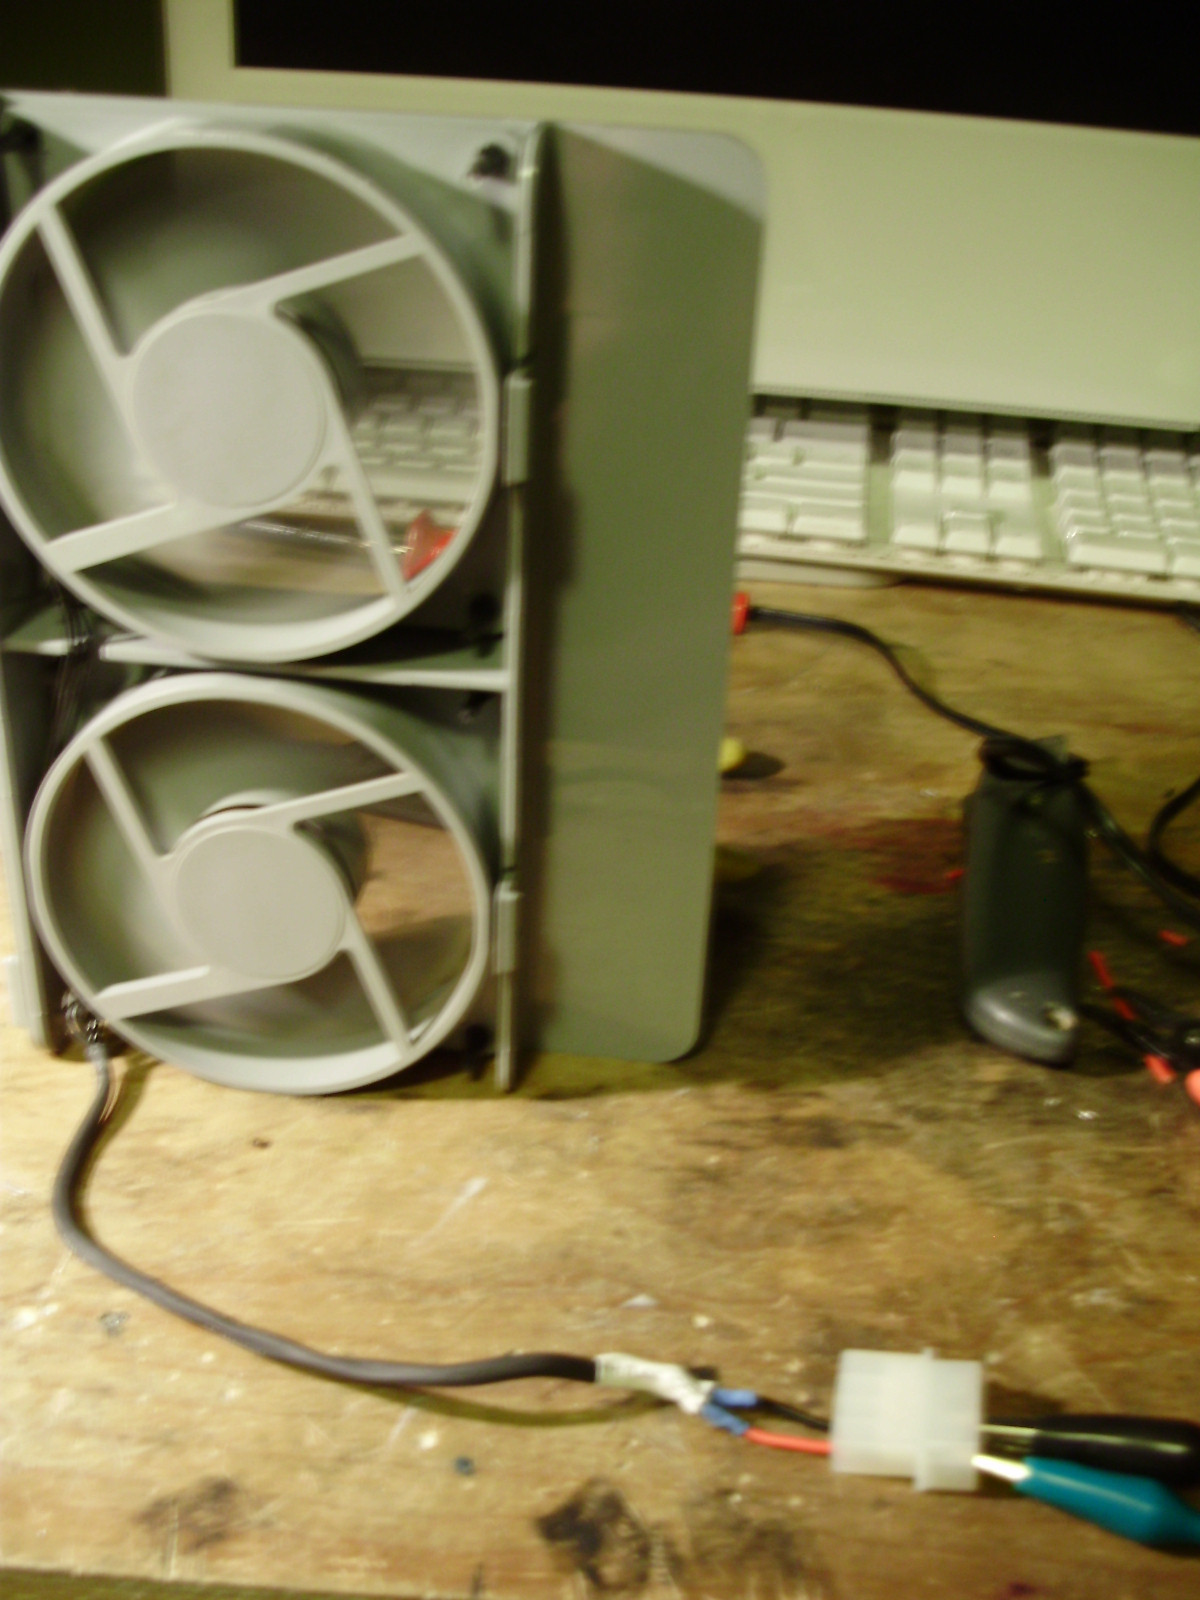
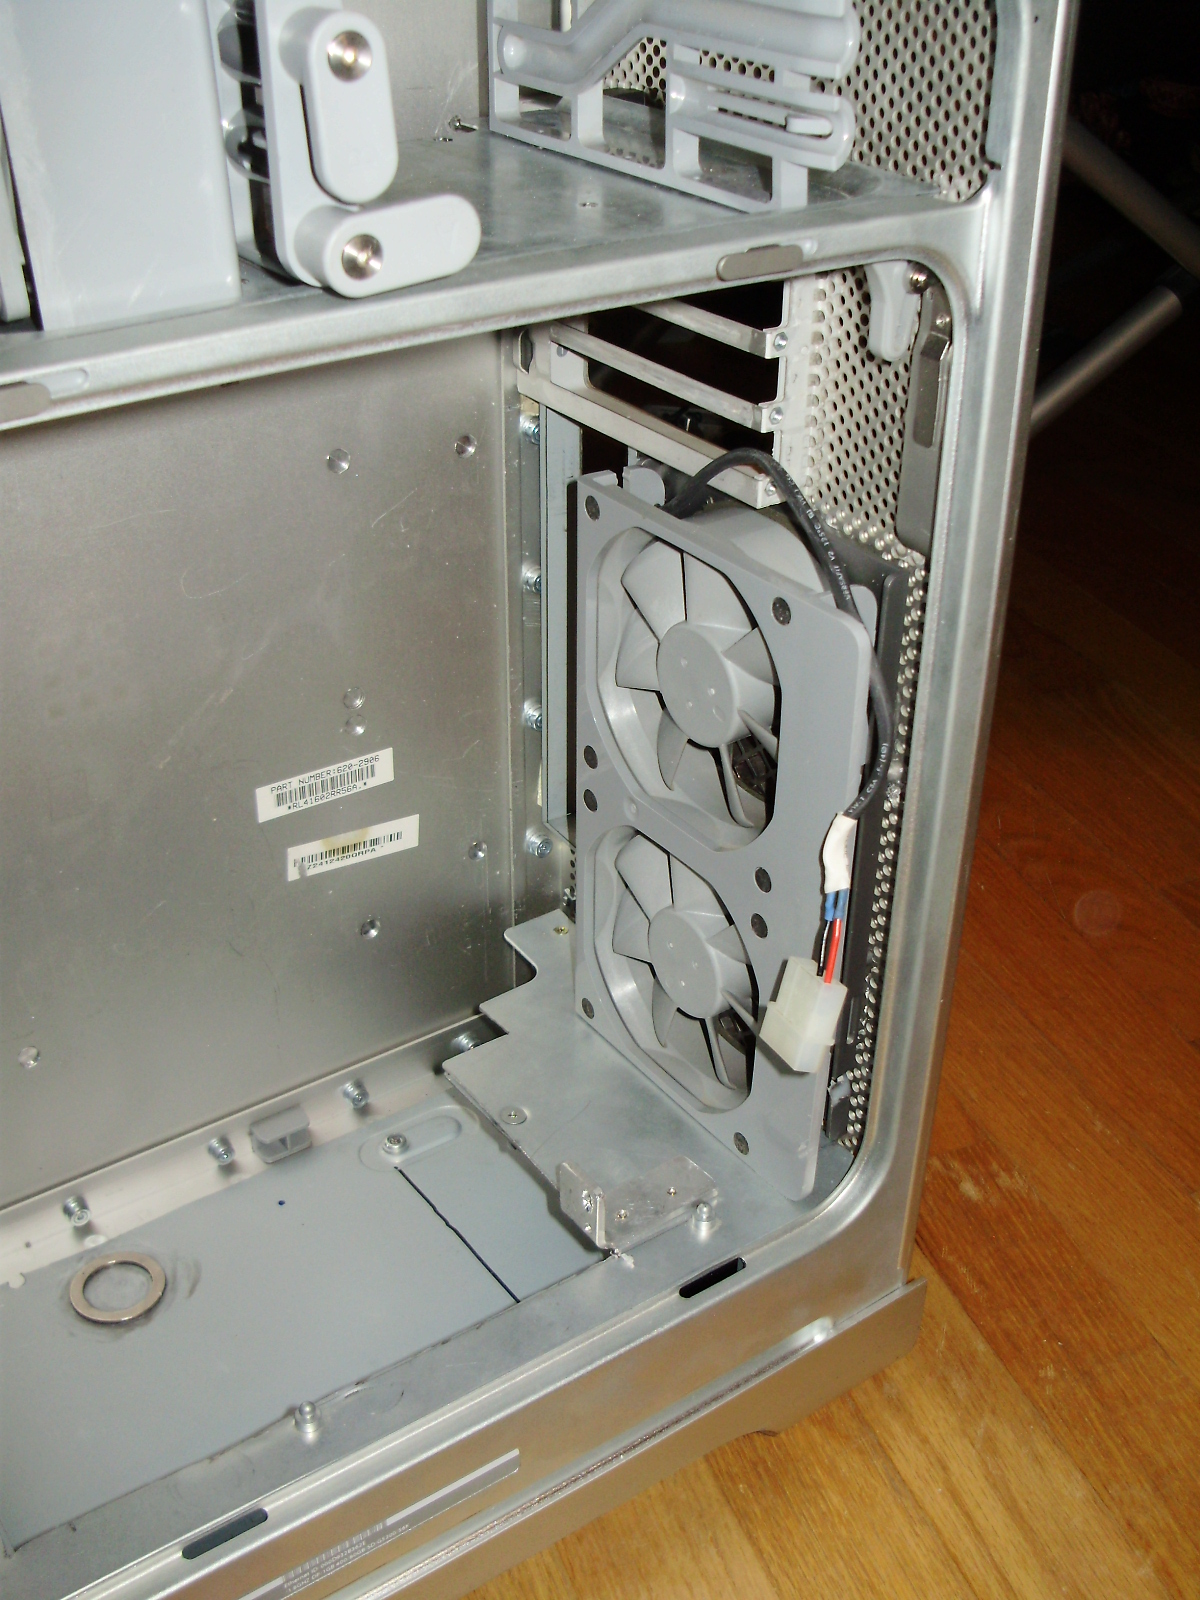
Since I wanted to keep the original internal look of the G5, I rewired all the stock fans to fit standard Molex connectors. All fans run of 5V, since they sound like leaf blowers at 12. I used wiring diagrams found HERE. For the front pair of fans, I reused the slide-in plug, so the fans can be hot-swapped.
I ended up not using the HDD bay fan and blower for clearance reasons, but I did wire them up as well:
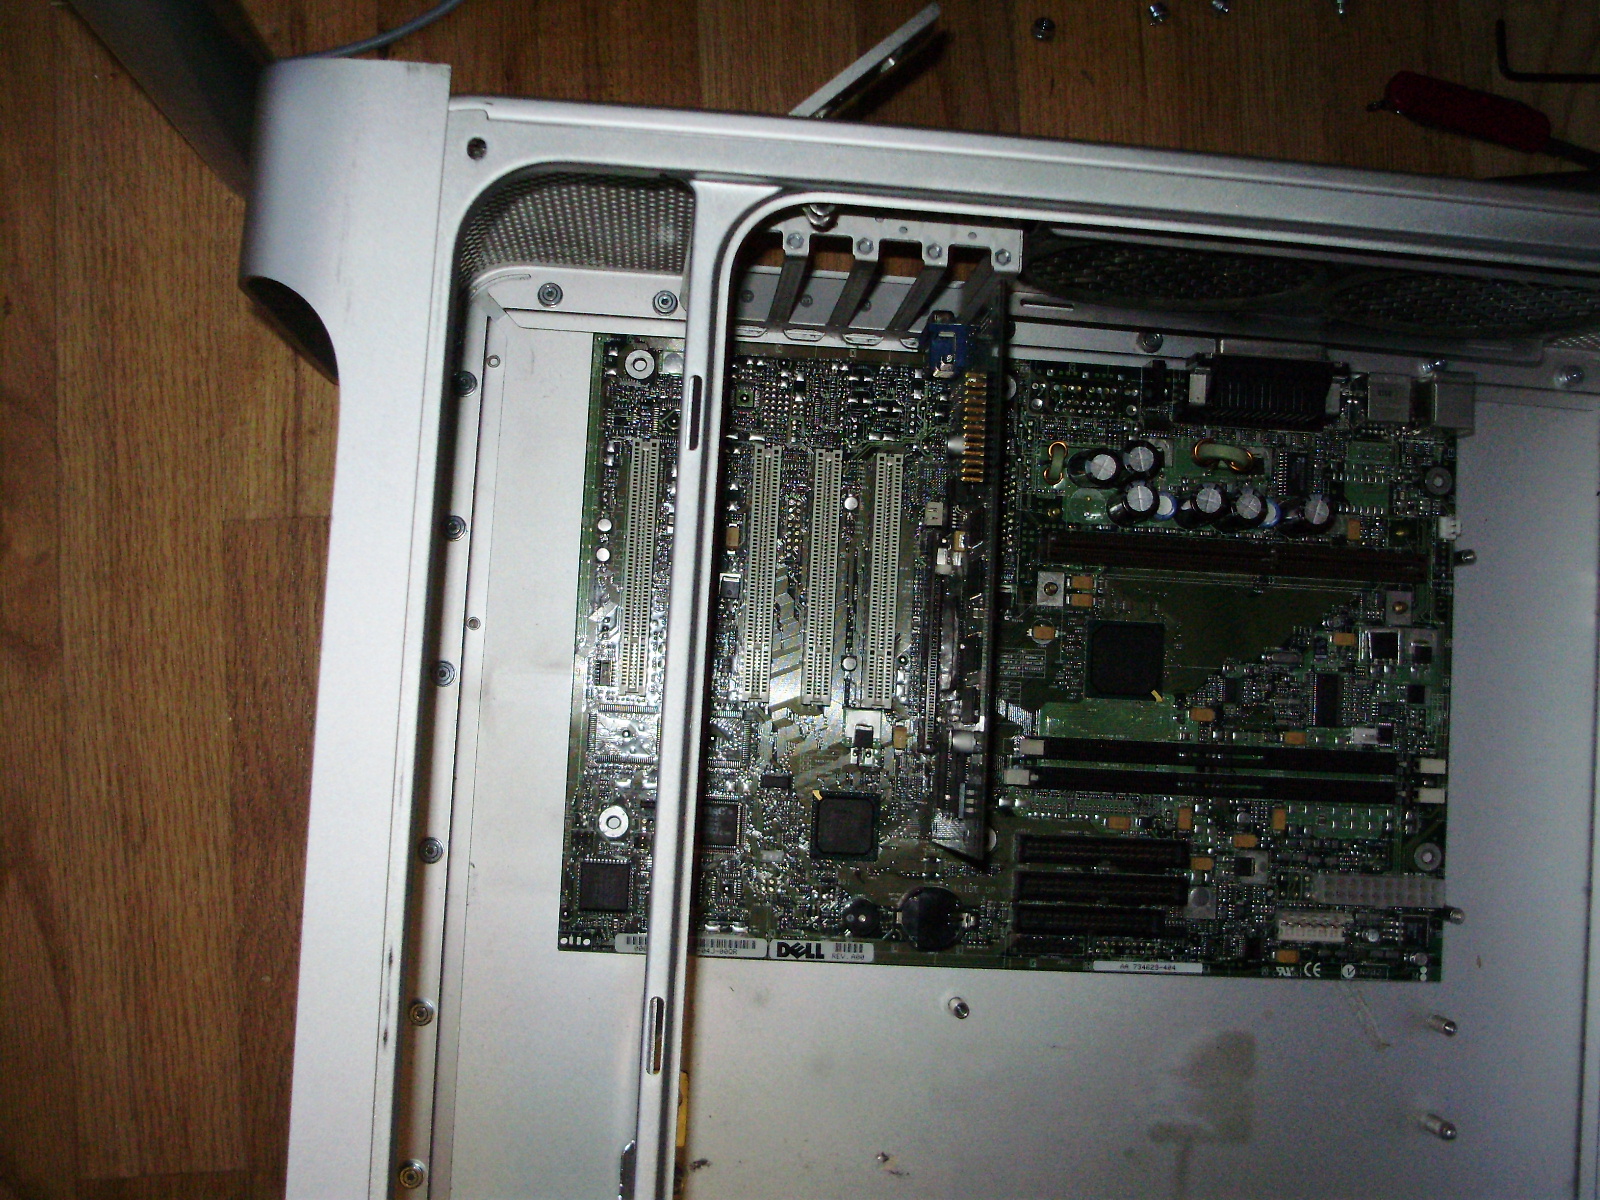
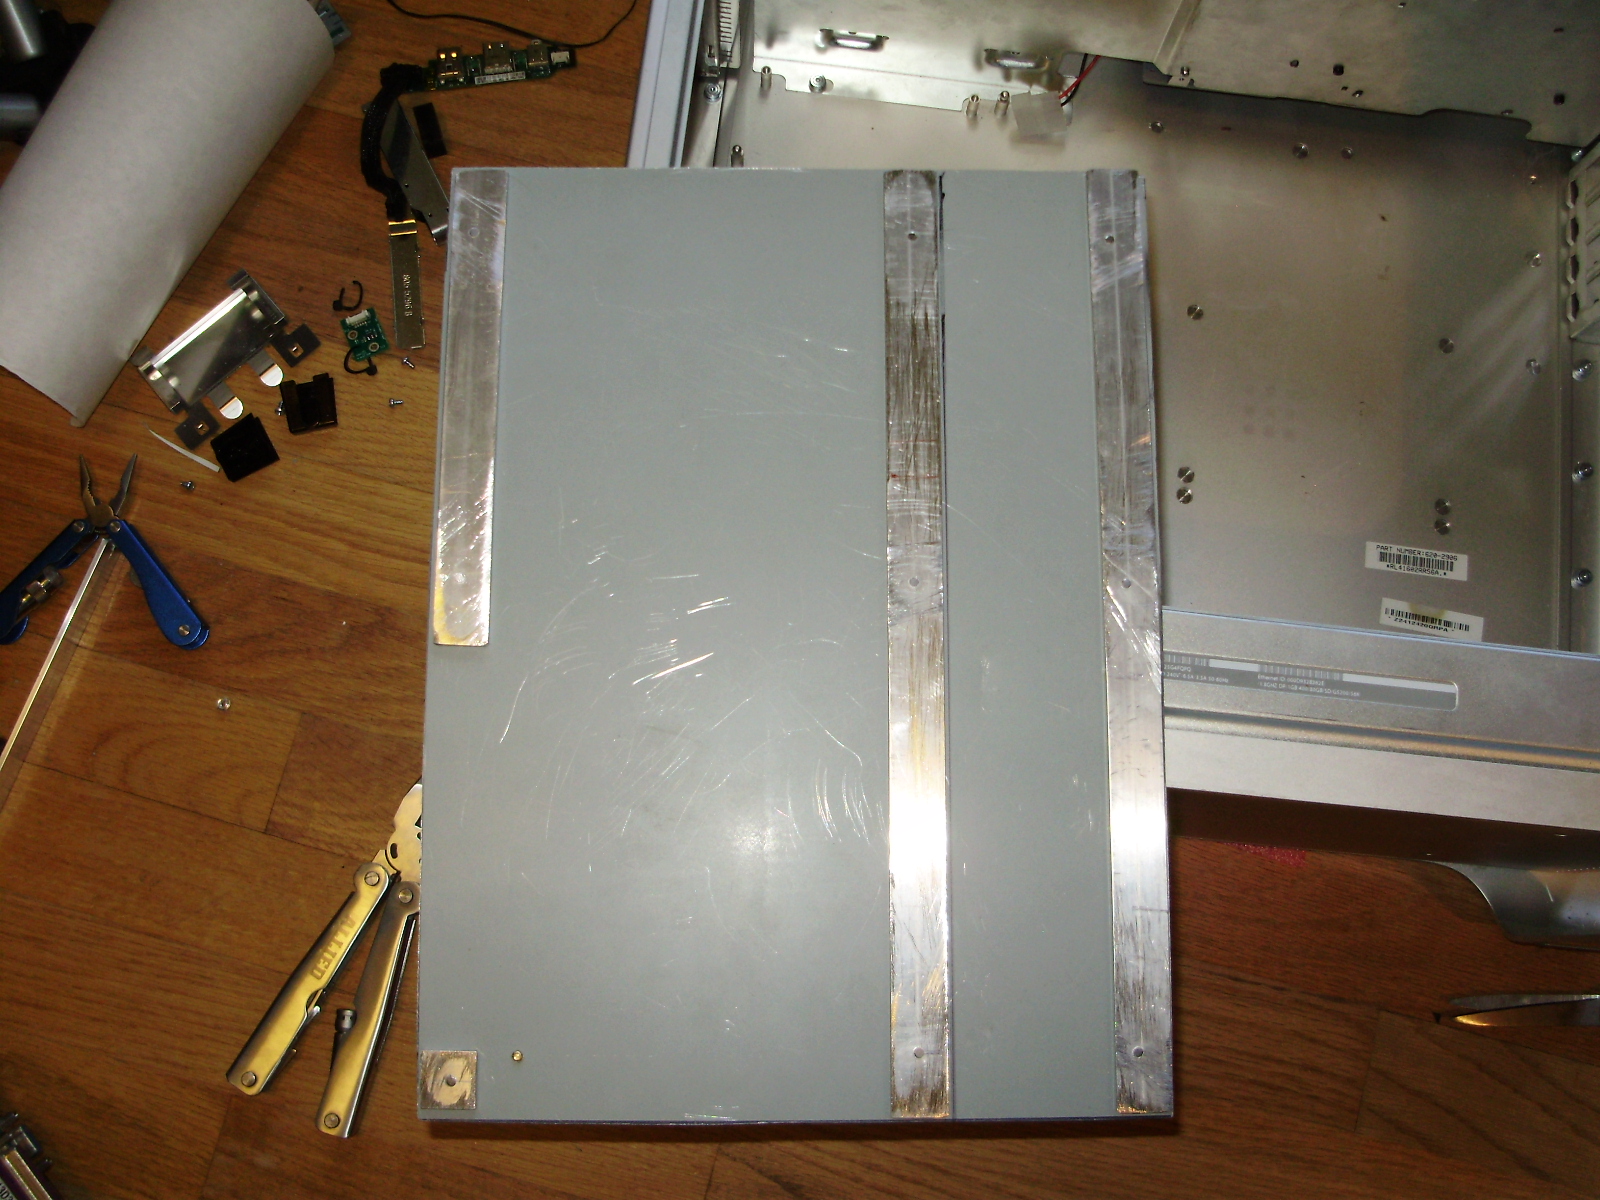
To mount the motherboard, I removed the stock standoff by popping them out with pliers, and built a motherboard tray out of the steel side panel of an old case and some aluminum flat bar.
Because the stock G5 PSU is much longer and shorter than an ATX one, mounting the power supply was one of the most difficult parts of this project. Also, the front fans and the CPU cover both mount to the bottom divider, which is screwed directly into the stock power supply. To fit an ATX one but keep the bottom divider, I cut a hole in both the divider and the casing of the original power supply. I then added an aluminum bracket which the PSU can be screwed to on one side using a thumb screw. The other side of the power supply is fixed down with a neodymium magnet I glued to the bottom of the stock PSU. If you happen to have to glue a strong magnet, remember not to used JB Weld, as it has steel in it. The glue is attracted to the magnet, so it flows around the magnet and tries to coat the outside of the magnet evenly.
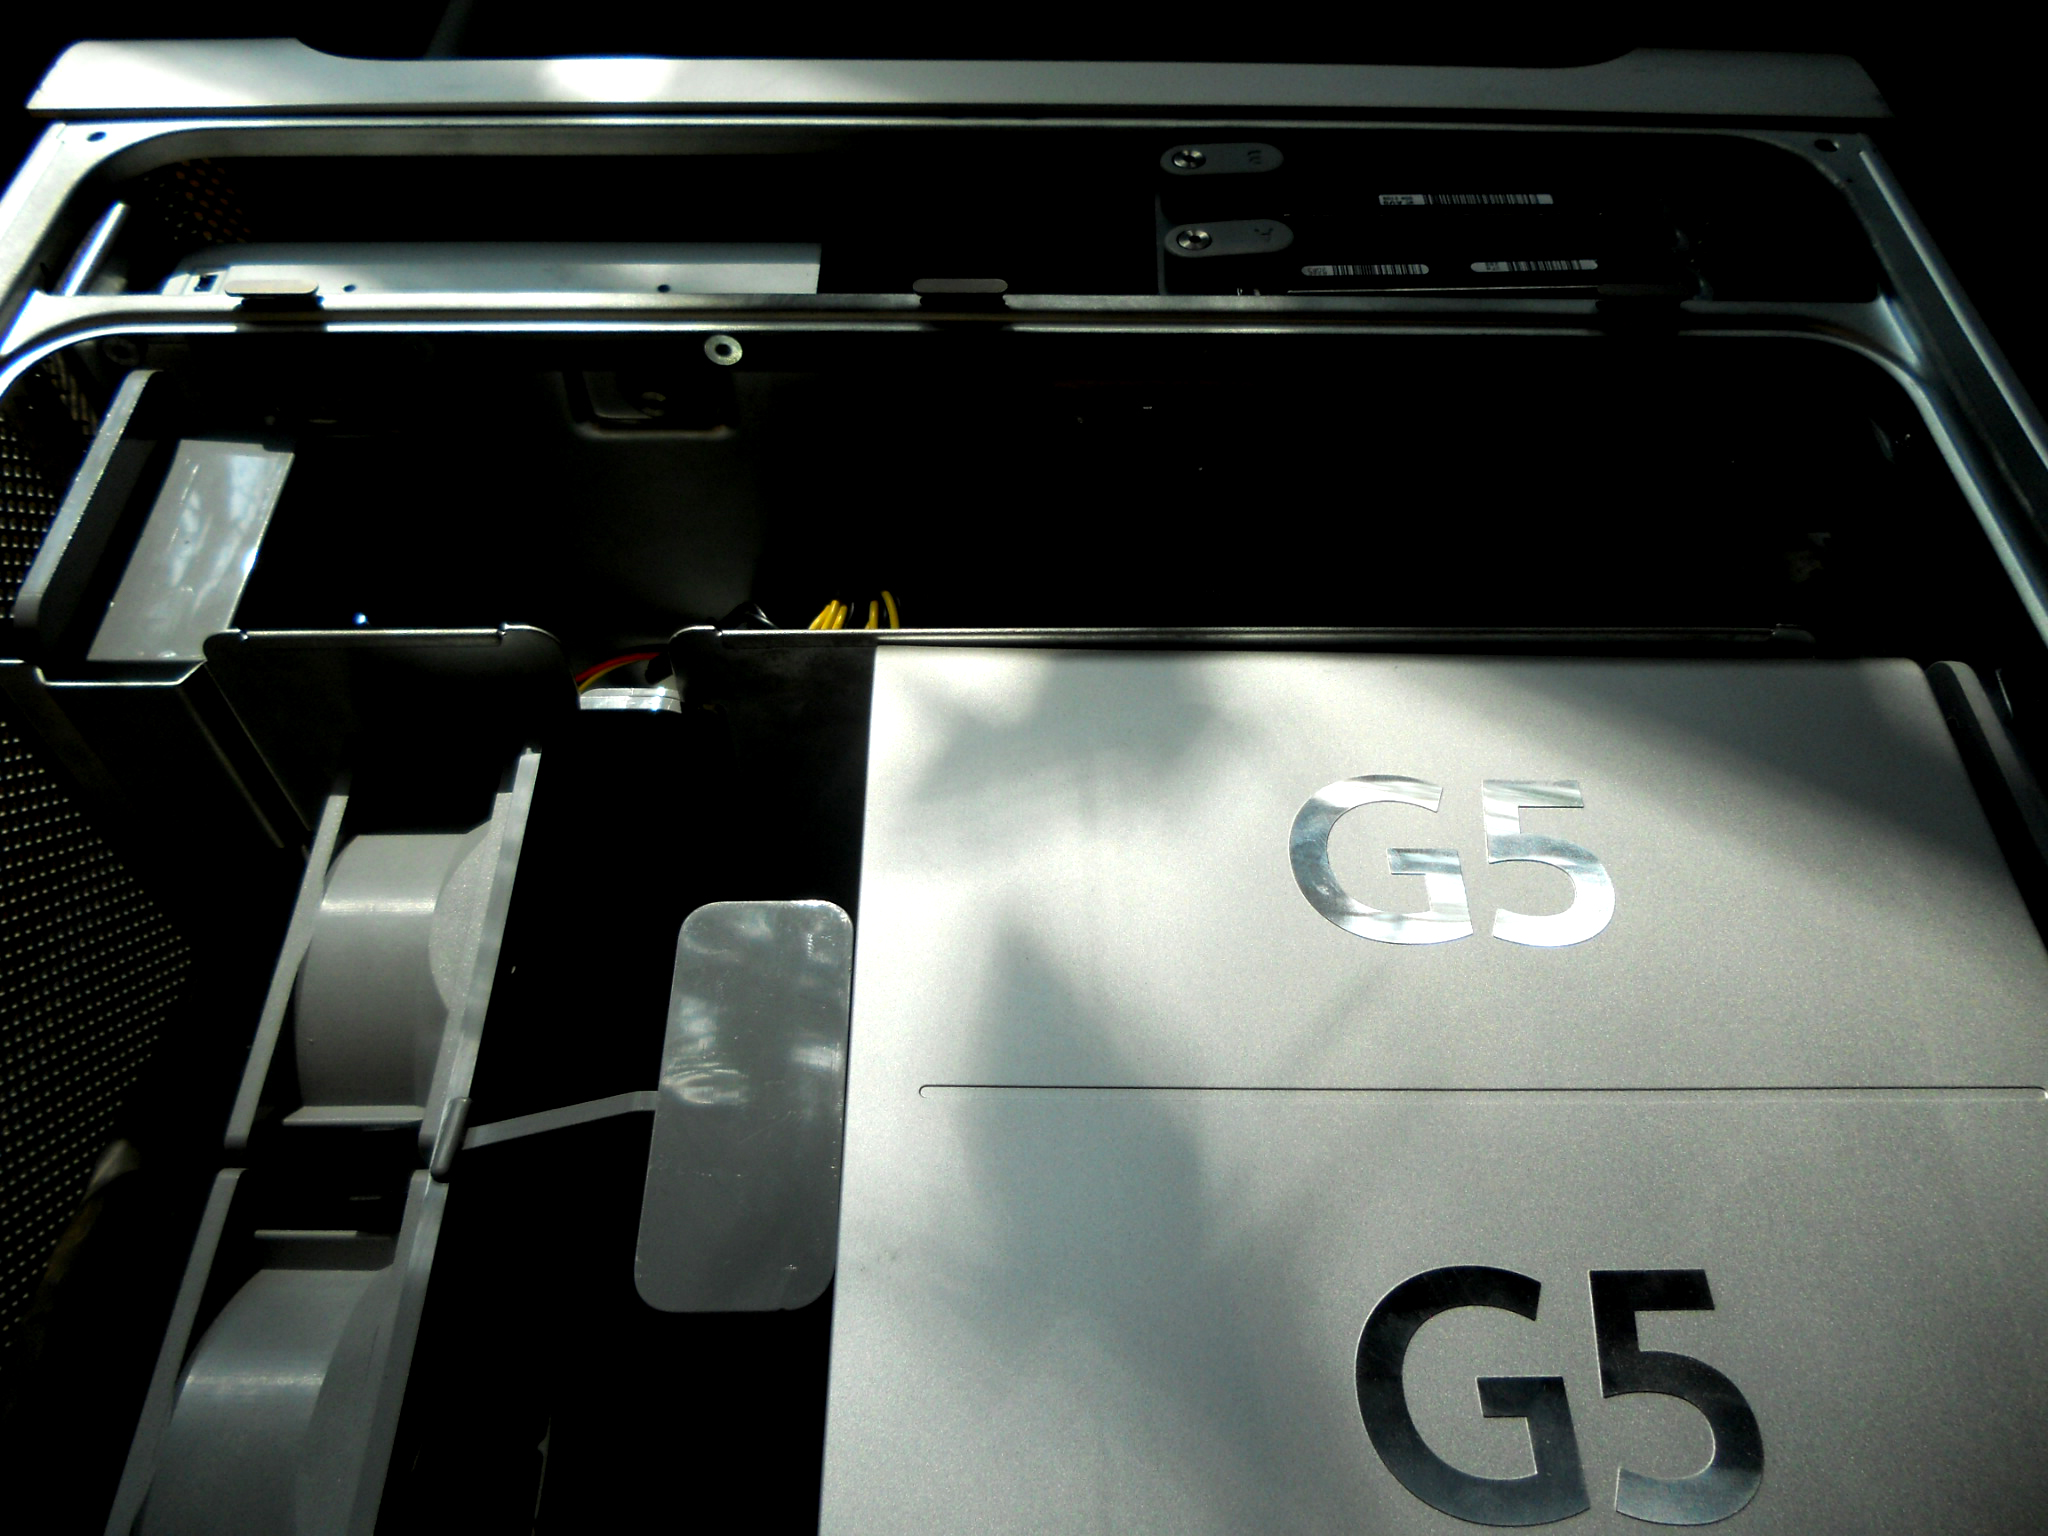
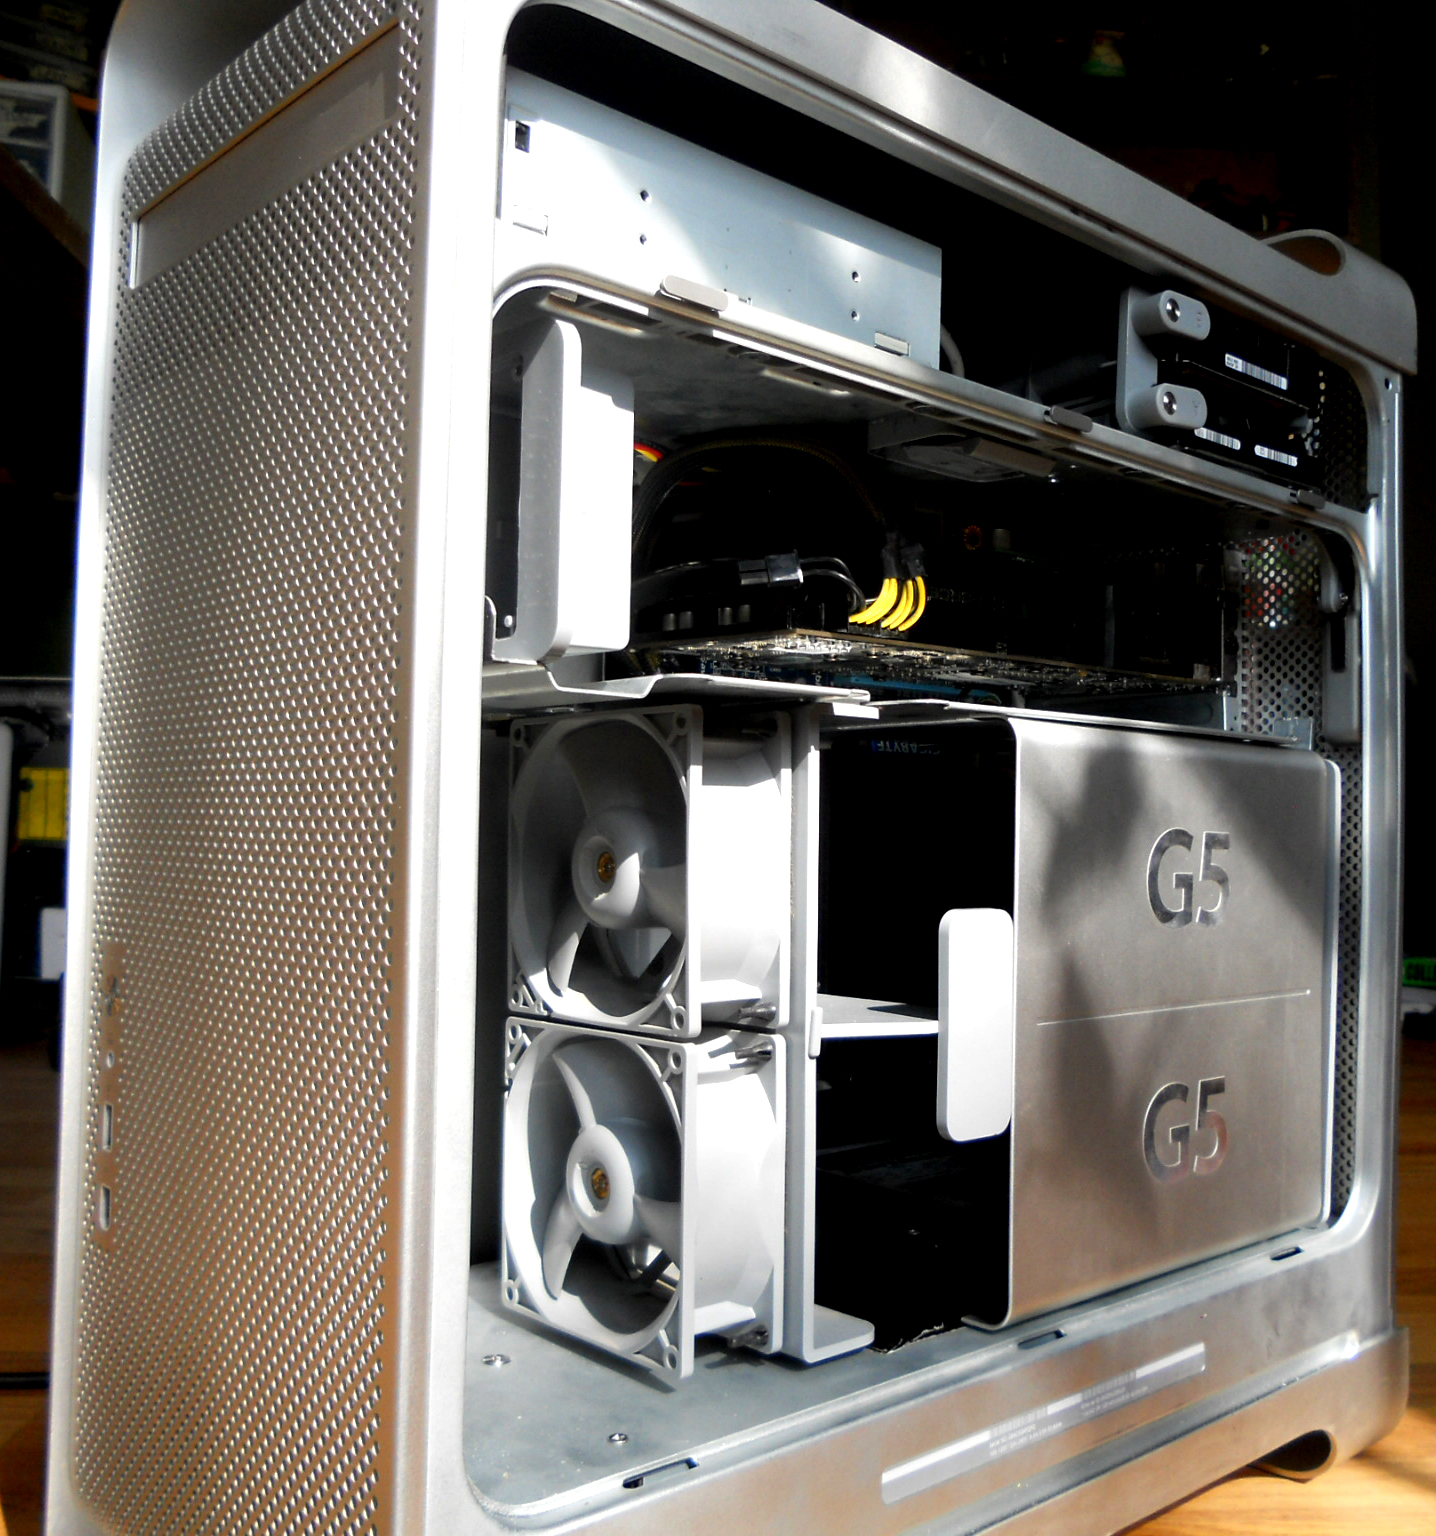
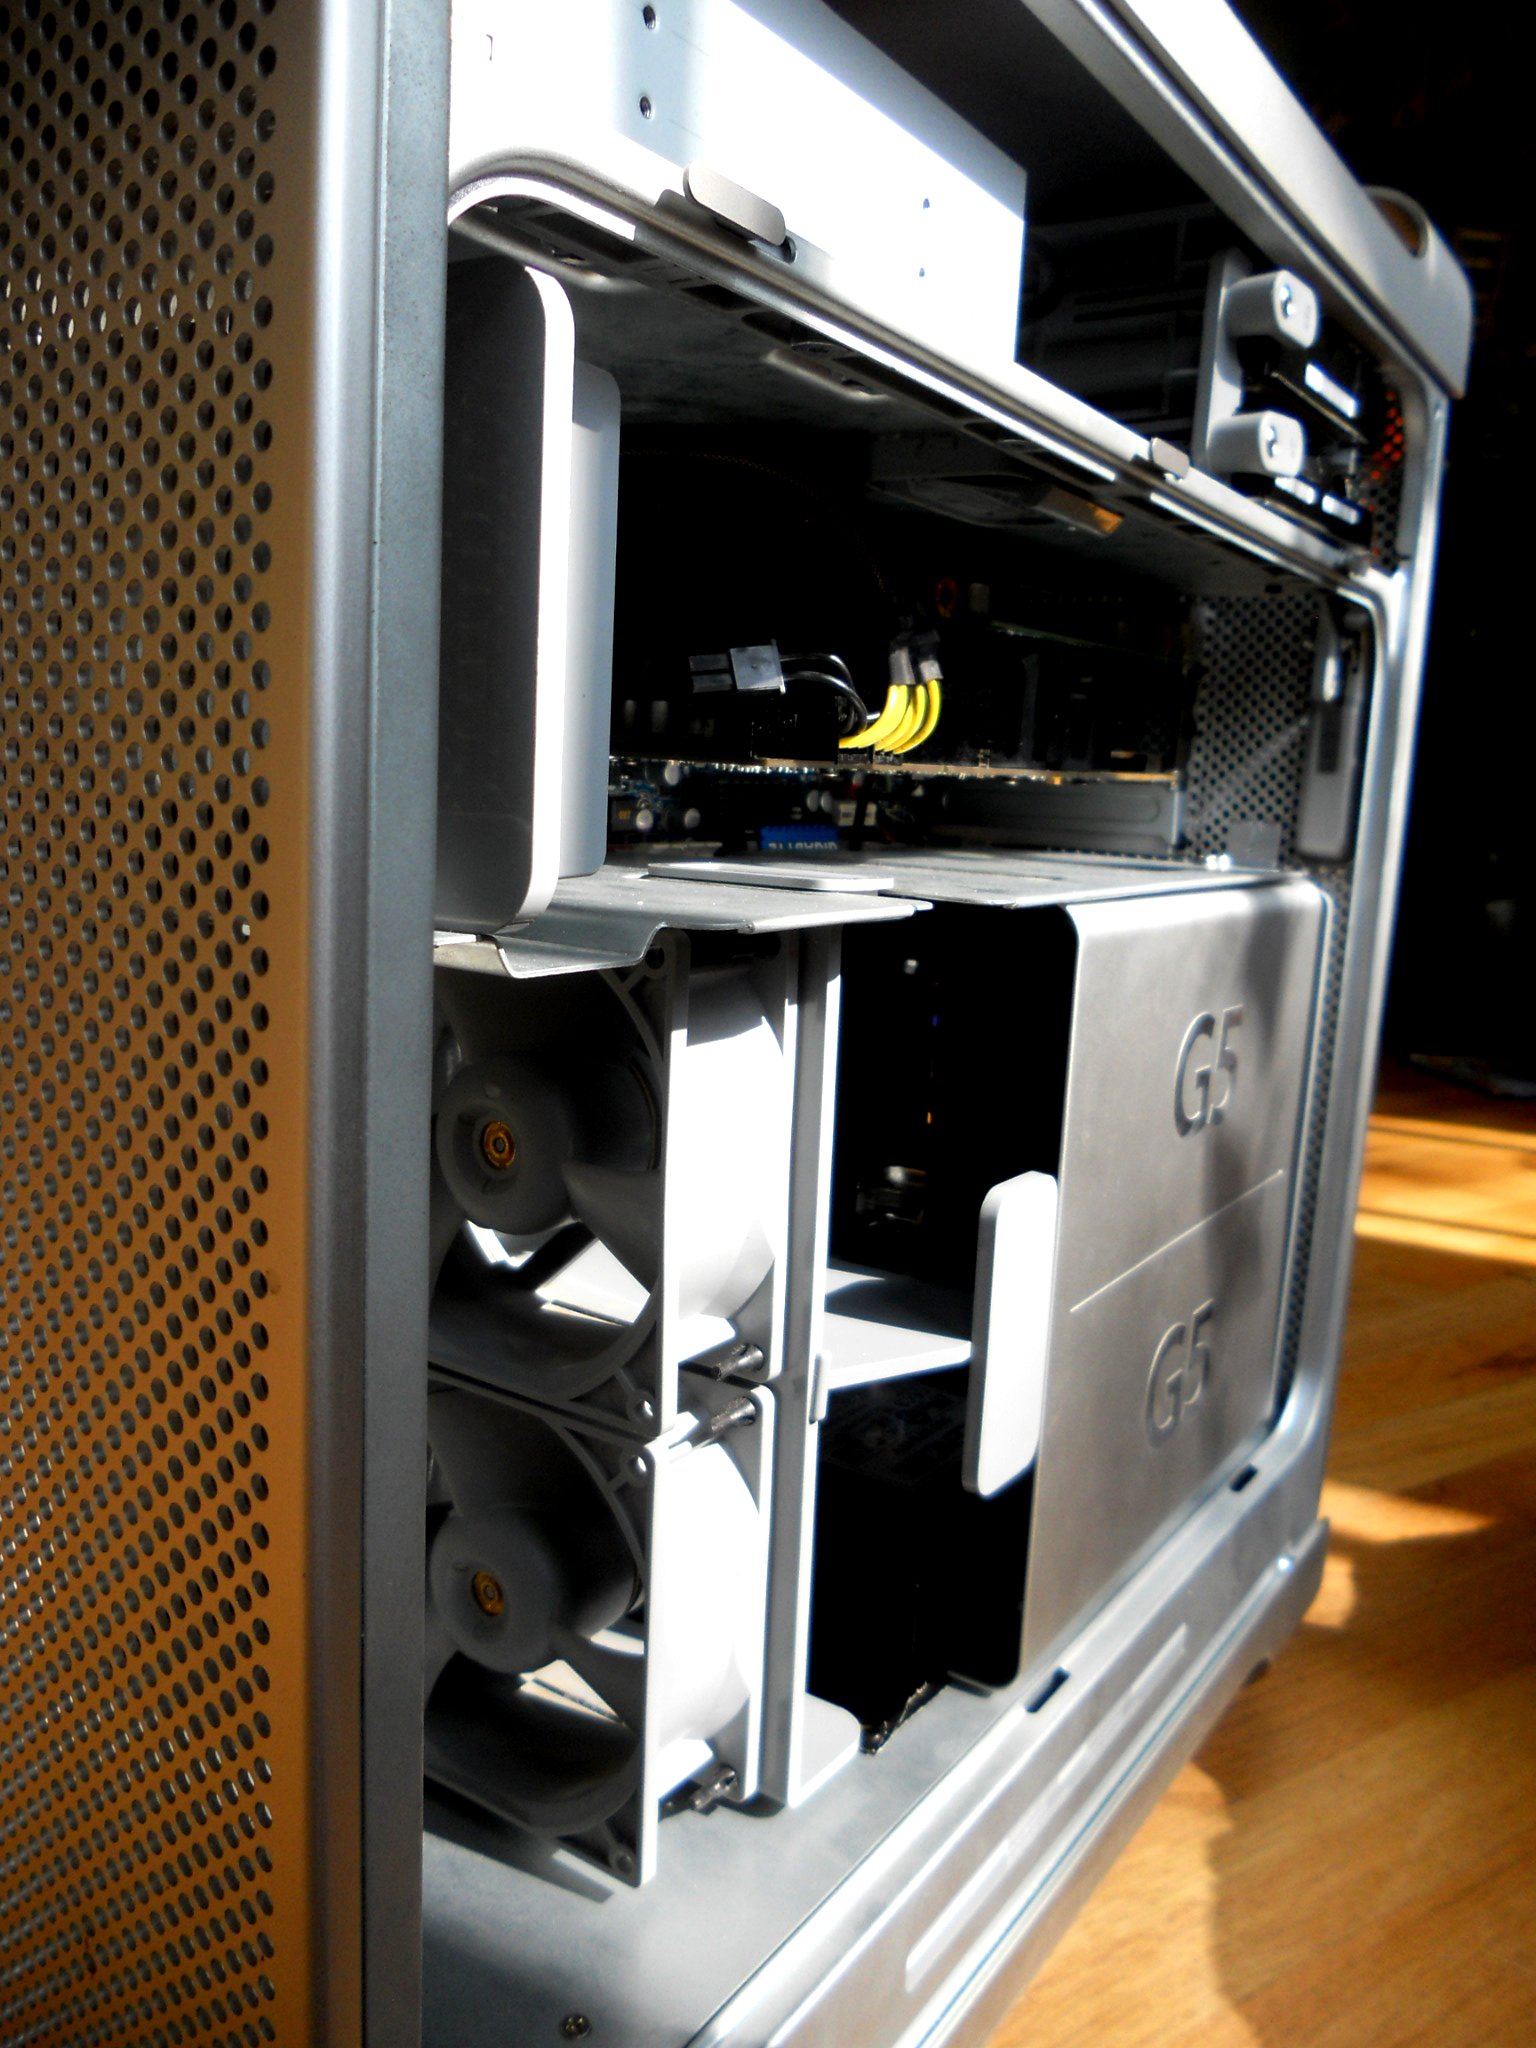
When the CPU cover and fans are in place, the PSU is nearly invisible:
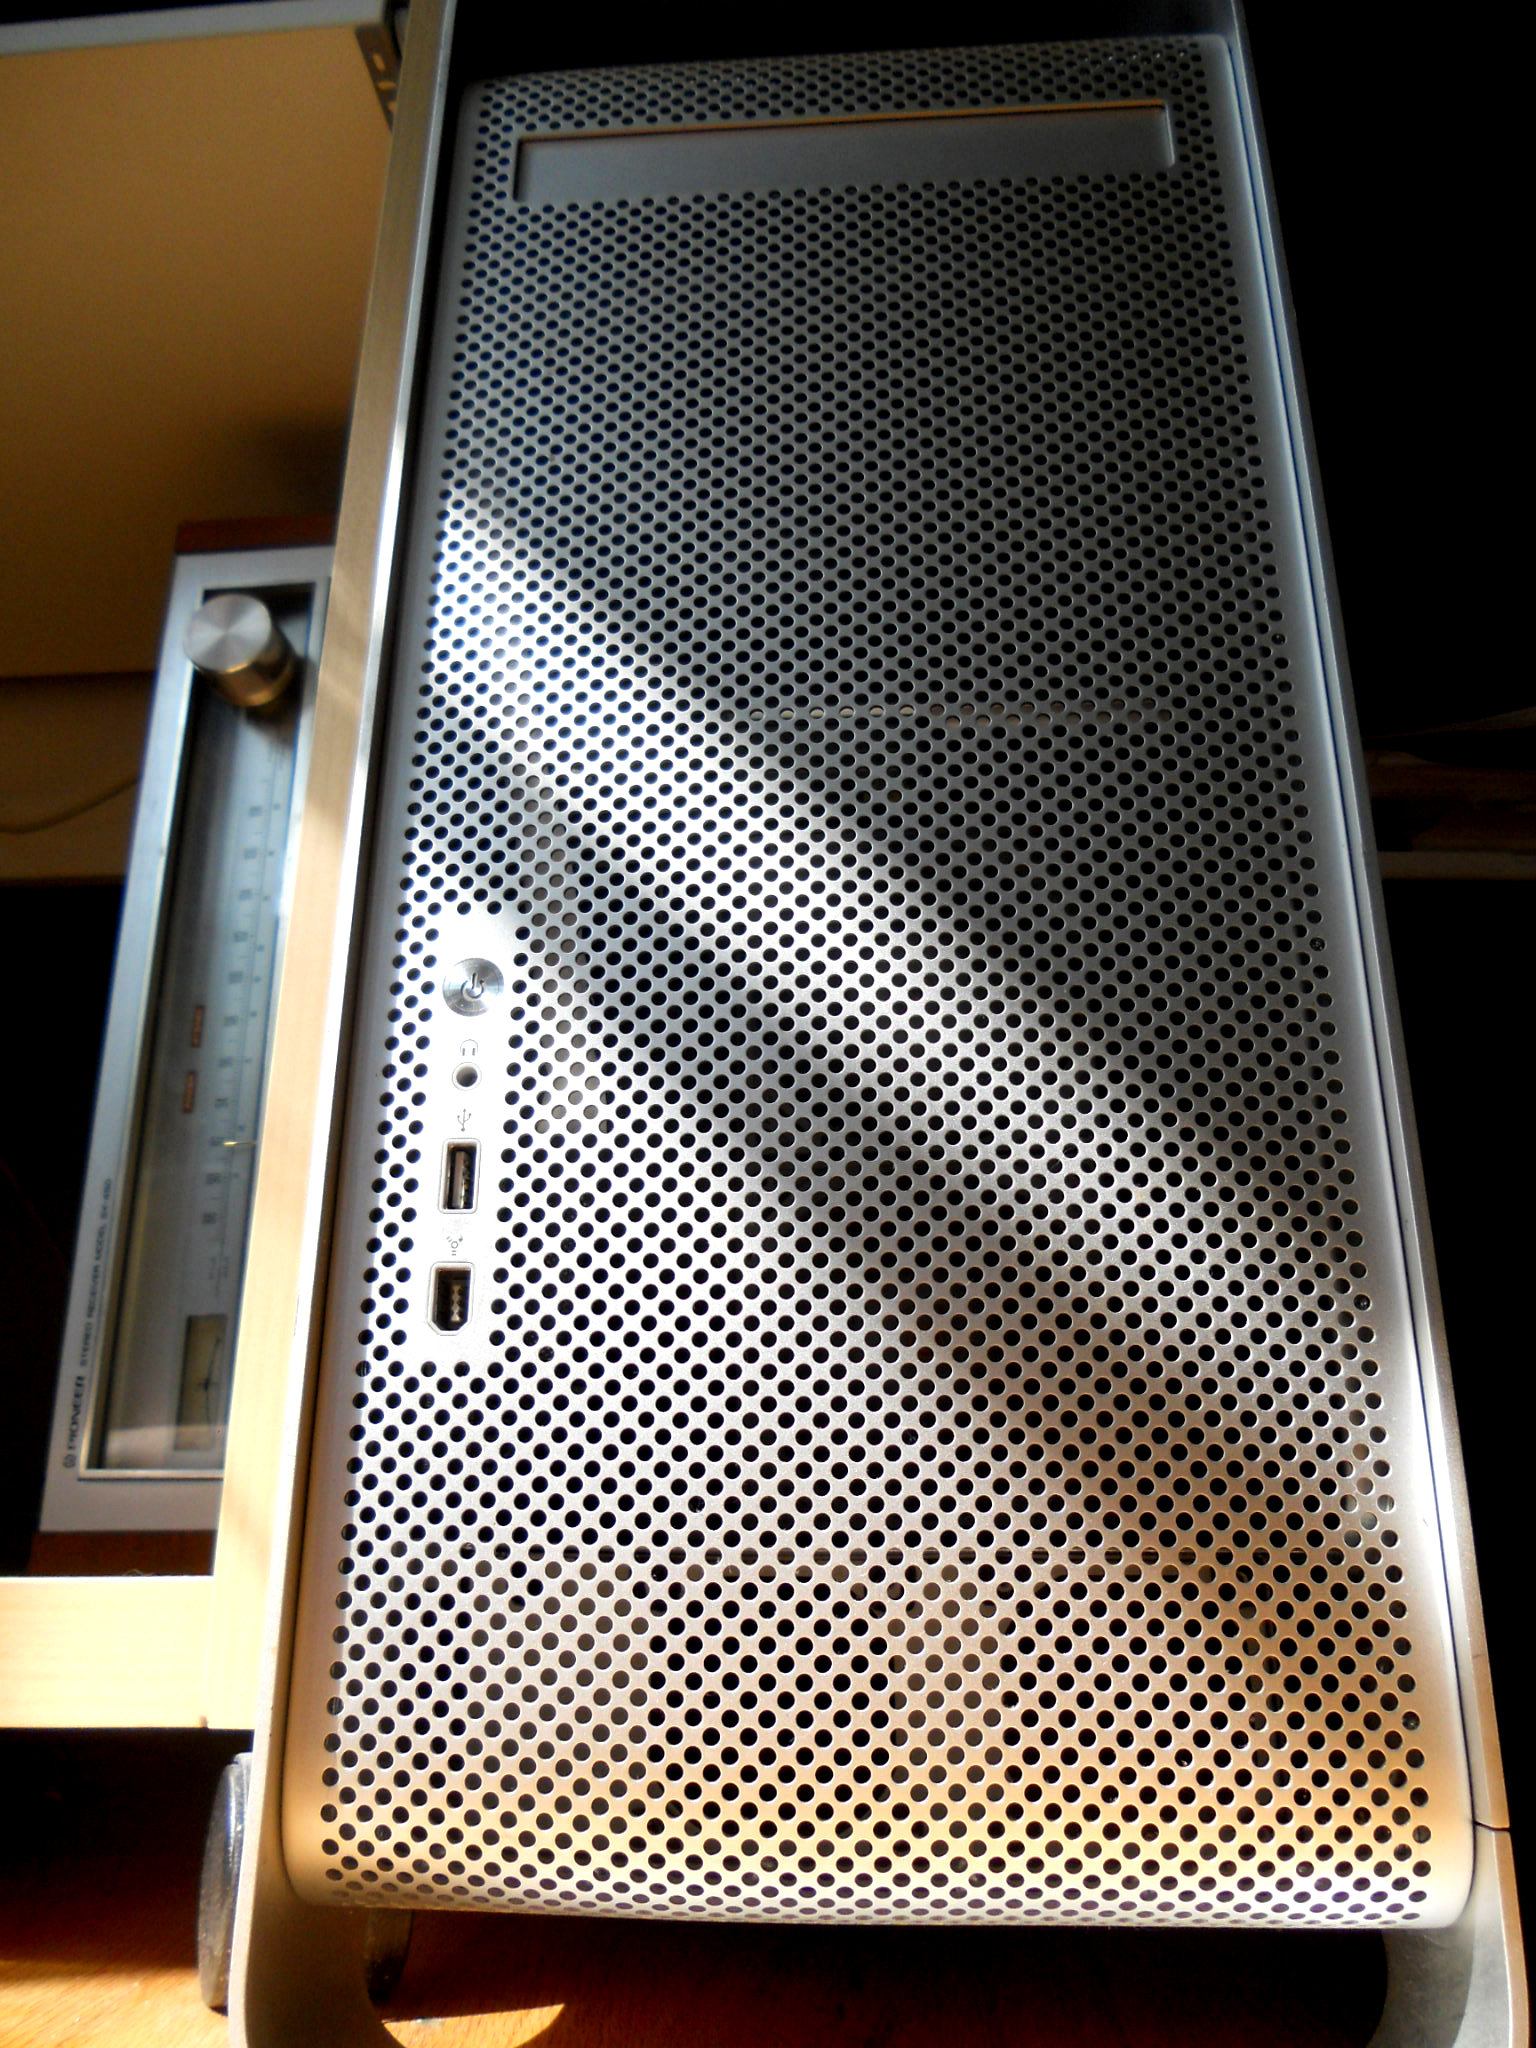
The next step was to rewire the G5's front panel to fit standard ATX headers. The wiring diagrams for this can be found in the same place as the fan pinouts.
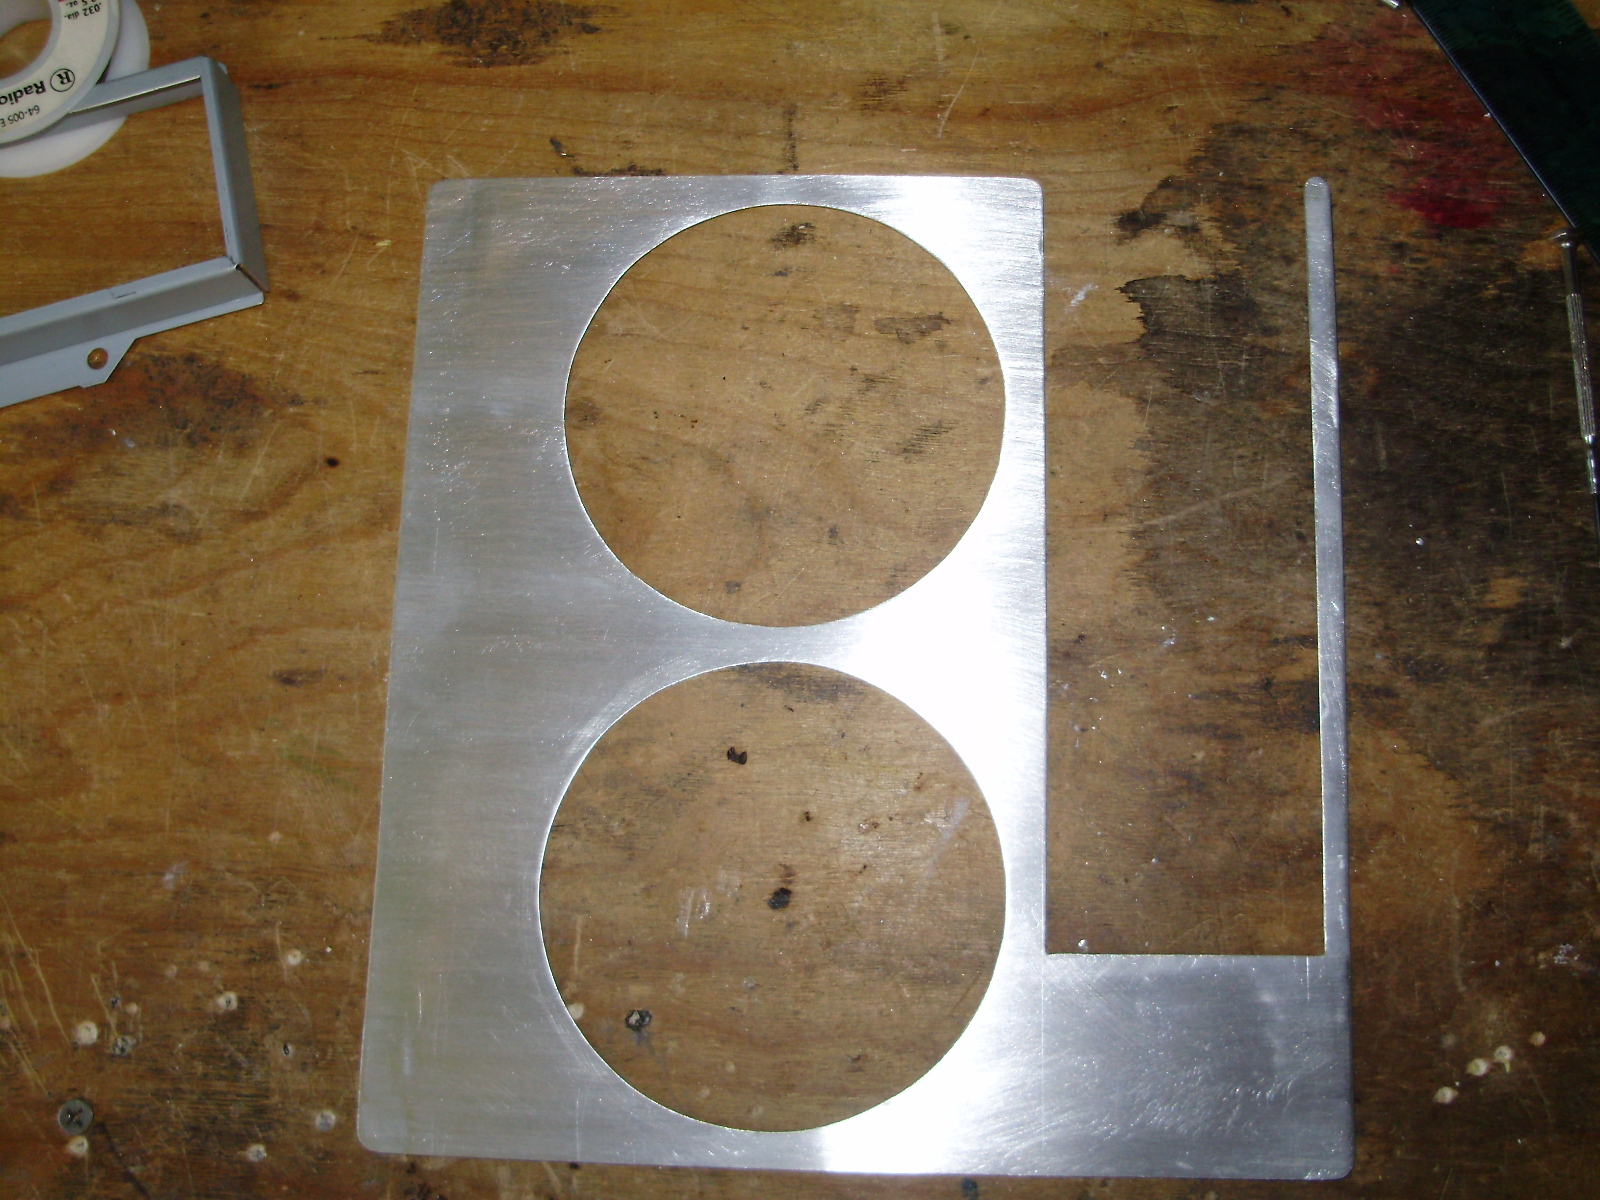
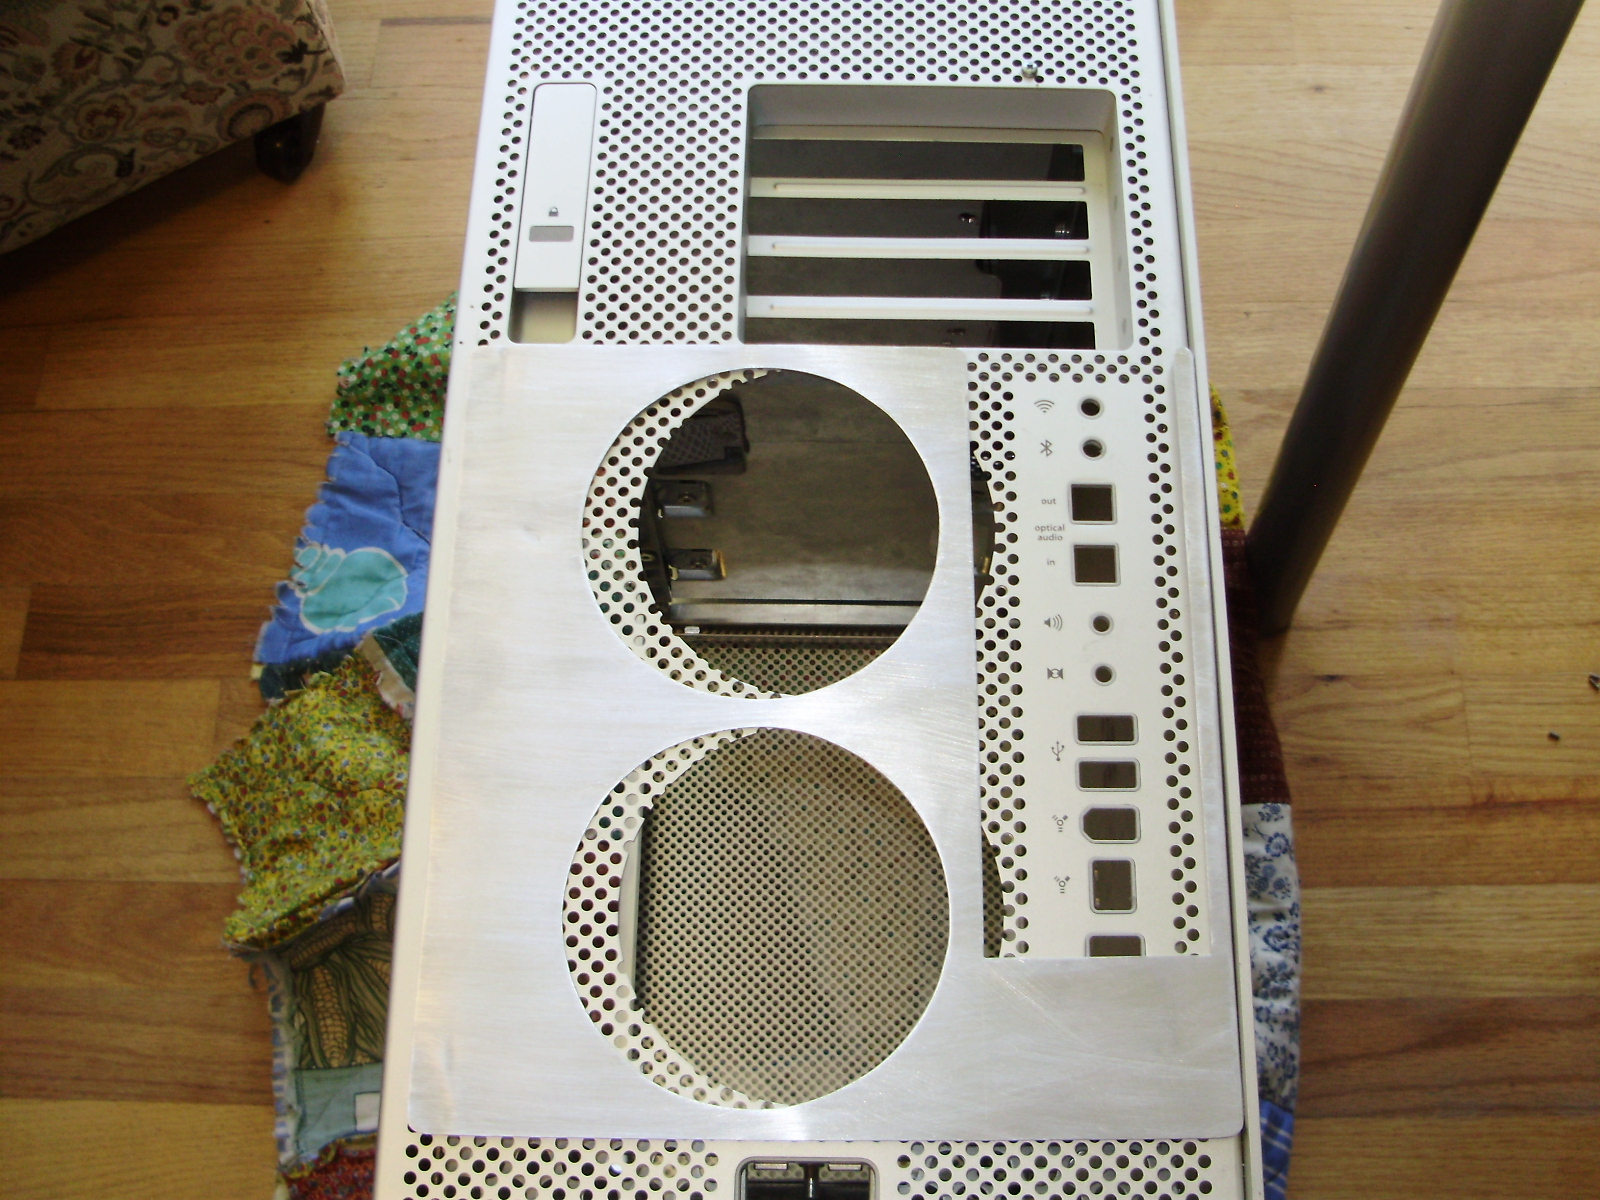
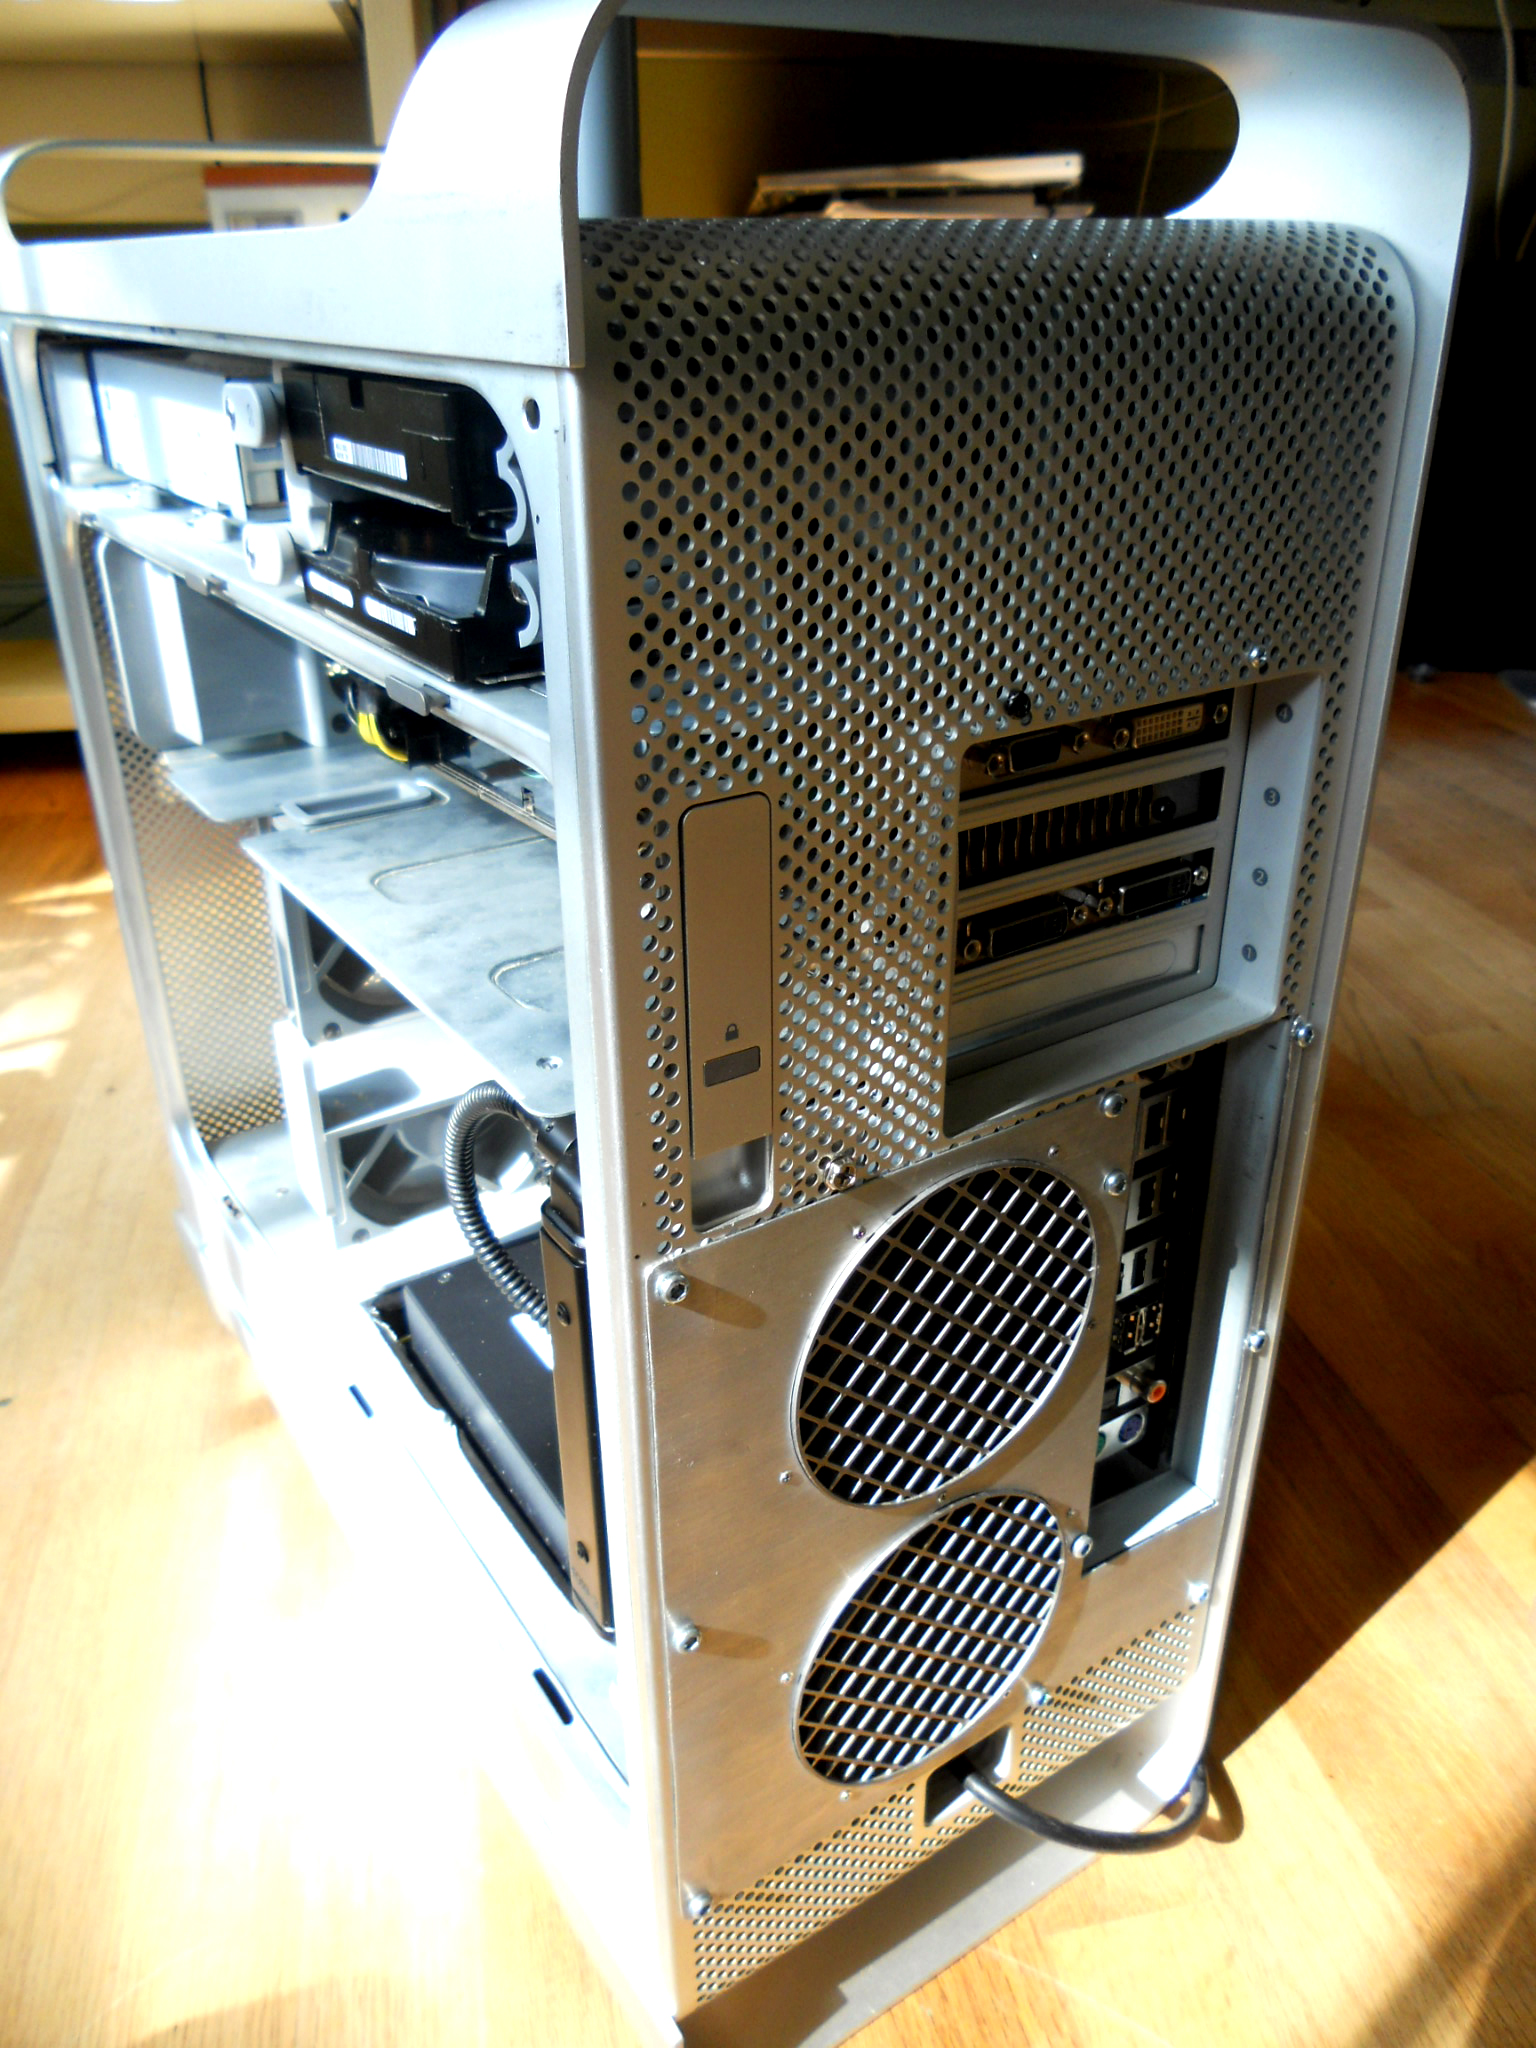
Next I made a new back panel for the case out of some thin aluminum sheet scavenged from an old baking sheet. As it was, the back panel fans interfered with the motherboard's I/O, so I had to move the fans off-center. All the rough cuts were done with my a rotary tool, and then filed.
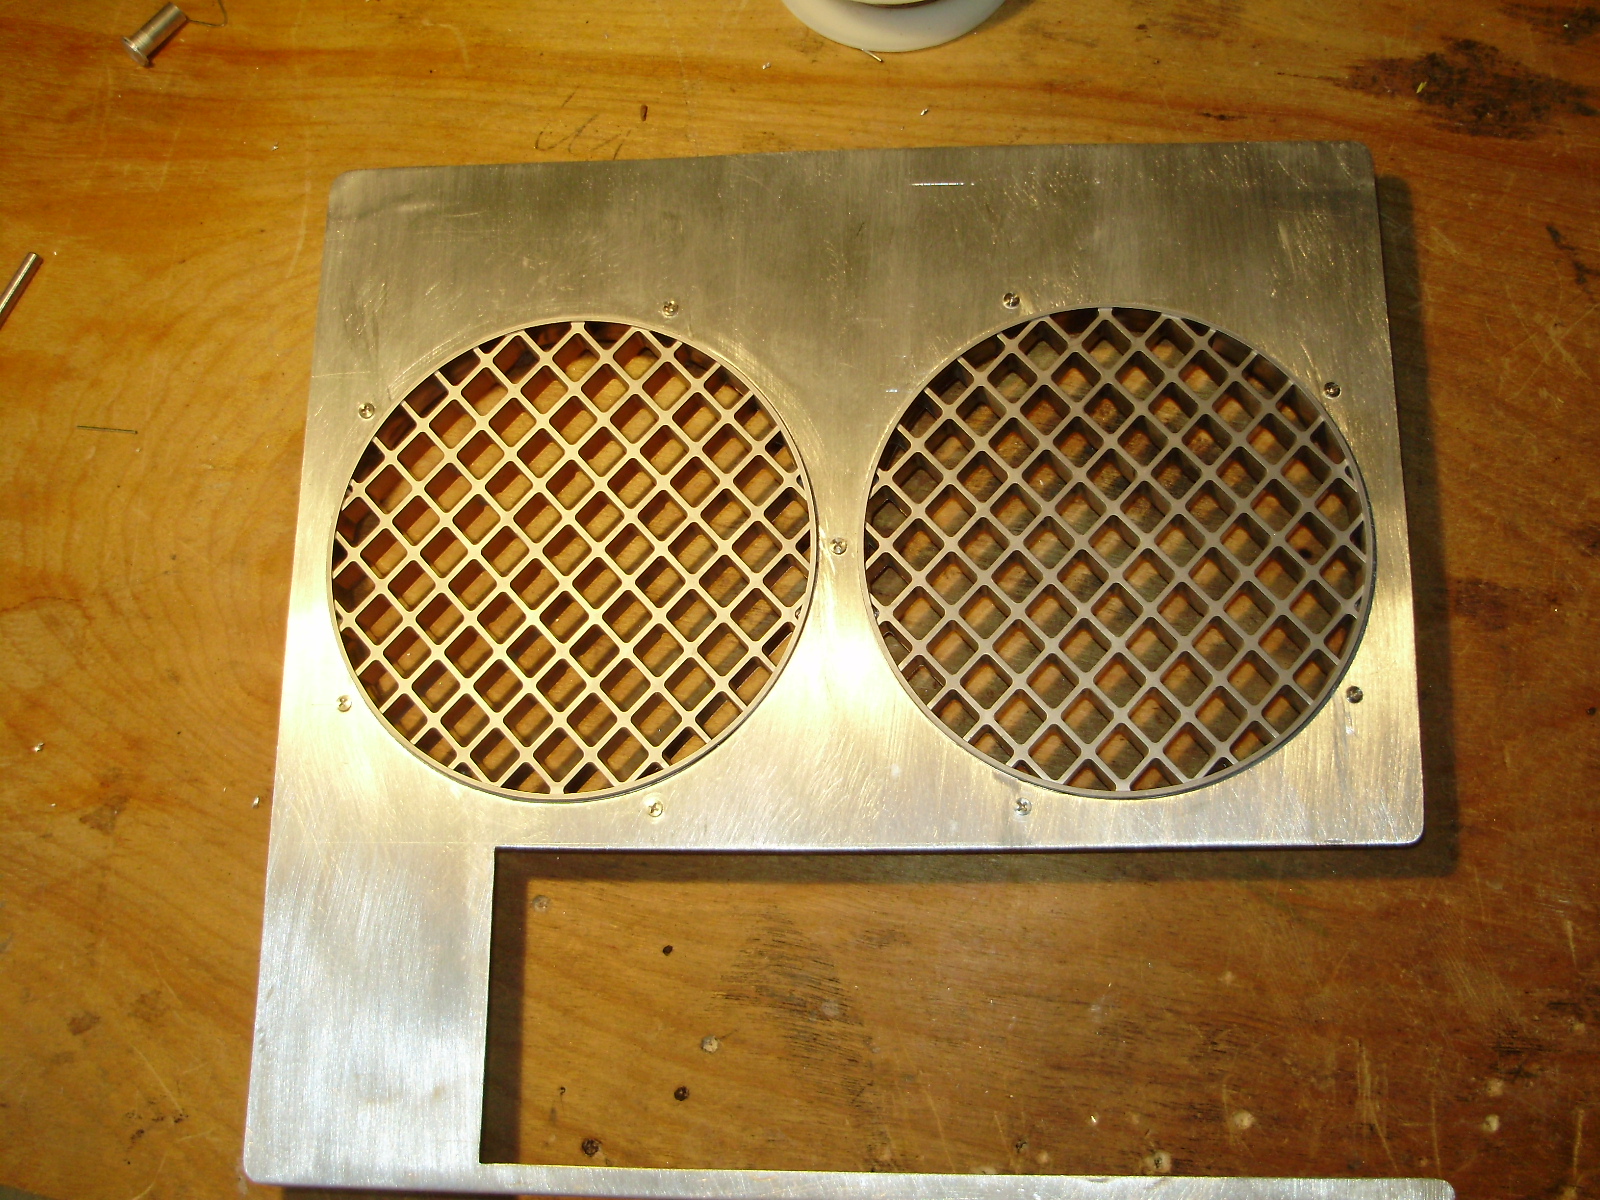
I used used the original fan grill as well:
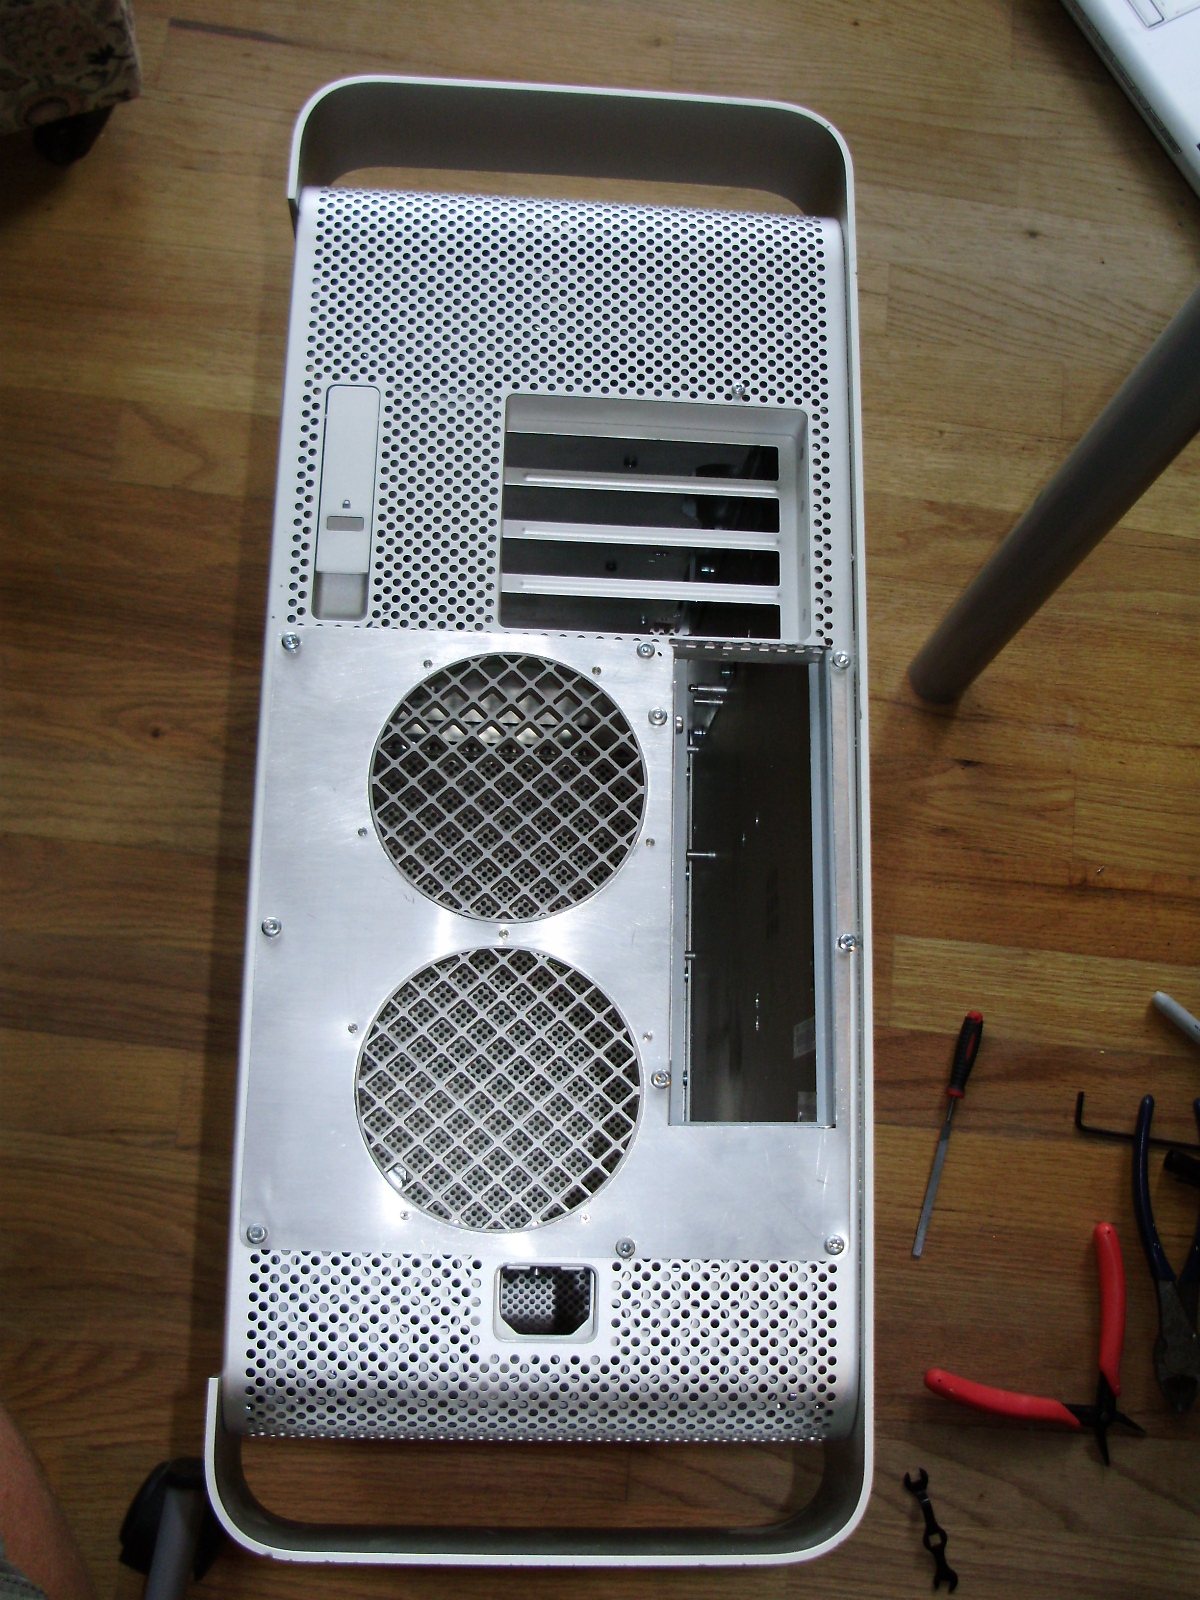
I cut out the original back panel, and mounted the new one with hex screws:
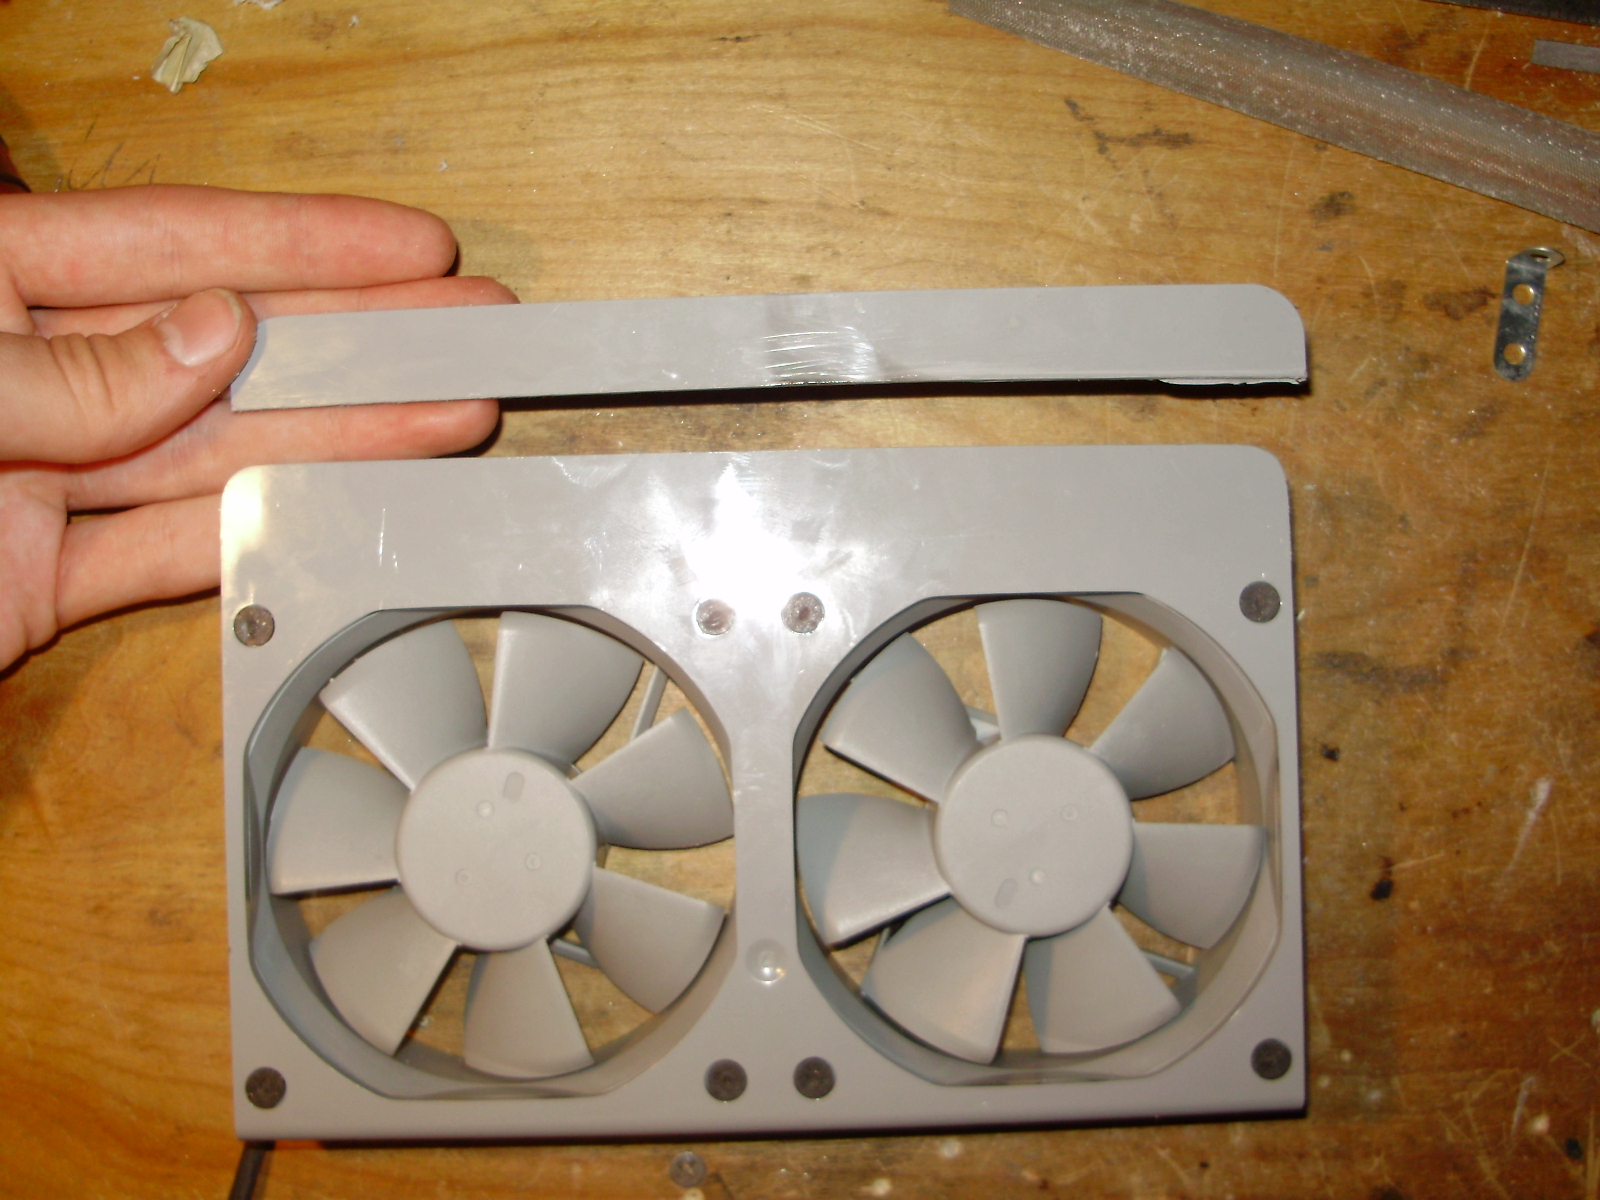
Since I had to move the fans, they stuck out of the case, so I had to cut their plastic mounting bracket shorter:
Then I cut the PCI divider so that the motherboard could fit under it, and made a mounting bracket for it out of aluminum:
The PCI divider supports 3 fans as well as the CPU cover:
I epoxied the motherboard tray in place:
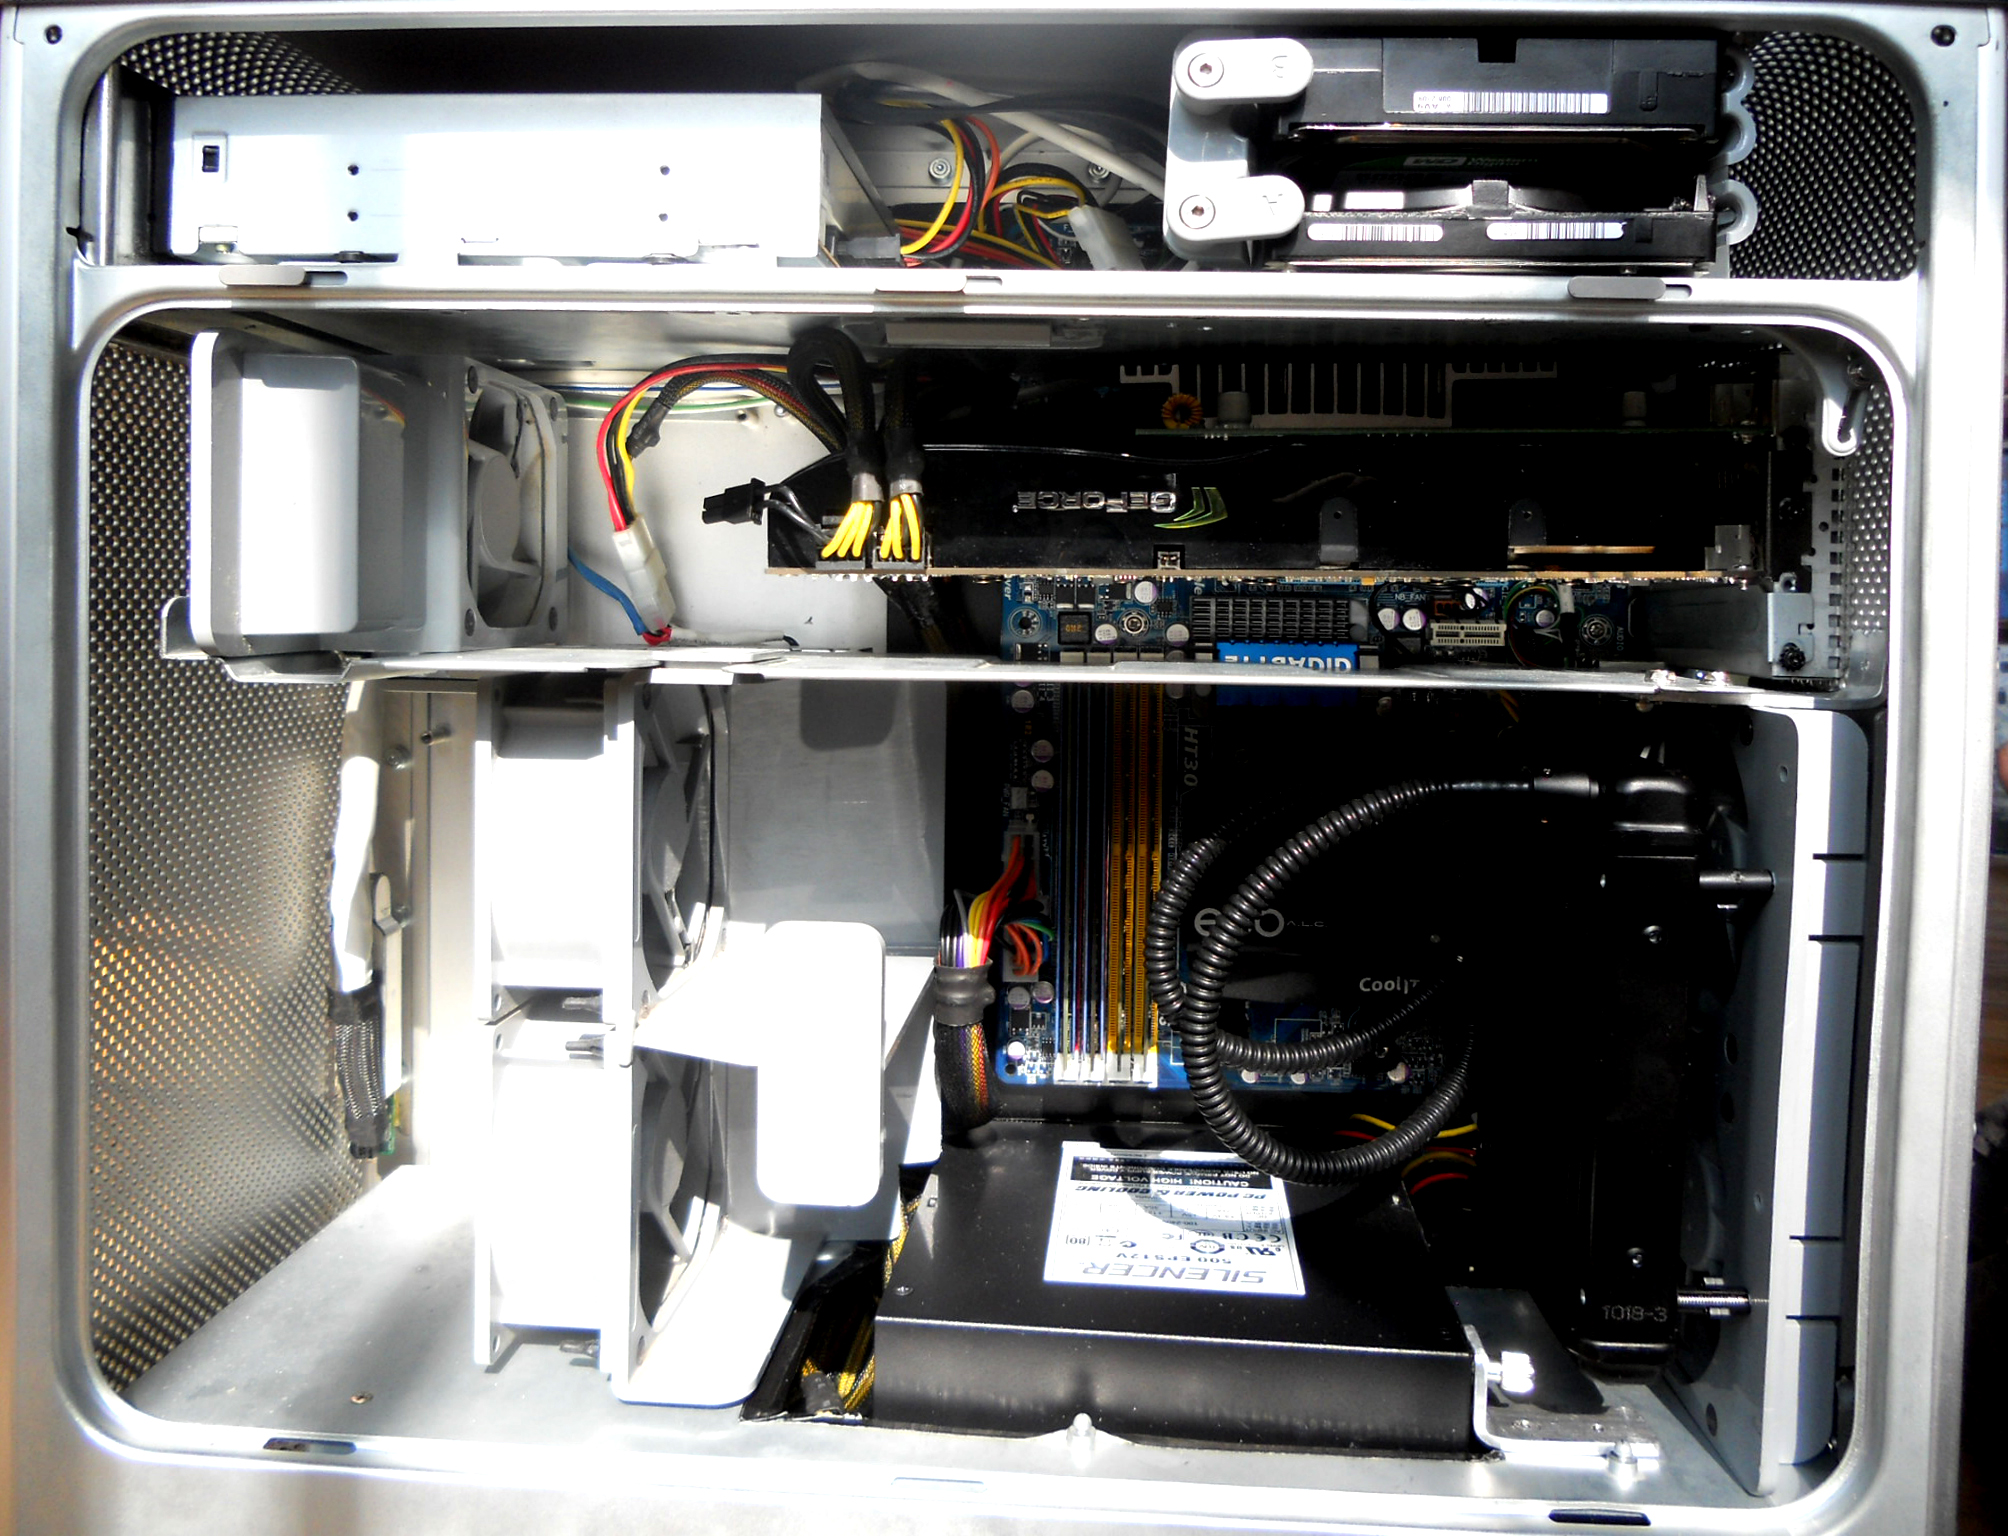
Then I transplanted my PC's innards into the case:
I removed the ECO's stock fan, and bolted it to the pair of back panel fans using spacers. This has had absolutely no impact on CPU temps:
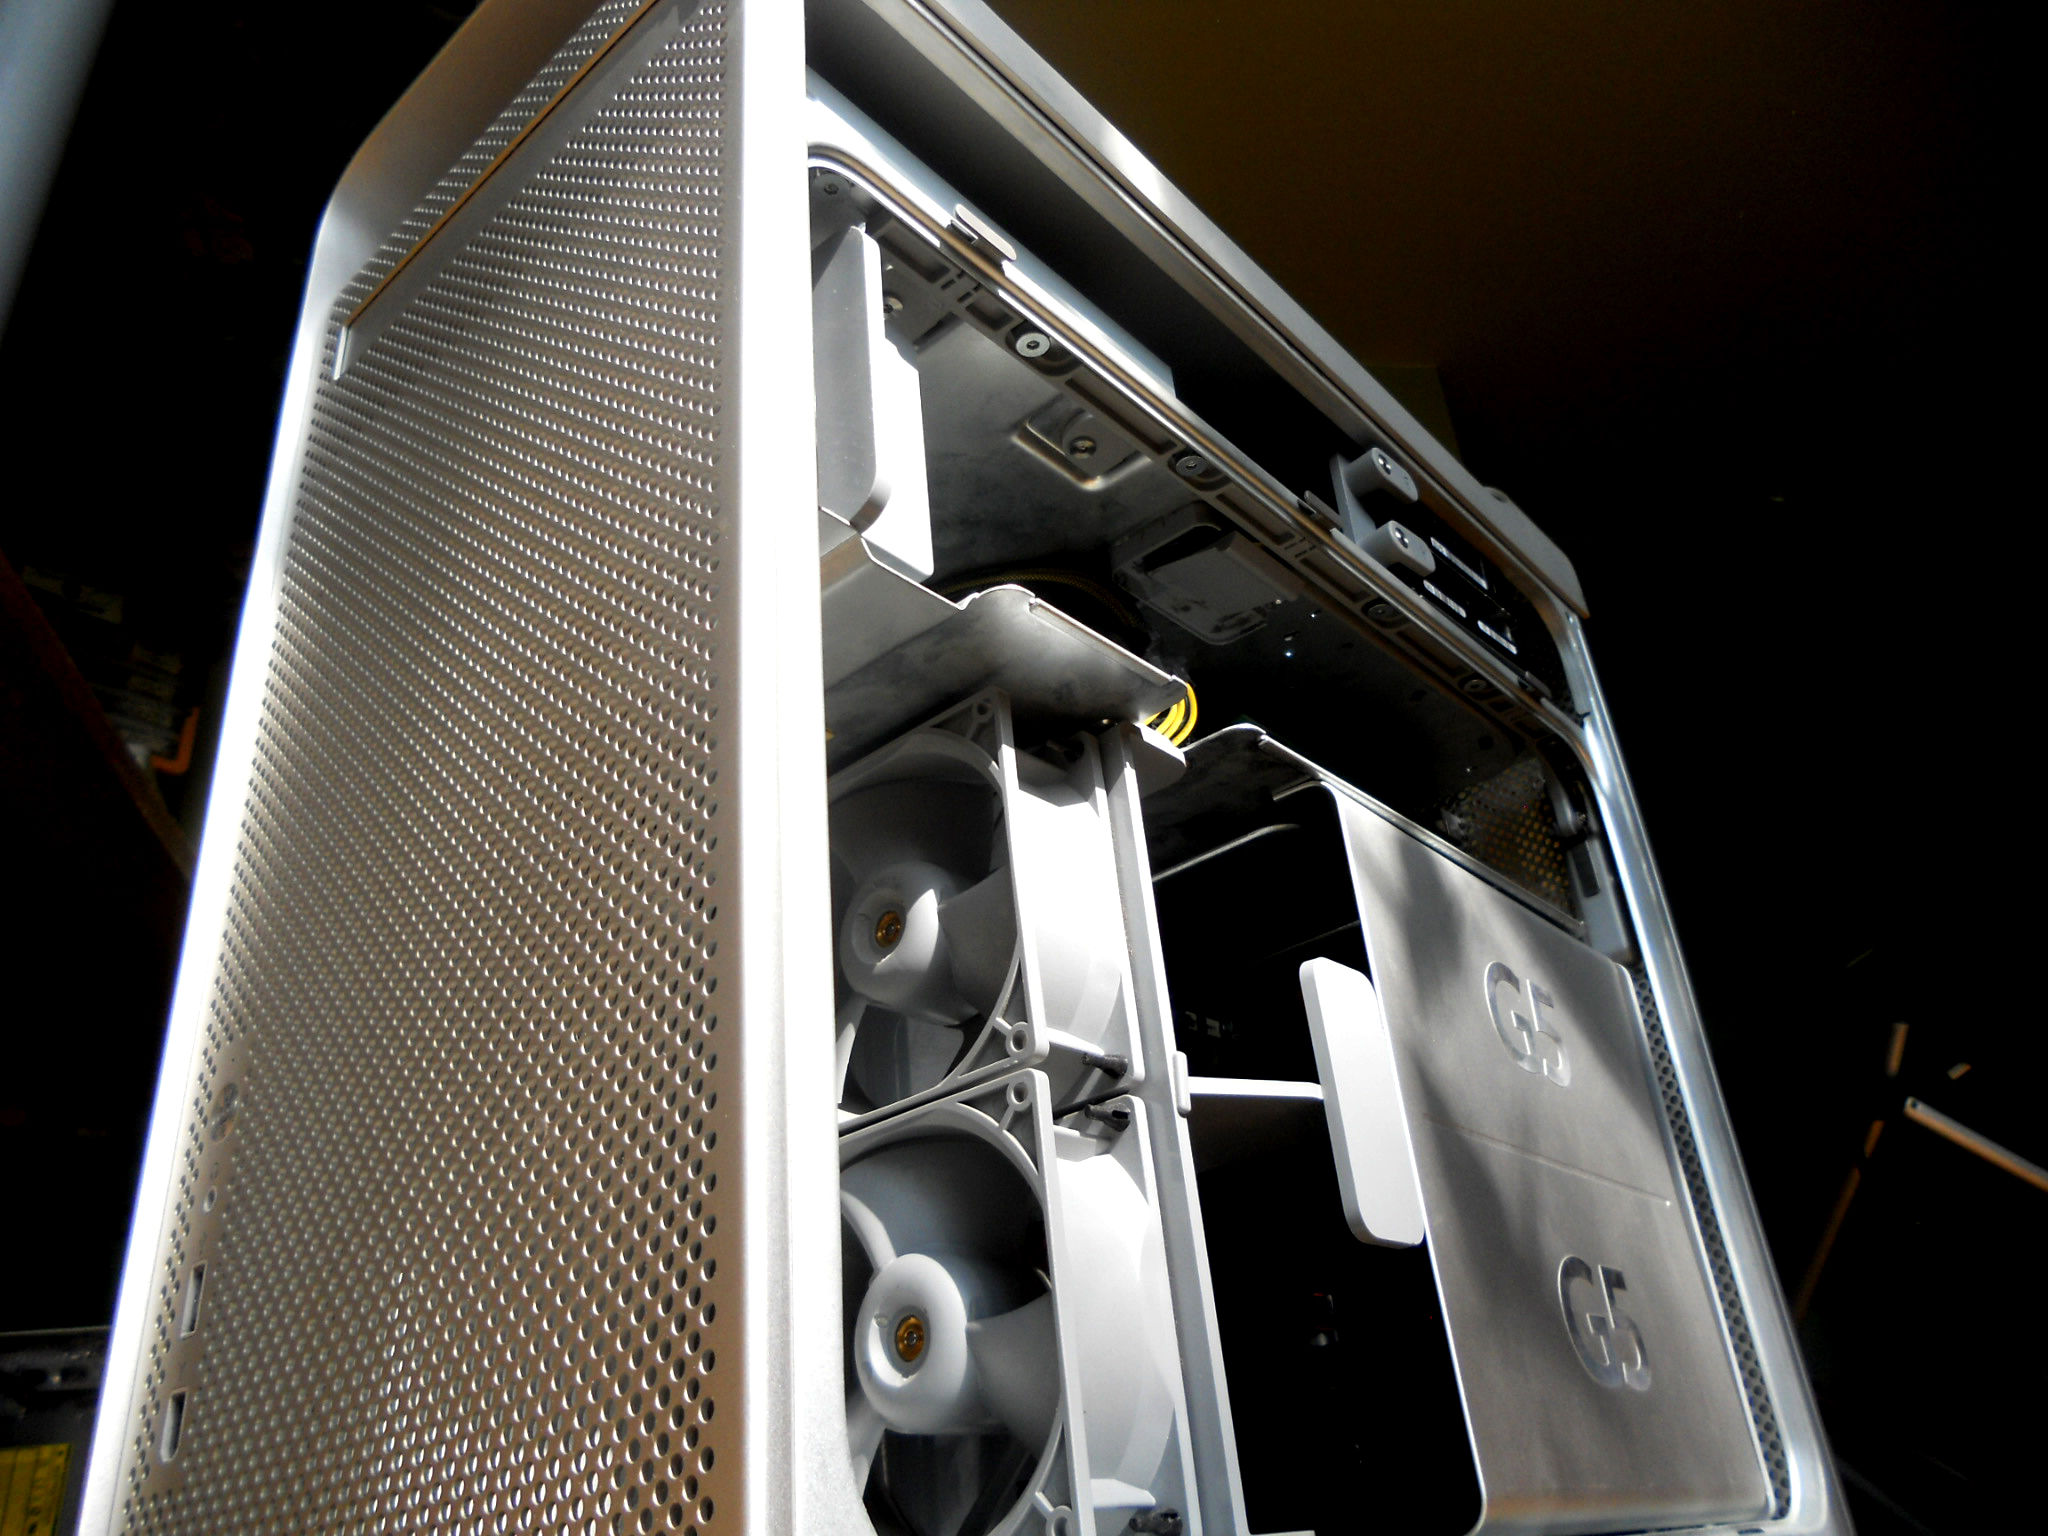
I started out with a broken Dual 1.8 Ghz G5 with all the parts save the HDD's.
Although it looks very neat and tidy on the inside, the G5 is an absolute pain to completely disassemble. Here are the CPU's mounted to their heatsinks. The stock AMD cooler is for size reference:
Here is the PSU compared to a standard ATX one:
Motherboard:
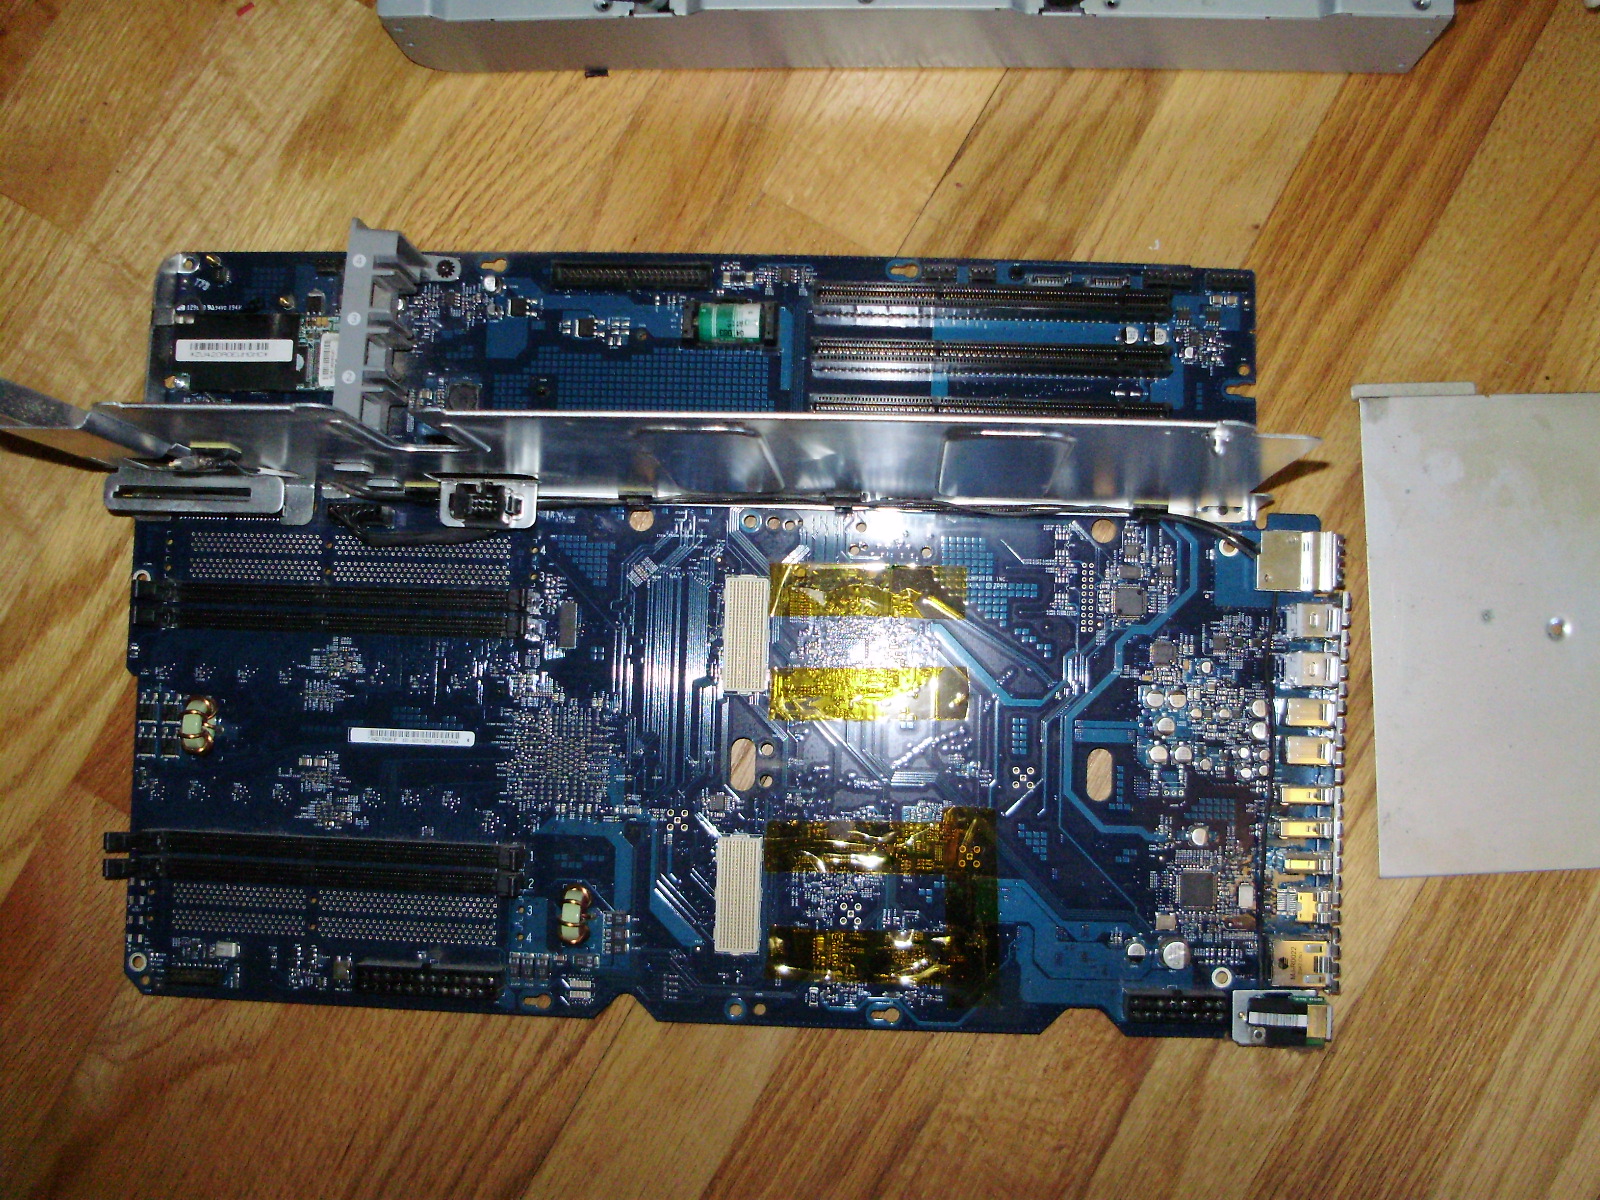
Interestingly, the motherboard has its chipset heatsinks on the back of the board, rather than on the front:
To start, I completely emptied out the case, including the latching mechanism that holds the side panel on:
Since this case must fit a full ATX length motherboard, I had to cut the top divider to give the board clearance:
Since the motherboard now sat where the HDD cage was mounted, I had to move the cage forwards so the board could fit under it. For it to fit, I had to cut the cage's plastic shorter:
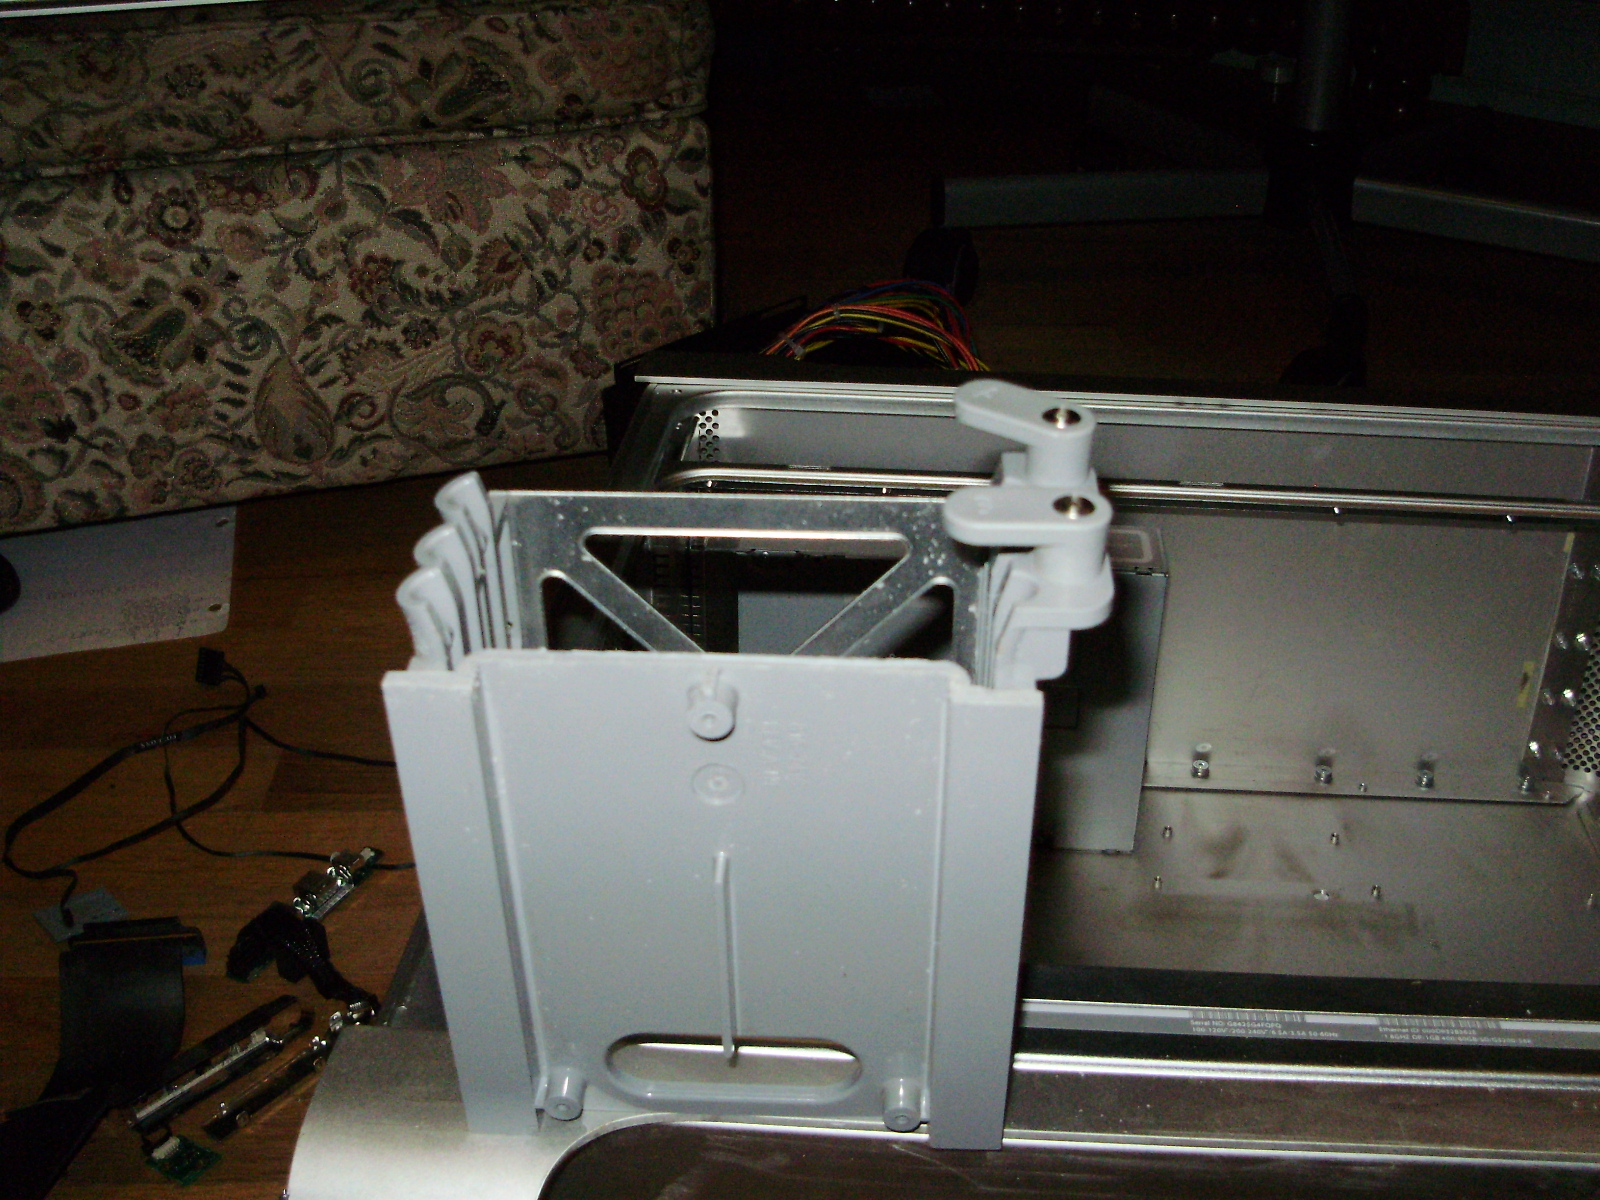
Then I screwed it to the divider:
I then reinstalled the latching mechanism:
Since I wanted to keep the original internal look of the G5, I rewired all the stock fans to fit standard Molex connectors. All fans run of 5V, since they sound like leaf blowers at 12. I used wiring diagrams found HERE. For the front pair of fans, I reused the slide-in plug, so the fans can be hot-swapped.
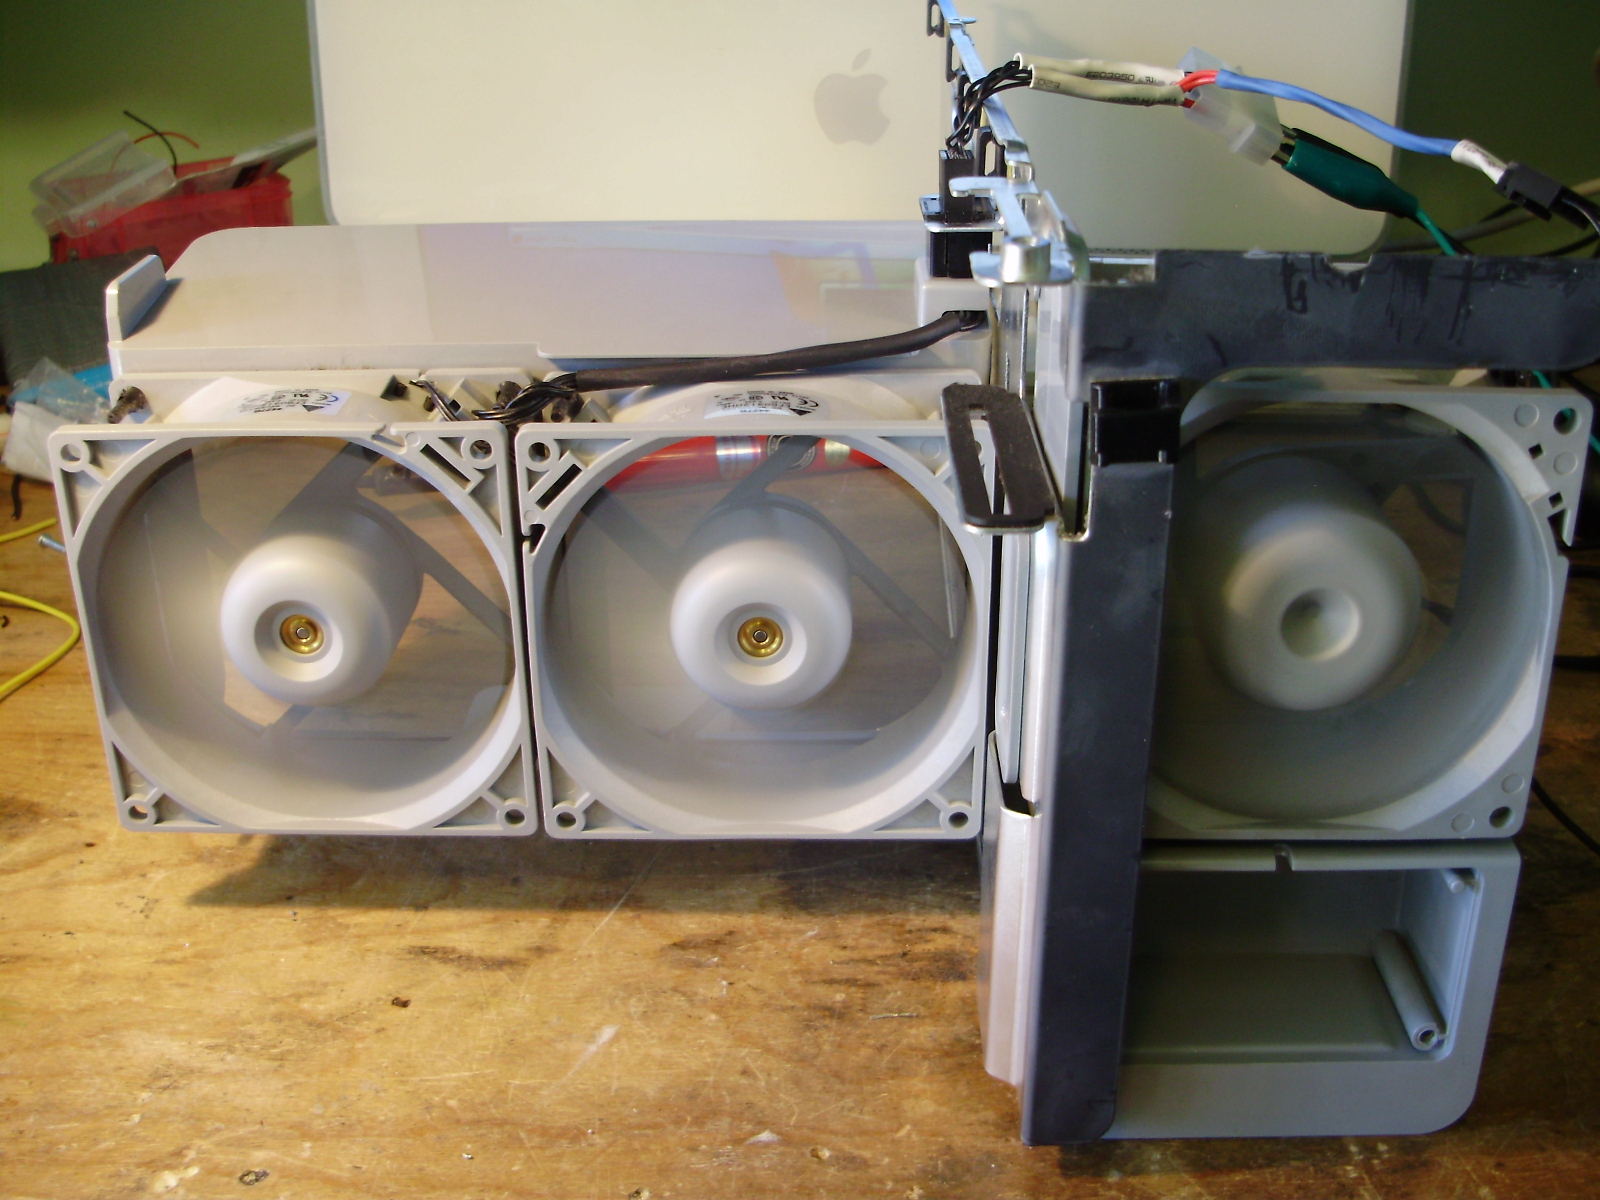
I ended up not using the HDD bay fan and blower for clearance reasons, but I did wire them up as well:
To mount the motherboard, I removed the stock standoff by popping them out with pliers, and built a motherboard tray out of the steel side panel of an old case and some aluminum flat bar.
Because the stock G5 PSU is much longer and shorter than an ATX one, mounting the power supply was one of the most difficult parts of this project. Also, the front fans and the CPU cover both mount to the bottom divider, which is screwed directly into the stock power supply. To fit an ATX one but keep the bottom divider, I cut a hole in both the divider and the casing of the original power supply. I then added an aluminum bracket which the PSU can be screwed to on one side using a thumb screw. The other side of the power supply is fixed down with a neodymium magnet I glued to the bottom of the stock PSU. If you happen to have to glue a strong magnet, remember not to used JB Weld, as it has steel in it. The glue is attracted to the magnet, so it flows around the magnet and tries to coat the outside of the magnet evenly.
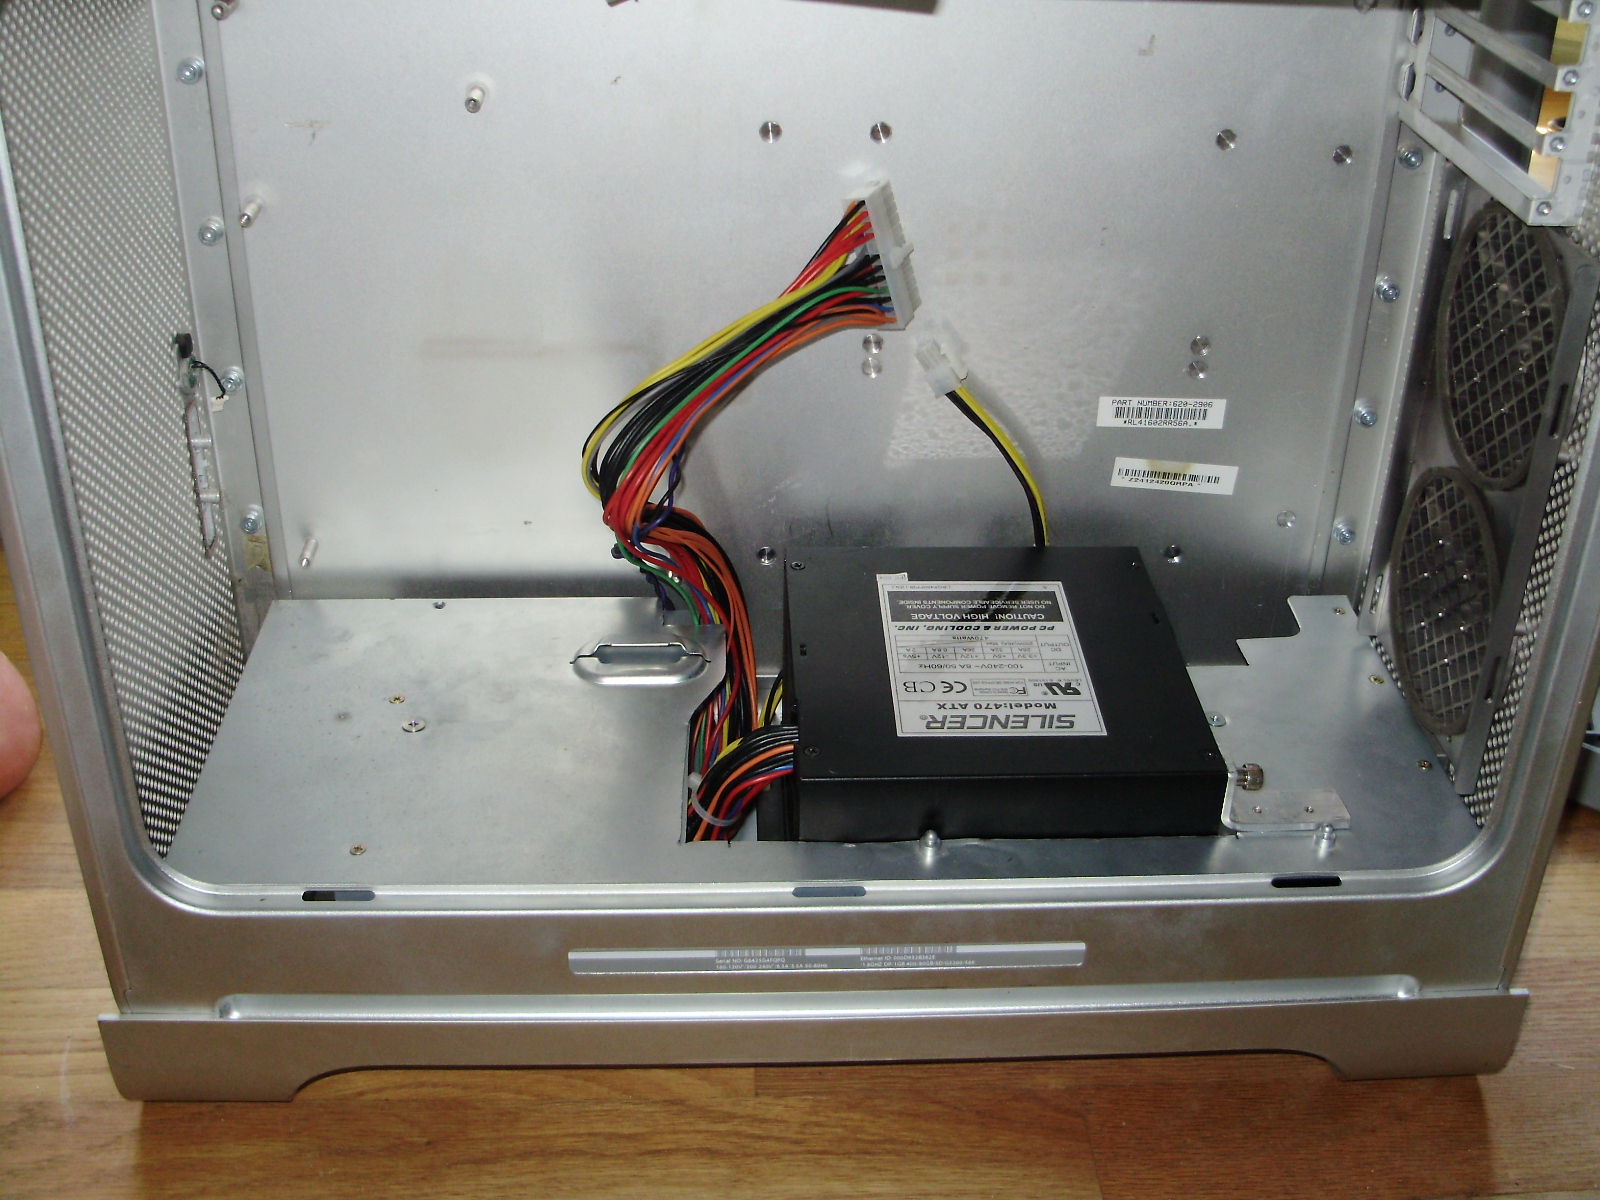
When the CPU cover and fans are in place, the PSU is nearly invisible:
The next step was to rewire the G5's front panel to fit standard ATX headers. The wiring diagrams for this can be found in the same place as the fan pinouts.

Next I made a new back panel for the case out of some thin aluminum sheet scavenged from an old baking sheet. As it was, the back panel fans interfered with the motherboard's I/O, so I had to move the fans off-center. All the rough cuts were done with my a rotary tool, and then filed.
I used used the original fan grill as well:
I cut out the original back panel, and mounted the new one with hex screws:

Since I had to move the fans, they stuck out of the case, so I had to cut their plastic mounting bracket shorter:
Then I cut the PCI divider so that the motherboard could fit under it, and made a mounting bracket for it out of aluminum:
The PCI divider supports 3 fans as well as the CPU cover:
I epoxied the motherboard tray in place:
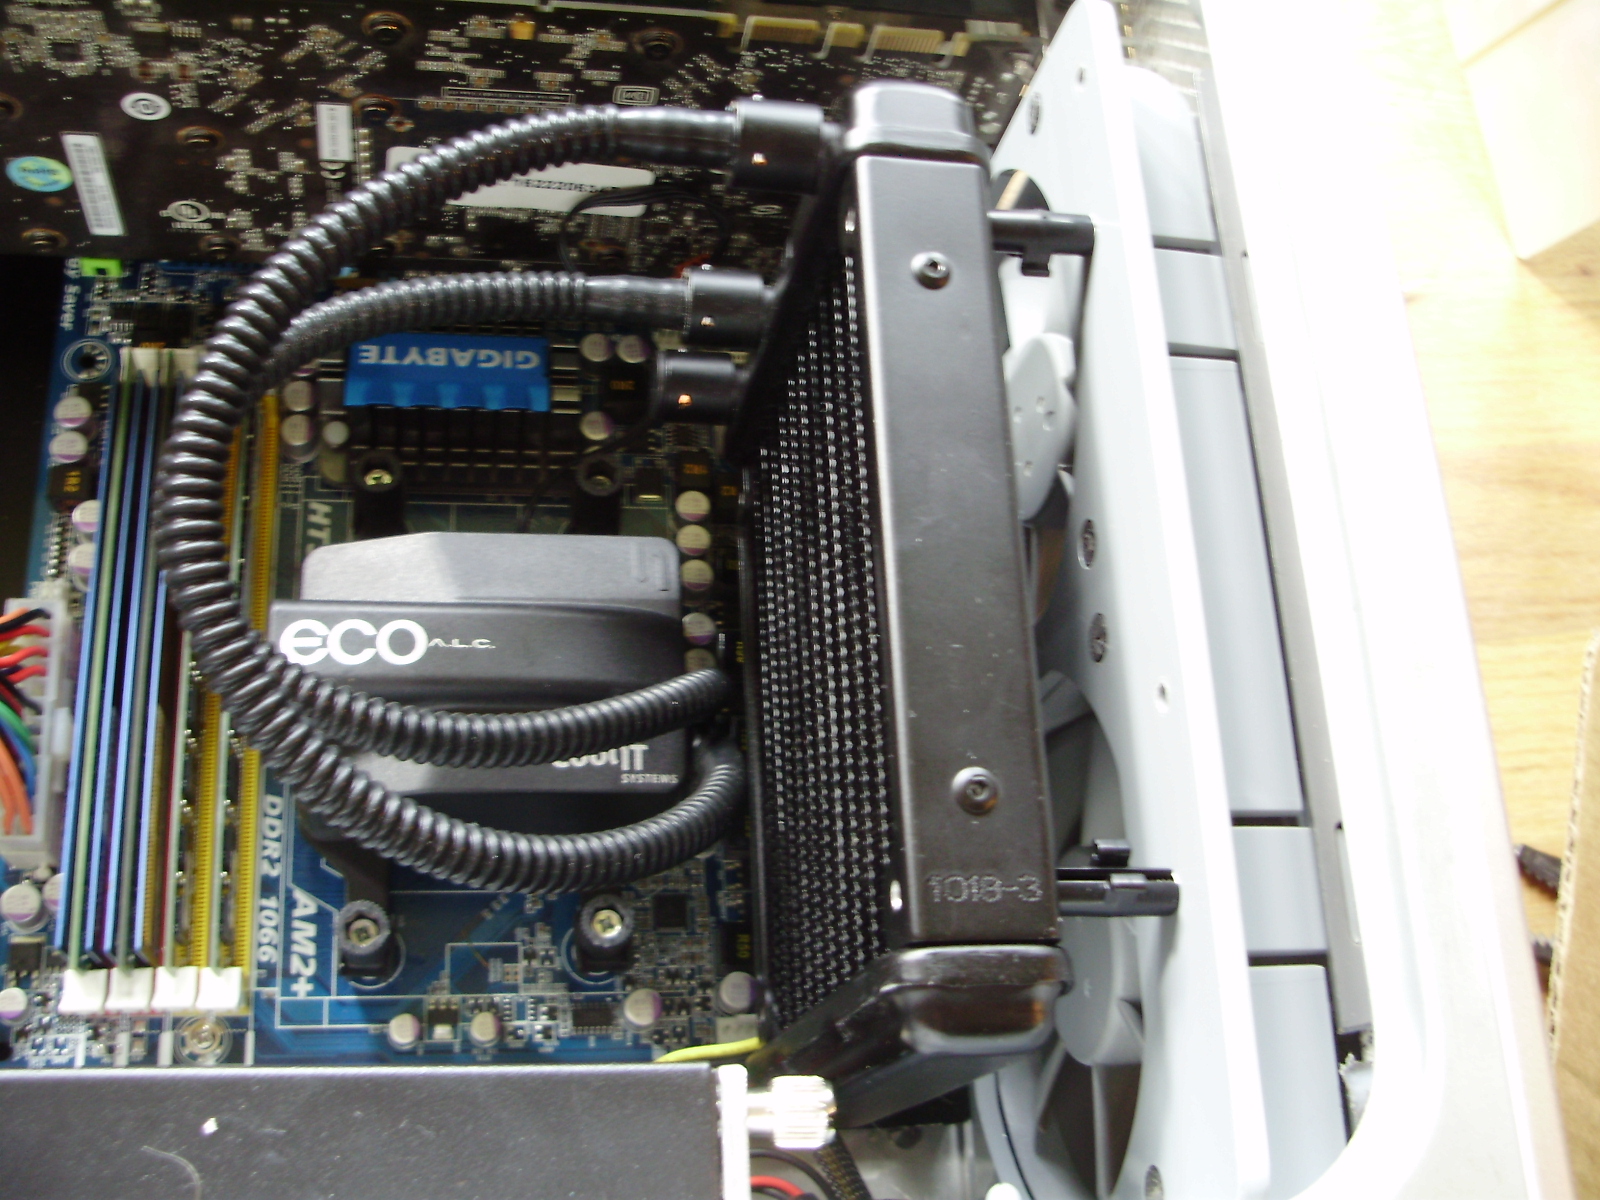
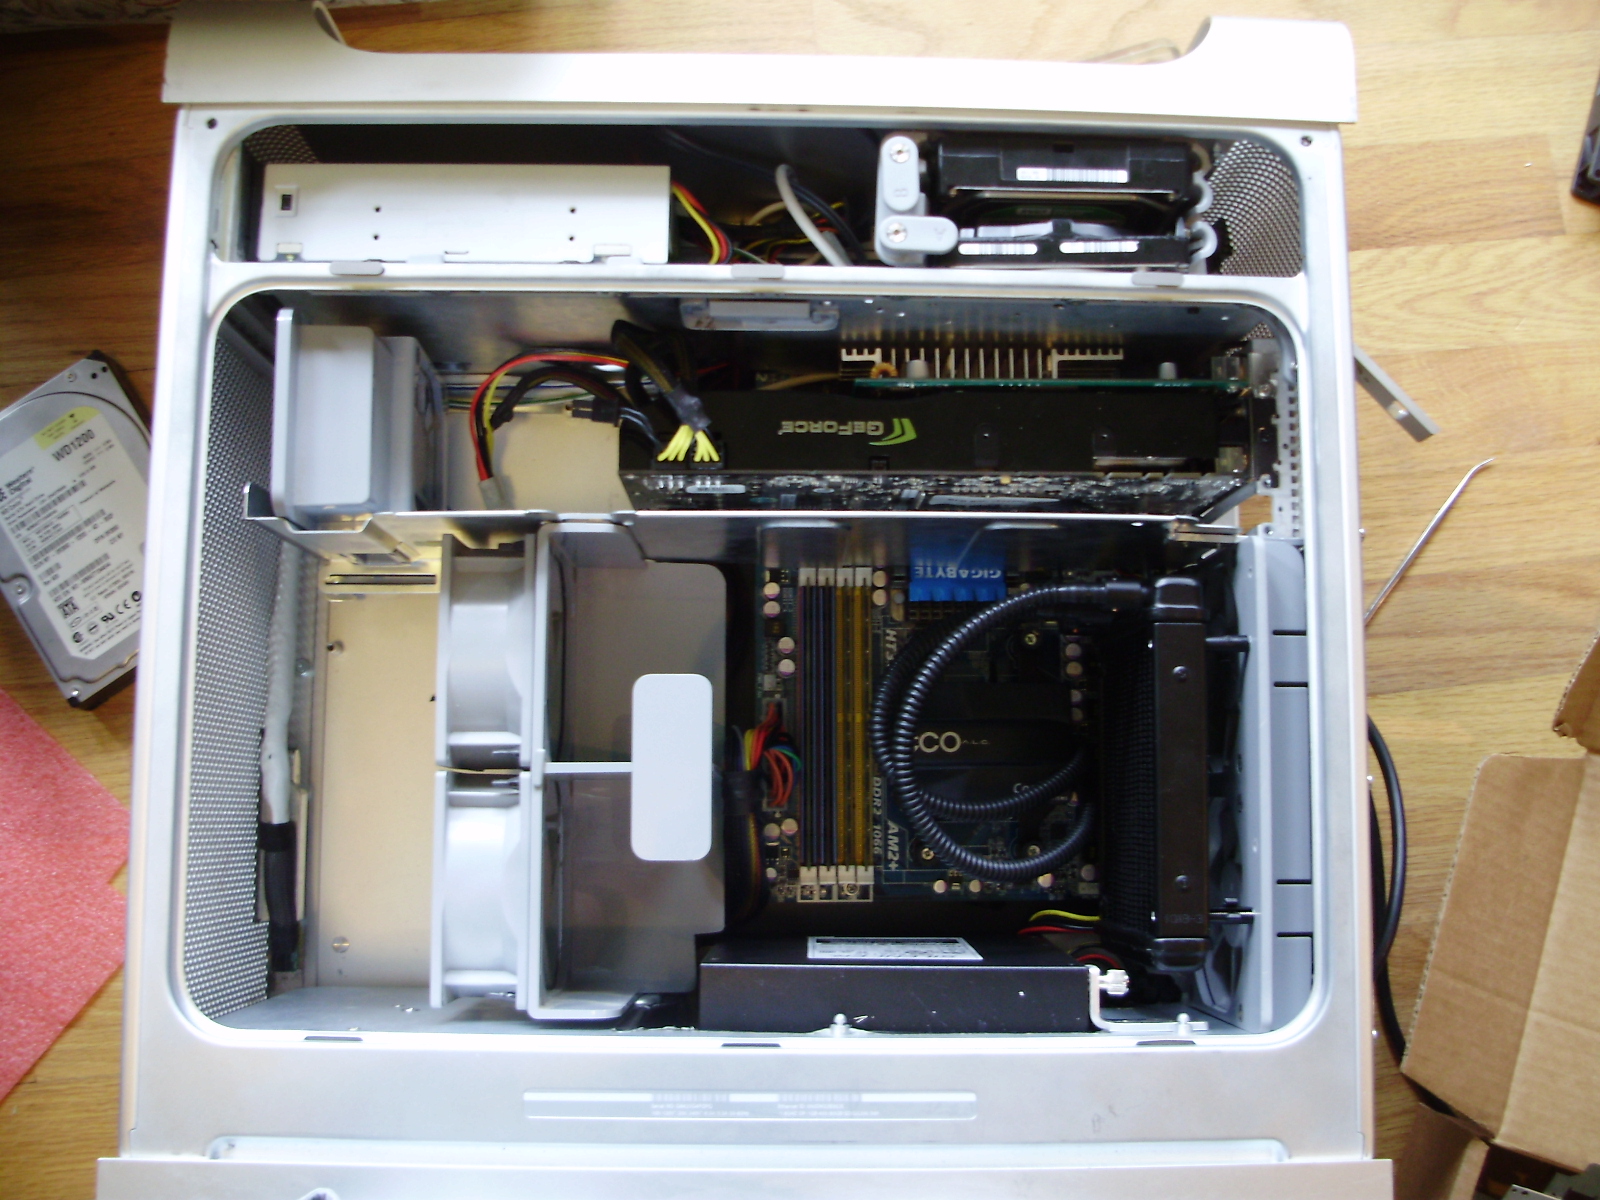
Then I transplanted my PC's innards into the case:
I removed the ECO's stock fan, and bolted it to the pair of back panel fans using spacers. This has had absolutely no impact on CPU temps:
My second GPU just barely fits: the passive heatsink is actually touching the top divider.
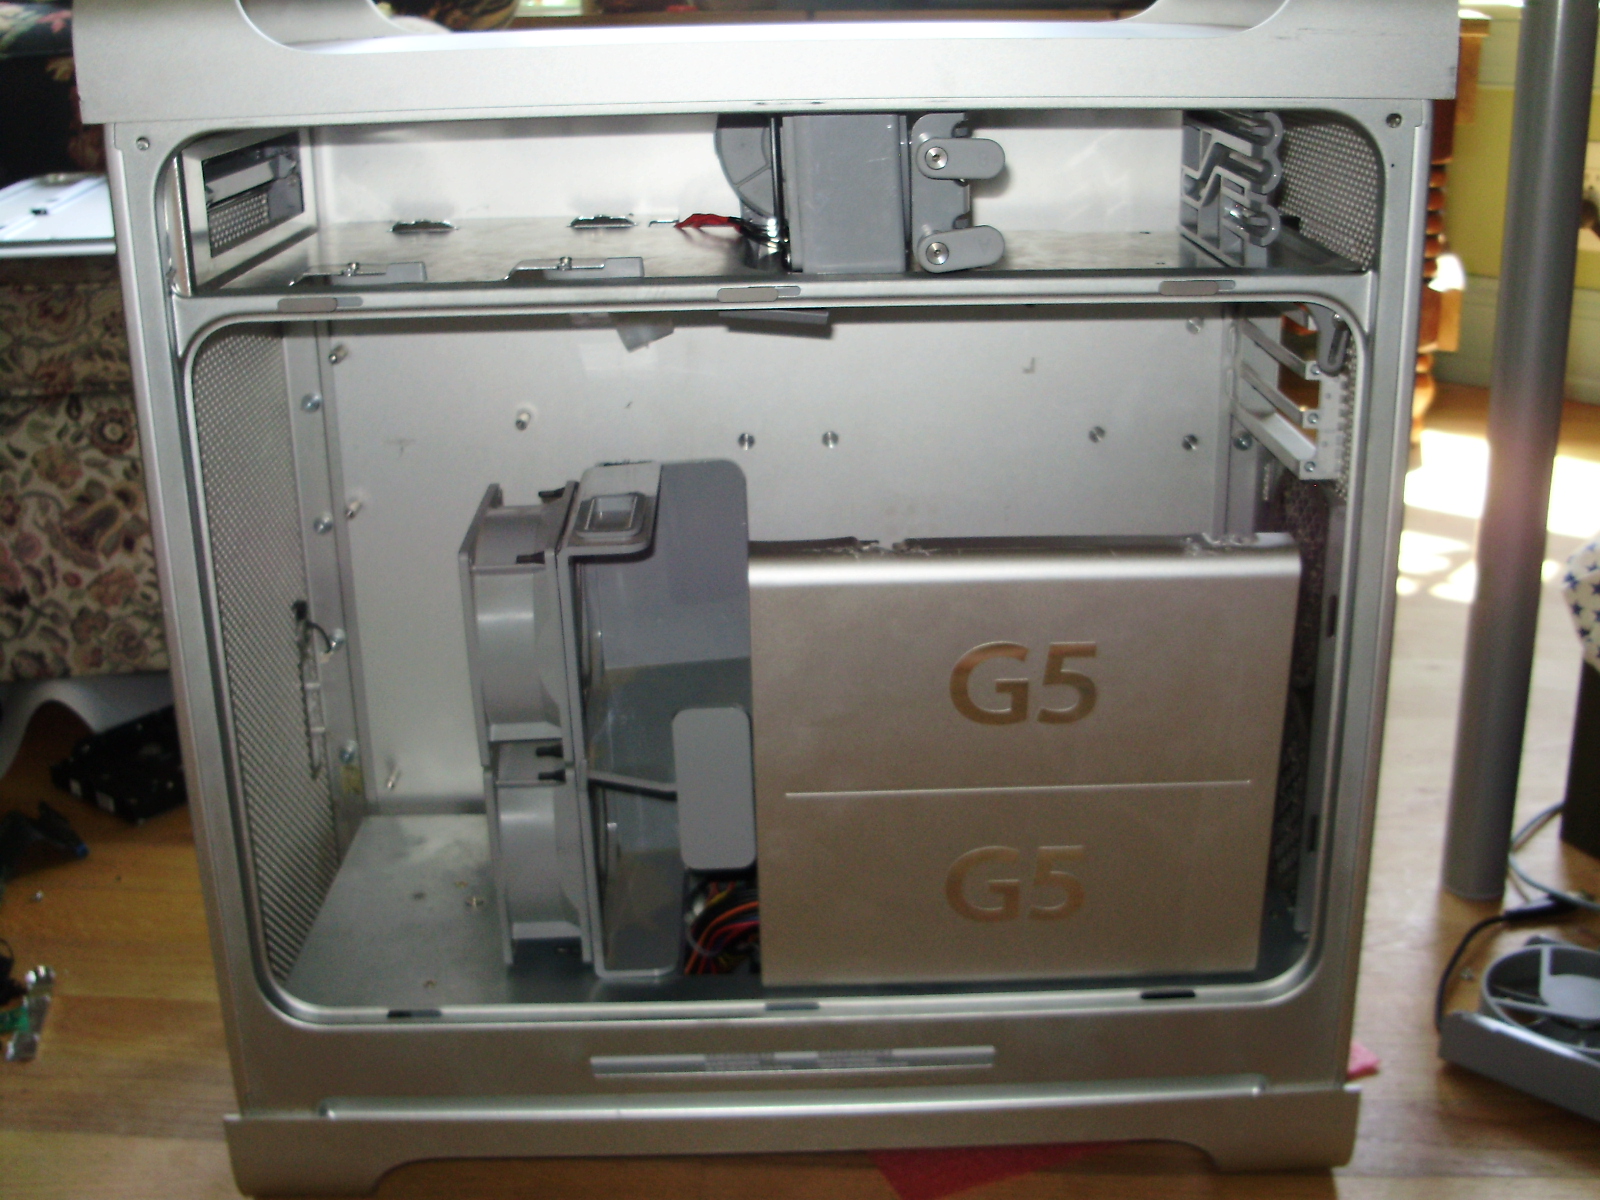
PCI divider and fans installed:
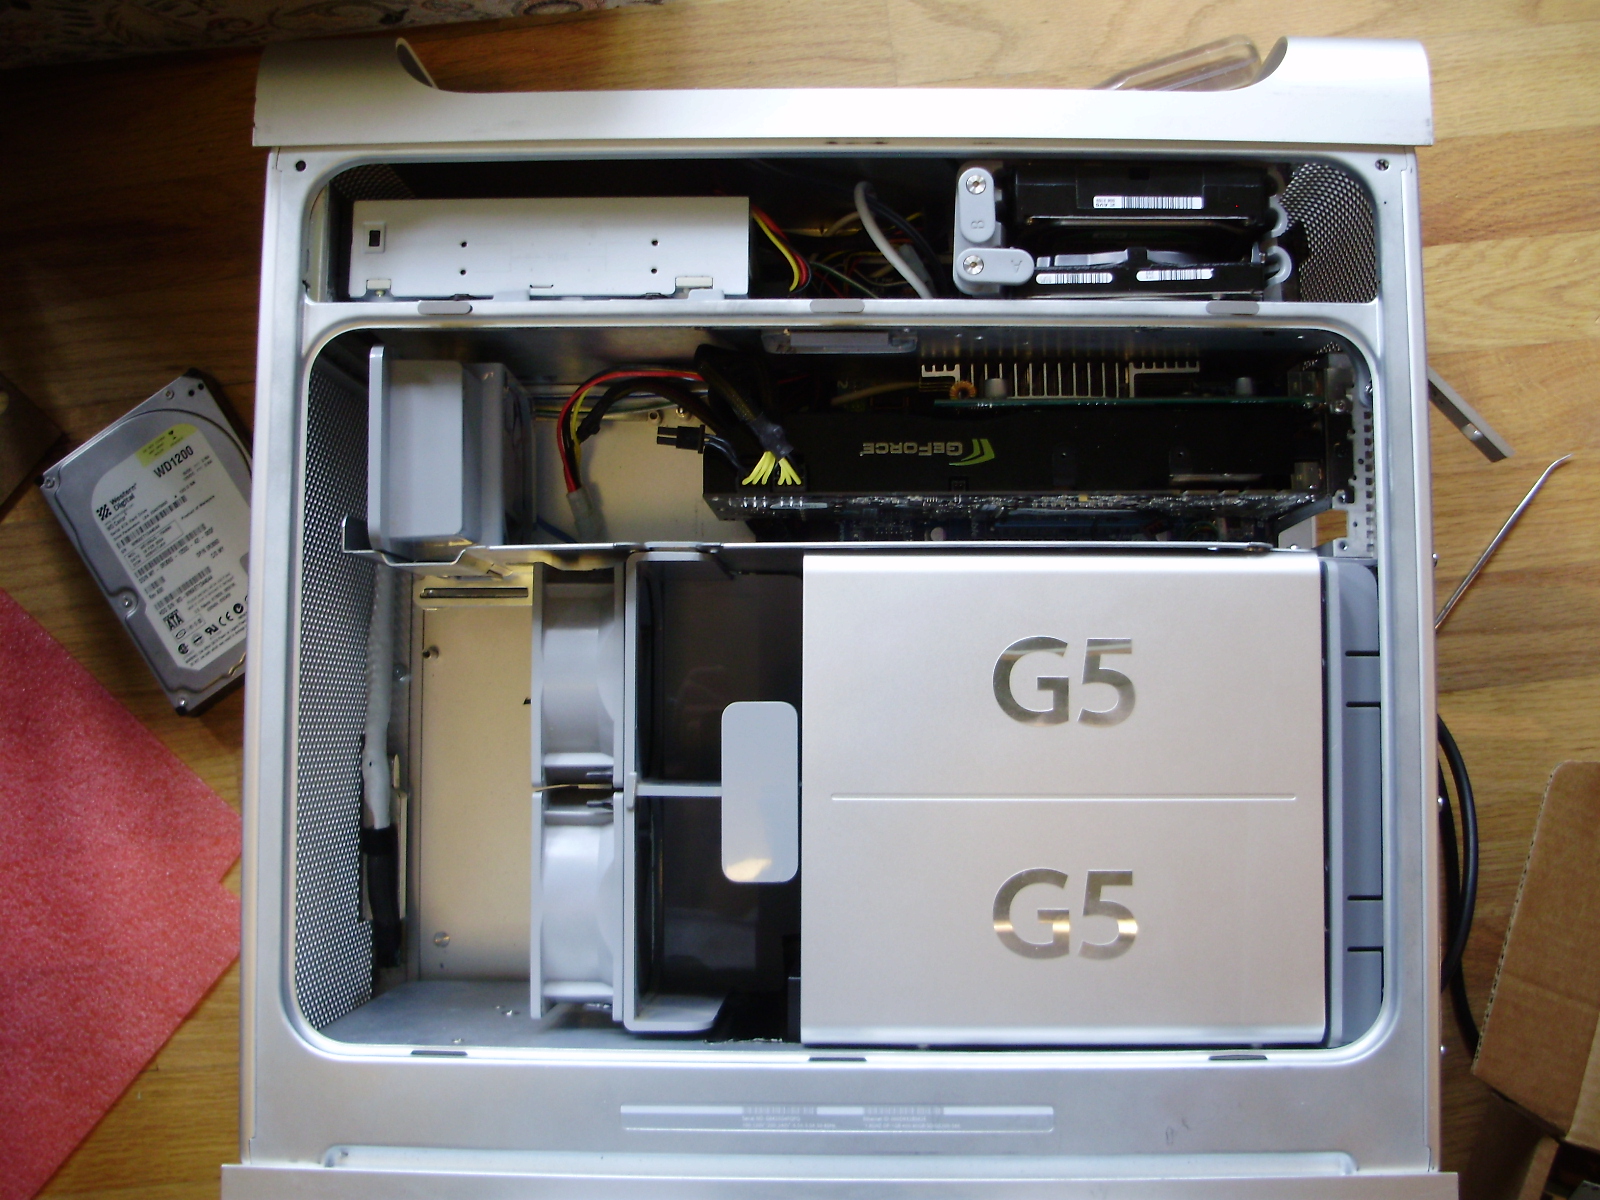
With the CPU cover:
PCI divider and fans installed:
With the CPU cover:
Comments